

The Memory Behind This Treat
The first time I whipped up a batch of these Pumpkin Balls, it was a crisp autumn afternoon. Max, my Labrador, and I had just returned from a long walk through the crunchy leaves in the park. He had that happy, tired look that only a good romp can bring. As soon as we got home, the aroma of pumpkin and spice filled the kitchen—a scent so inviting, I swear Max’s ears perked up even more.
I remember pulling out the softened cream cheese and pumpkin puree, a blend that instantly made the house feel cozier. As I mixed the creamy concoction, Max sat patiently by my side, his eyes following every move. He knew something delicious was in the works. Making these sweet treats became a little tradition for us every fall. It’s funny how rolling the mixture into perfect little balls became a moment of meditation, a chance to reflect on the simple joys of the season.
When the Pumpkin Balls were finally ready, I carefully dipped each one into melted white chocolate. The rich, smooth coating was the perfect contrast to the spiced pumpkin center. As I tasted the first one, Max gave me his best “can I have some?” look. Although these treats aren’t for pups, I made sure to have a little pumpkin puree set aside just for him. Creating these treats is now a beloved ritual, reminding me of those delightful autumn days and the joy of sharing a special moment with my furry friend.
How To Make It (Mix & Ingredients)
Creating these delightful Pumpkin Balls is simple and rewarding. First, gather your ingredients—make sure to have cream cheese, pumpkin puree, and graham cracker crumbs on hand. These will be the backbone of your tasty treats, blending together to create a rich, velvety texture. Using an electric stand mixer, or a trusty hand mixer, beat the cream cheese with powdered sugar until smooth. This step is crucial, as it ensures your base is creamy and free of lumps.
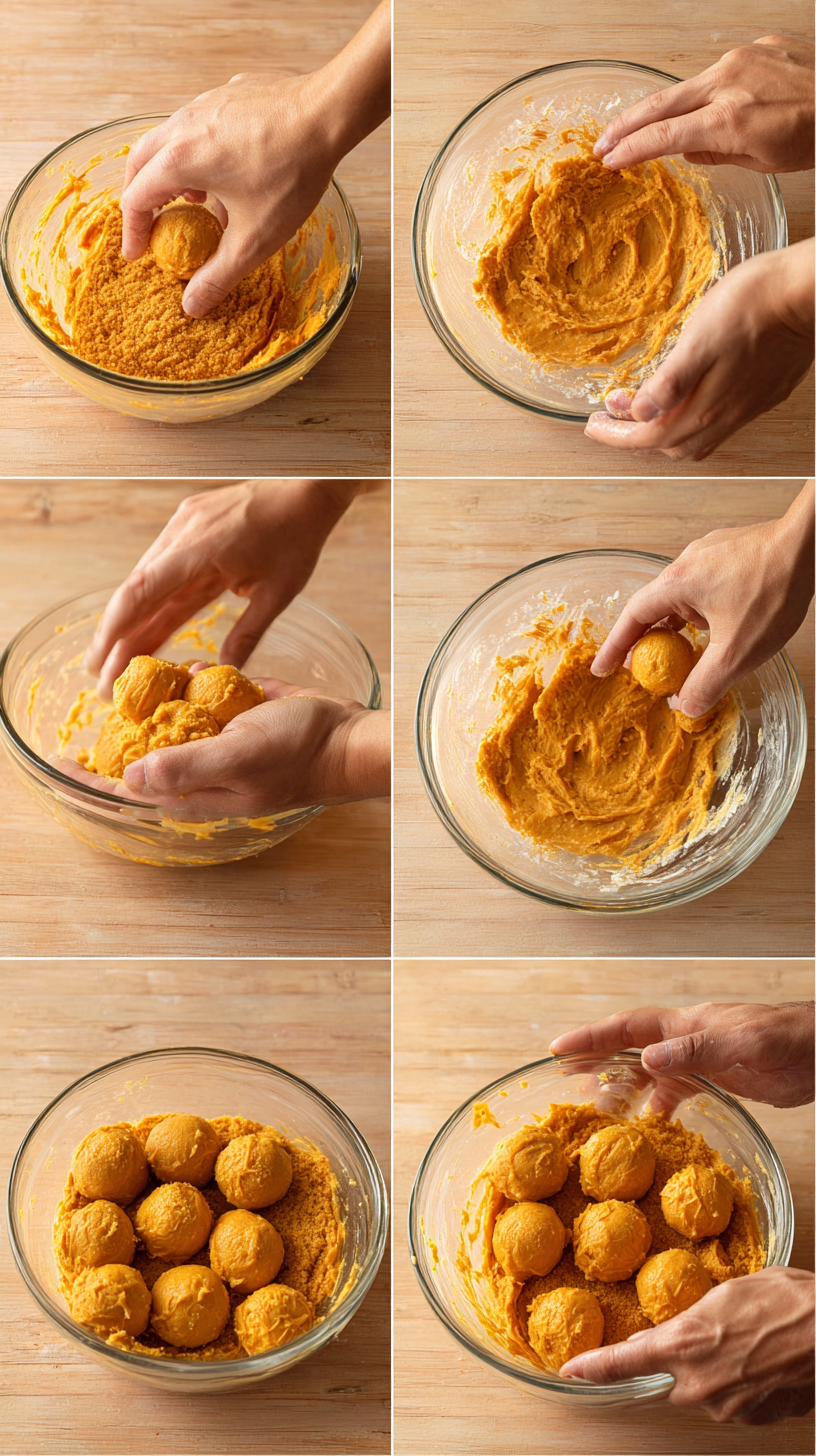
Next, it’s time to infuse those warm, autumnal flavors. Mix in the pumpkin puree, half of the graham cracker crumbs, pumpkin pie spice, and a dash of cinnamon. Stir until everything is fully combined—you’ll see the mixture transform into a deliciously fragrant dough. Incorporate the remaining graham cracker crumbs to achieve the perfect consistency. Remember, patience is key here; it ensures even blending and avoids crumbs that refuse to cooperate.
Once your dough is perfectly mixed, cover it and chill for at least 30 minutes. This step helps the dough firm up, making it easier to shape into balls later. Meanwhile, line a baking sheet with parchment paper, ready for your creation. After chilling, scoop out tablespoon-sized portions of the dough, rolling them into neat little balls. Chill again for a good measure, letting them set up for a dip in luscious white chocolate. Enjoy the aroma as you work, knowing your pup will soon savor these special Pumpkin Balls.
Make-Ahead & Storage
When it comes to Pumpkin Balls, convenience is key, especially during the bustling fall season. The great news is that these delightful treats are a breeze to prepare ahead of time. Once you’ve created your pumpkin wonders and dipped them in luscious white chocolate, simply let them chill thoroughly in the fridge. They can stay fresh in an airtight container for up to a week. Just layer them with parchment paper to prevent sticking—no one likes a smooshed pumpkin ball!
If you’re planning for a longer-term pumpkin party or want to have a stash ready for spontaneous autumn cravings, you can easily freeze them. After the initial chill, place the Pumpkin Balls on a baking sheet lined with parchment paper and pop them in the freezer until solid. Once they’re firm, transfer them to a freezer-safe bag or container. They’ll keep their delightful flavor and texture for up to 3 months. Just remember to thaw them in the fridge for a few hours before serving, so they melt in your mouth just as intended.
For a crunchy twist when serving, try toasting some chopped nuts to sprinkle on top. This adds a delightful texture contrast that your taste buds will appreciate. Want more ideas? Check out my other no-bake fall treat recipes for inspiration! Whether making ahead for a gathering or storing for a cozy night in, these Pumpkin Balls have you deliciously covered.
Best Ingredients & Party Variations
When crafting these delightful Pumpkin Balls, quality ingredients make all the difference. Start with cream cheese that’s softened to achieve a smooth, creamy base. This helps balance the sweetness and provides that cheesecake-like texture. Make sure to use pure pumpkin puree—not pumpkin pie filling—as it keeps the flavor fresh and natural.
To add a touch of sweet spice, pumpkin pie spice and cinnamon are essentials. They bring that cozy fall essence we all love. For a crunchy twist, graham cracker crumbs are the secret ingredient, adding texture and a hint of honeyed sweetness. To finish, white chocolate chips create a creamy outer shell, while a touch of coconut oil ensures the chocolate melts perfectly for that professional finish.
Now, let’s talk variations! For a nutty twist, try mixing in some finely chopped pecans or walnuts into the dough. This adds an extra layer of flavor and a delightful crunch. Hosting a party? Drizzle dark chocolate over the white chocolate coating for an elegant look. You can even roll the finished Pumpkin Balls in shredded coconut or crushed graham crackers for a fun, textured finish.
If your pup is eyeing these treats with classic puppy eyes, remember to check out our dog-friendly versions like the Pumpkin Peanut Butter Bites. They’re a safe and tasty alternative for your furry friend!
FAQ About Pumpkin Balls
What are pumpkin balls for dogs?
Pumpkin balls are delicious, no-bake treats that combine the goodness of pumpkin puree with other dog-friendly ingredients. These treats are perfect for the fall season and offer a slightly sweet, rich flavor that dogs love. Pumpkin is known for its digestive benefits, so it’s a great choice for a healthy treat. Just make sure any additional ingredients, like spices or sugar alternatives, are safe for dogs. Never use xylitol—it’s toxic to dogs!
Is pumpkin a good binder in dog treats?
Yes, pumpkin is an excellent binder in dog treats due to its natural moisture and fiber content. It helps hold the ingredients together while adding a touch of sweetness and richness. Pumpkin also supports digestive health, which makes it a fantastic choice for treats. When using pumpkin, always choose plain pumpkin puree and not pumpkin pie filling, which can contain sugars and spices that are not good for dogs.
How much pumpkin is safe for dogs to eat?
Pumpkin is generally safe for dogs in moderation. A tablespoon or two mixed into your dog’s regular meals can provide digestive benefits without causing any issues. However, feeding too much pumpkin can lead to diarrhea or stomach upset in some dogs. Always introduce new foods gradually and monitor your pup’s reaction to ensure they tolerate it well.
Can pumpkin balls cause any digestive issues in dogs?
Pumpkin balls are typically gentle on a dog’s digestive system when fed in moderation. However, if your dog is not used to pumpkin, start with small amounts to prevent stomach upset. Excessive pumpkin can cause diarrhea, so it’s important to follow the recommended serving size. If your dog has a sensitive stomach or specific dietary needs, consult with your vet before introducing new treats.
Conclusion
Whipping up these Pumpkin Balls is more than just a delightful culinary experience—it’s about sharing moments with your furry friend that warm your heart. As you watch your pup eagerly anticipate their treat, you’ll realize these little balls of joy are creating special memories that last a lifetime.
Picture a crisp fall afternoon with the aroma of pumpkin and cinnamon filling your kitchen. It’s the perfect setting for connecting with those you love, both human and canine. Making these treats can be a wonderful family activity, bringing everyone together over a shared love for our four-legged companions.
I encourage you to give this recipe a try and see the joy it brings to your home. And if you enjoyed this, don’t miss out on more easy dog meals and homemade dog treats! Follow us on social media for more tail-wagging recipes.
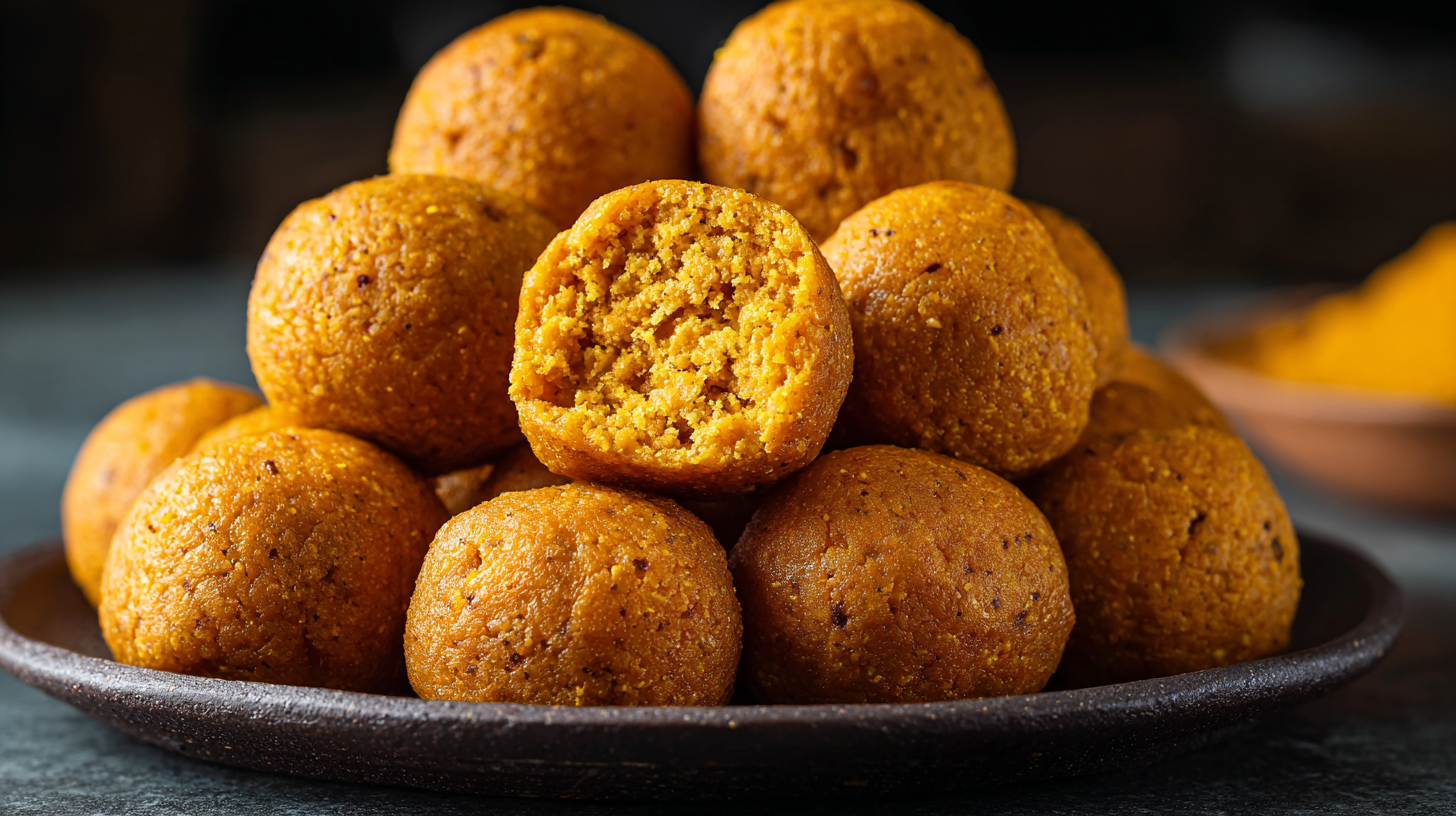
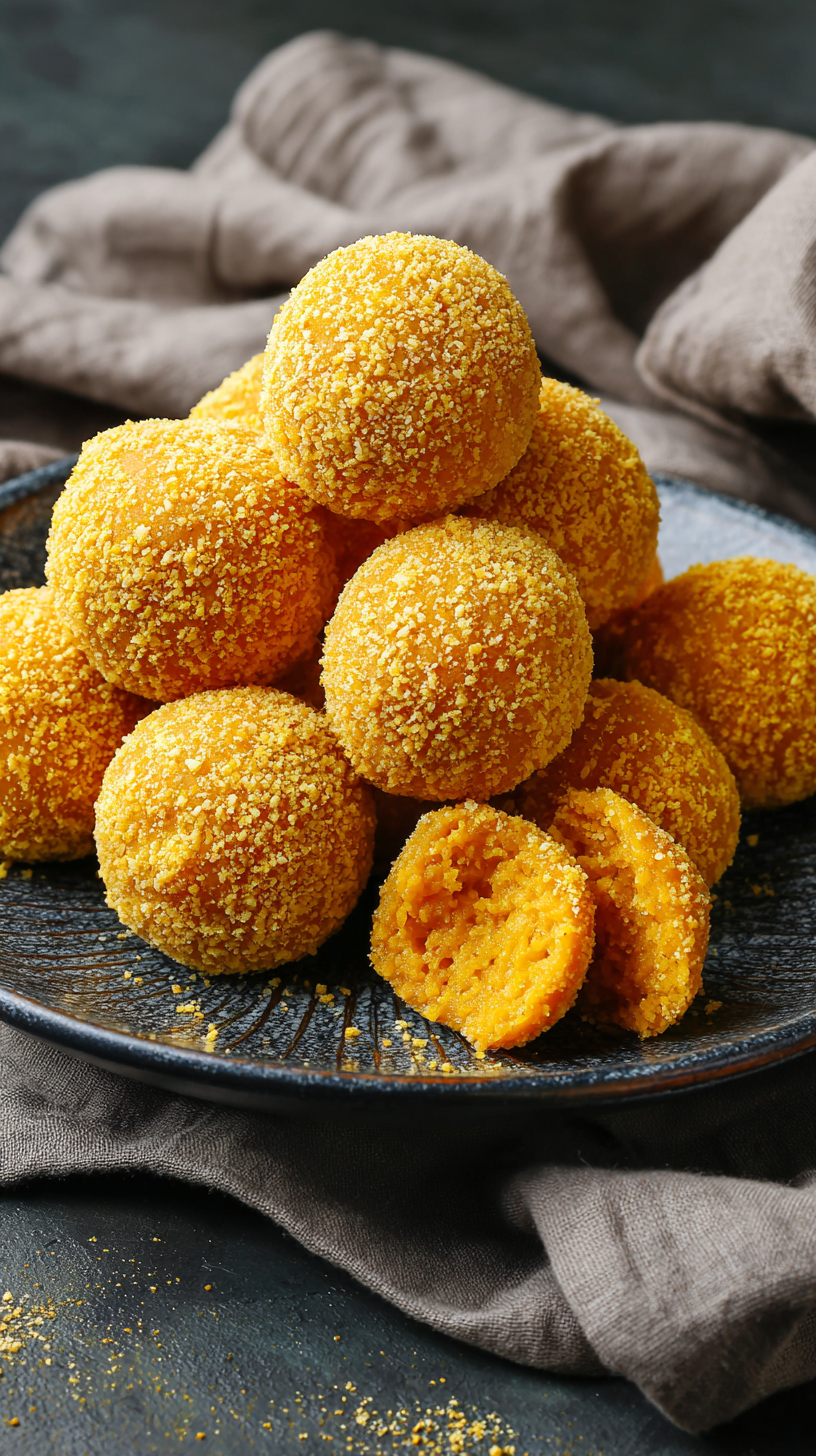
Pumpkin Balls That Melt in Your Mouth: A Fall Treat
Ingredients
Method
- 1. In a bowl, beat cream cheese and powdered sugar until light and creamy, about 2-3 minutes.
- 2. Mix in pumpkin puree, 1 cup graham cracker crumbs, pumpkin pie spice, and cinnamon until combined.
- 3. Add remaining graham cracker crumbs and mix again.
- 4. Cover and refrigerate dough for at least 30 minutes.
- 5. Line a baking sheet with parchment paper.
- 6. Roll dough into tablespoon-sized balls and place on the baking sheet.
- 7. Refrigerate balls for another 30 minutes.
- 8. Melt white chocolate chips in a microwave-safe bowl, stirring every 30 seconds until smooth.
- 9. Dip balls in melted chocolate, tapping off excess, and place back on the baking sheet.
- 10. Drizzle remaining chocolate over truffles.
- 11. Chill in the refrigerator until chocolate is set, about 20-30 minutes.


