

The Memory Behind This Treat
The very first batch of these dog cookies happened on a rainy Sunday when Max and I were both a little stir-crazy. He kept trotting back to the pantry where I store his treat jar, giving it hopeful nudges with his nose. I remember opening my fridge and thinking, “There has to be a way to turn this half can of pumpkin, a sad apple, and some leftover shredded cheddar into something special for him.” I pulled out the mixing bowls, preheated the oven, and before I knew it, there was flour on my shirt, pumpkin on the counter, and one very excited Labrador parked in front of the oven window. The house started to smell like a mix of cheesy crackers, apple bread, and roast pumpkin—honestly, not far from a cozy fall snack for humans.
What really made these dog cookies stay in our regular rotation was how they turned into a little daily ritual. After that first stormy day, I began baking a double batch on Sunday nights so we’d have a stash ready for our Monday-morning walks. I’d crumble one of the pumpkin–peanut butter cookies into smaller pieces and tuck them into my pocket for training rewards, and Max’s focus on our walk instantly improved—apparently, he takes homemade dog treats very seriously. When I later tested versions with sweet potato, carrot, and parsley (for those infamous doggie breath days), I realized this one simple recipe could flex with whatever I had in the fridge. Now, whenever I mix pumpkin and peanut butter in a bowl, Max recognizes the sound of the spoon scraping and trots in, tail going like a metronome, as if to say, “Ah yes, my dog cookies are in production.”
How To Make It (Mix & Ingredients)
To make these homemade dog cookies, you’ll start by whisking together your wet ingredients so everything blends smoothly. In a medium bowl, combine ½ cup pure pumpkin puree, ¼ cup unsalted, xylitol-free peanut butter, 1 egg, and 2 tablespoons of either melted coconut oil or low-sodium broth. Whisk until the mixture looks creamy and unified—if you still see streaks of peanut butter, keep going. This wet base is what gives your dog cookies moisture, flavor, and that smell that magically summons dogs from the other side of the house. If you’ve ever made my cheesy pumpkin dog biscuits, this step will feel very familiar.
Instructions Process of Dog Cookies
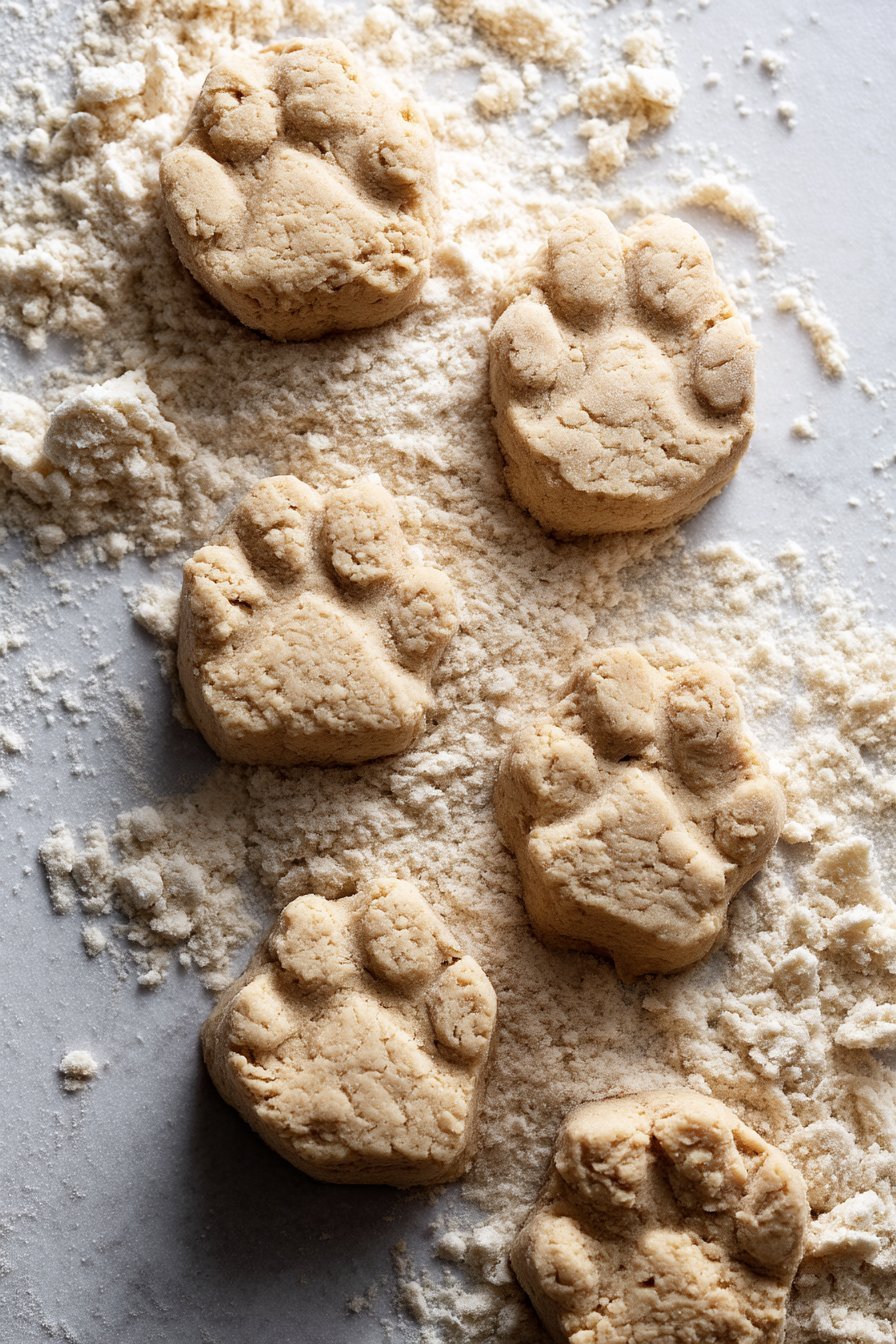
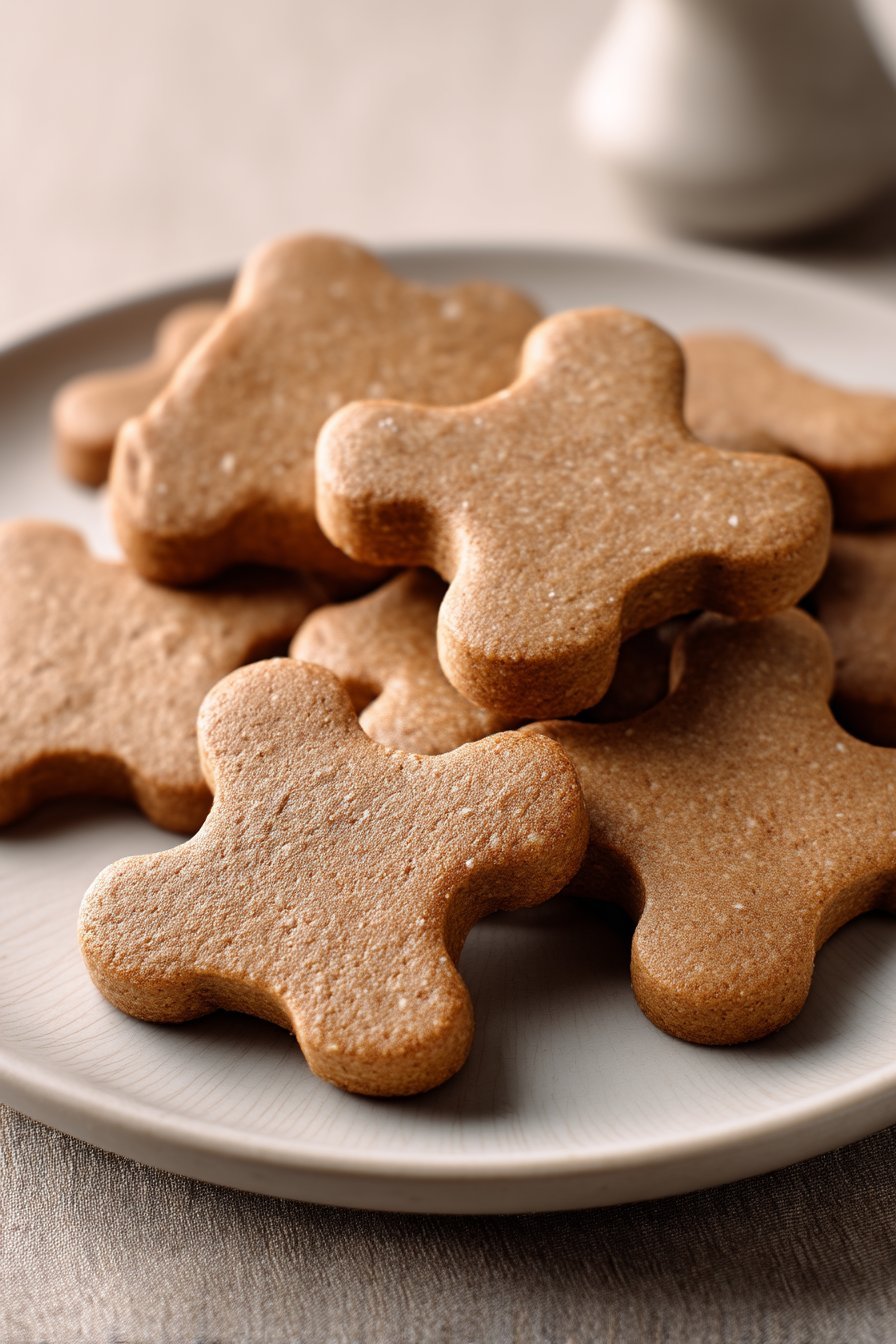
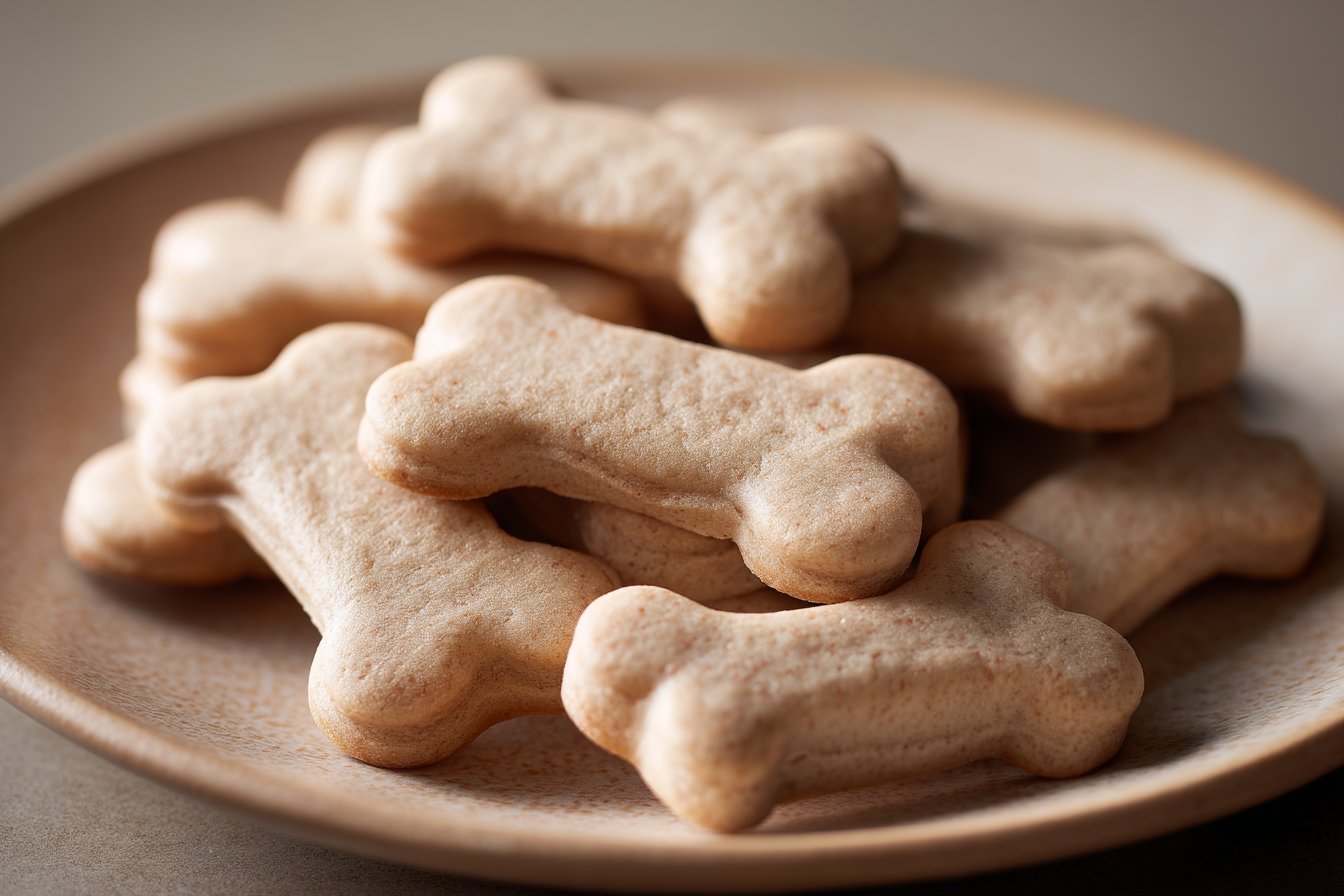
In a separate bowl, stir together 1 ½ cups whole wheat flour (or oat flour if your dog needs a gentler, gluten-free option) and ½ cup rolled oats. The flour gives structure, while the oats add texture and a bit of extra chew. Gently pour the dry mix into the wet ingredients, about a third at a time, stirring with a sturdy spoon or spatula. You’re aiming for a stiff, slightly tacky dough that holds together when you press it—think sugar cookie dough, not cake batter. If the dough sticks aggressively to your fingers, sprinkle in another tablespoon of flour at a time; if it’s crumbly and won’t hold, add a teaspoon more broth or applesauce until it comes together.From here, you can fold in your “personality boosters” for different kinds of dog cookies using small portions of the remaining ingredients: grated carrot or apple for a fruity crunch, shredded cheddar for a savory cookie, a little parsley or dried mint for fresher breath, or a pinch of ground ginger for a gentle tummy-friendly twist. Divide the base dough into a few portions and mix a different add-in into each one to create a fun cookie assortment from a single batch. When everything is evenly mixed, lightly flour your counter, roll the dough to about ¼ inch thick, and cut into shapes using cookie cutters or a simple knife for bars. Lay them on a parchment-lined baking sheet, leaving a bit of space between each; they won’t spread like human cookies, but the warm air needs room to circulate so they bake up nicely firm for your pup.
Make-Ahead & Storage
These dog cookies are perfect for making ahead, especially if you like to spoil your pup with a variety of homemade dog treats during the week. Once the cookies have baked and cooled completely on the rack (no warmth at all in the center), you can store them in an airtight container at room temperature for 4–5 days. If your kitchen runs humid, I recommend slipping a small piece of paper towel into the container to absorb excess moisture and help keep the dog cookies crunchy. For slightly softer treats, store them in a zip-top bag instead of a hard container—just remember they may spoil a bit faster, so lean toward 3–4 days on the counter.
For longer storage, I like to freeze these dog cookies in small batches so I can pull out just what Max needs. Arrange the cooled treats in a single layer on a baking sheet, freeze until solid, then transfer them to a freezer bag, squeezing out as much air as possible. Label the bag with the date and flavor (“cheddar & parsley” or “pumpkin & apple”) so you remember what’s inside later. Frozen dog cookies keep well for up to 2 months; to serve, thaw a few on the counter for about 15–20 minutes, or overnight in the fridge. Never store warm cookies in a sealed container—they’ll steam, soften, and can grow bacteria faster, which isn’t safe for your pup.
Best Ingredients & Party Variations
When you’re baking dog cookies, a few thoughtful ingredient choices turn a basic batch into something your pup will absolutely dance for. I like to keep the base simple: whole wheat or oat flour, rolled oats, and a blend of pumpkin, peanut butter, and egg for structure. Pumpkin and applesauce add gentle sweetness and moisture without sugar, while grated carrot and apple give your dog cookies a little texture and natural flavor. Low-fat cheddar, parsley, or mint turn them into “special occasion” snacks that also freshen breath. Just remember: always use xylitol-free peanut butter, unsweetened applesauce, and low-sodium broth so the treats stay truly dog-safe.
Once you have this master recipe down, it’s very easy to spin off fun party variations. For a “birthday party” plate, make smaller bone-shaped dog cookies and divide the dough into 2 bowls, flavoring one half with shredded cheddar and the other with grated apple for a mix-and-match platter. For a fall-themed pup party, lean into pumpkin: add a pinch of ground ginger, roll the dough slightly thicker, and bake until just firm for softer, cake-like bites older dogs appreciate. Feeling fancy? Brush the tops lightly with a touch of broth before baking for a shiny finish, or sandwich two cookies together with a thin smear of pumpkin or mashed sweet potato as a “doggie sandwich cookie.” Whether you’re celebrating Gotcha Day or just a happy Tuesday, your dog will think these homemade dog cookies were made for the biggest occasion of all: you coming home.
Serving of Dog Cookies
Conclusion
As I was finishing the last batch of these dog cookies, Max did his usual routine—paws tapping on the kitchen floor, nose in the air, and those big hopeful eyes locked on the cooling rack. That’s the magic of homemade treats: they turn ordinary afternoons into little celebrations. Whether you’re baking solo, with your kids, or with a friend who loves their dog just as much as you do, these simple recipes have a way of bringing people (and pups) together.
I hope you feel excited and confident to try at least one of these ideas this week. You don’t need perfection—just a bit of time, some safe, dog-friendly ingredients, and your pup’s favorite taste-tester waiting nearby. Every batch is a chance to bond, to play, and to show your dog just how much they’re loved, one crunchy bite at a time.
For more delicious recipes like this, follow us on social media!
Can I change the flour or oats in these dog cookies?
You can safely substitute oat flour for whole wheat flour in these dog cookies, which helps if your pup needs a gentler, gluten-free option. Make sure any flour or oats you use are plain, unsweetened, and not “instant” with added flavors. If you switch to oat flour, the dough might be a bit softer, so you may need a touch more flour to roll and cut shapes cleanly. Introduce any new grain slowly and watch for itching, gas, or loose stools, which can signal sensitivity.
Is peanut butter and cheese really safe in dog cookies?
Peanut butter is usually safe in dog cookies as long as it is unsalted and completely free of xylitol and other artificial sweeteners. **Always read the label carefully before you scoop.** Low-fat shredded cheddar cheese is fine in moderation for most dogs and adds a wonderful smell and flavor. If your dog is lactose intolerant or on a low-fat diet, you can cut the cheese amount in half or skip it entirely without ruining the batch.
Recipe
Pumpkin Peanut Butter Dog Cookies
Ingredients
Method
- Preheat the oven to 350°F. Line a baking sheet with parchment paper.
- In a large bowl, whisk together the pumpkin puree, peanut butter, egg, and melted coconut oil or broth until smooth and creamy.
- In a separate bowl, stir together the whole wheat flour and rolled oats until well combined.
- Add the dry ingredients to the wet ingredients in 2 to 3 additions, stirring after each addition, until a stiff, slightly tacky dough forms.
- Lightly flour a clean work surface and roll the dough to 1/4-inch thickness with a rolling pin.
- Use small cookie cutters or a knife to cut the dough into desired shapes.
- Arrange the cutout cookies on the prepared baking sheet, leaving a little space between each one.
- Bake for 20 to 25 minutes, or until the cookies are firm and the edges are lightly golden.
- Remove the baking sheet from the oven and let the cookies cool completely on a wire rack before serving to your dog.
Notes
- For longer storage, freeze cooled cookies in a freezer-safe bag or container for up to 2 months and thaw before serving.


