
The Memory Behind This Treat
The idea to turn dog treats into a real business started on a rainy Saturday with flour on my pajamas and my Labrador, Max, drooling on my feet. I was tweaking a simple oat-and-peanut-butter biscuit for the fifth time because the first batch crumbled in a treat jar, the second went stale too fast at room temperature, and the third turned oddly soft in humid weather. As I wrote little notes like “stayed crunchy 5 days in sealed bag” and “too greasy for mailing,” I realized I wasn’t just baking for fun anymore—I was testing shelf life like a tiny, determined factory. That messy notebook of observations became the backbone of my first market-ready recipe and showed me how serious you have to be if you want to sell dog treats, not just share them.
A few months later, I brought 3 versions of the same dog treats to our local adoption event: one extra crunchy, one soft-baked, and one shaped into cute bone cutouts. Max “supervised” the taste tests while other pups lined up with their people, and I actually tracked which texture disappeared first, which crumbs survived kids waving the bag around, and which shapes fit best into little sample cups. I watched how people reacted to my simple handwritten “Made in a Home Kitchen” label, how often they flipped the bag over to read ingredients, and how reassuring it was for them to see familiar things like pumpkin, oats, and chicken. That afternoon was when I understood that you’re not just selling a snack—you’re selling trust, a story, and the comfort of knowing exactly what’s going into their dog’s mouth.
How To Make It (Mix & Ingredients)
When you’re making dog treats to sell, think like both a baker and a business owner. Start with a simple base recipe you can adapt: oat flour or brown rice flour, a single lean protein (like chicken or salmon), and a safe binder such as pumpkin purée or mashed sweet potato. Use a food scale so your batches stay consistent—4 oz of protein and 6 oz of flour in every test batch, for example—because consistency becomes your best friend once customers start expecting the same treats every time. Avoid anything risky or controversial for dogs (no onions, garlic, chocolate, nutmeg, or artificial sweeteners). Never use xylitol—it’s extremely toxic to dogs. If you use peanut butter, double-check the label for hidden sweeteners and go for plain, unsalted, no-sugar-added jars only.
Instructions Process of Dog Treats
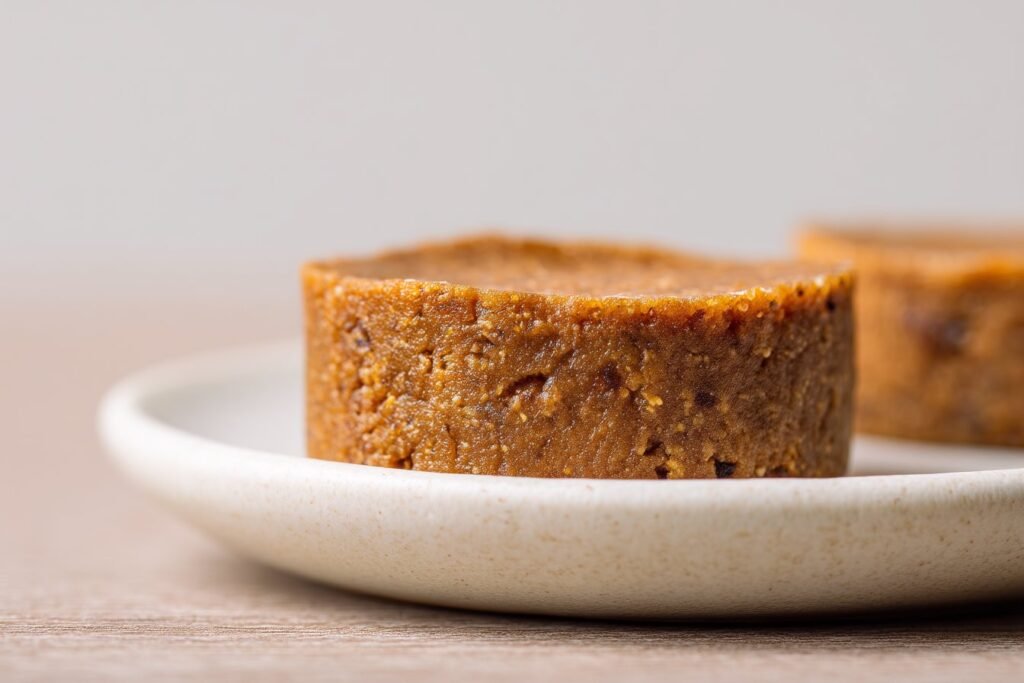
To actually mix your dog treats, I recommend starting with dry ingredients in one bowl and wet ingredients in another, just like you would with regular cookies. For a test batch, you might combine 1 cup oat flour, ½ cup rolled oats, and a tablespoon of ground flaxseed in the dry bowl, then whisk together ½ cup pumpkin, 1 egg, and 2 tablespoons of dog-safe peanut butter in the wet bowl. Stir the wet into the dry until a stiff dough forms; if it’s crumbly, add a teaspoon of water at a time, and if it’s sticky, dust in extra flour. Aim for a dough you can roll to ¼ inch thick and cut cleanly with a cookie cutter—thin enough to dry out well for shelf life, but not so thin that it crumbles in the bag. Once you land on a mix that bakes evenly, note every gram and step in a notebook or recipe app; this becomes the “master formula” behind the hero dog treats you’ll build your brand on.
Make-Ahead & Storage
When you’re selling dog treats, planning your make-ahead and storage routine is just as important as the recipe itself. Every batch you bake should be part of a simple system: cool, dry, pack, label. For crunchy baked treats (like bone-shaped biscuits or low-fat training bites), let them cool completely on wire racks, then return them to a turned-off warm oven for 10–15 minutes to drive out excess moisture. Drier treats usually mean longer shelf life and fewer storage headaches once customers take them home. From there, store test batches in labeled jars or bags at room temperature, and log exactly when they start to lose crunch, smell “off,” or show any signs of staleness.
Your make-ahead plan should reflect your real-world sales schedule. If you’re baking for a Saturday farmers’ market, aim to bake Thursday, fully cool and package Friday, and sell within 5–7 days for simple, preservative-free dog treats. Use resealable pouches or airtight containers, especially if you ship or sell in humid climates, so you can honestly state a conservative “Best By” date from your shelf-life tests. For semi-soft treats (like pumpkin bites or meat-heavy recipes), shorten your Best By window and recommend refrigeration to customers; they may not love the extra step, but they will appreciate the transparency. Avoid stacking fragile shapes too high in storage bins, and always keep finished treats away from strong odors like onions, garlic, or cleaning products.
Once you’ve dialed in your timing, write clear storage instructions directly on your packaging and sales materials. Tell buyers how to keep the dog treats at their best: “Store in a cool, dry place,” “Refrigerate after opening,” or “Use within 7 days for maximum freshness.” For large orders or subscription customers, consider suggesting airtight treat containers as add-on purchases so their stash stays crisp and safe longer. If you expand into multiple recipes, keep a simple spreadsheet with each flavor’s oven time, cooling method, and tested shelf life so you can scale your easy dog meals business without guesswork. Your future self—and your customers’ pups—will thank you.
Best Ingredients & Party Variations
When you’re making dog treats to sell, your ingredients are your reputation. Buyers might be swayed by cute branding, but they come back for clean labels and consistent quality. Start with dog-safe basics like oat flour, brown rice flour, pumpkin puree, unsalted peanut butter (xylitol-free), and low-sodium broth. Keep your ingredient lists short and pronounceable; “oat flour, pumpkin, egg” is far more appealing than a paragraph of fillers. I always suggest you test a few flour bases side by side—bake one batch with oat flour and another with brown rice flour, then see which gives a better crunch and cleaner shape after a few days in storage. Remember, never use xylitol, raisins, grapes, onions, garlic, or artificial sweeteners in any recipe.
Party-style variations help you turn one base dough into multiple “flavors” you can market for different occasions. For birthdays, you can offer a honey-free “cake” bite variation topped with a smear of plain yogurt and a dog biscuit crumble—something you’d sell in small packs as “Birthday Bites.” For sensitive-tummy pups, spin off an allergy-friendly version using a single protein (like salmon or turkey) plus a grain-free base such as chickpea or coconut flour. Lean into seasonal drops too: pumpkin-apple bites in fall, mint-parsley “fresh breath” treats in summer, or heart-shaped beet and peanut butter treats around Valentine’s Day. With a solid base recipe, you can build a small “menu” of holiday, birthday, and everyday dog treats that feel special without forcing you to reinvent your entire process every time.
Serving of Dog Treats
Conclusion
If you’ve read this far, I have a feeling you’re the kind of person who lights up when a dog’s tail starts thumping at the sound of a treat jar. Turning your kitchen experiments into a small business isn’t just about profit—it’s about sharing that joy, one bag of lovingly made dog treats at a time. I still remember the first local market where I sold Max’s favorite biscuits; what started as a way to spoil my own pup turned into conversations, smiles, and happy dogs all over the neighborhood.
When you roll out dough at your counter, you’re not just baking—you’re creating little moments. Kids picking out a “special one” for their puppy, a senior dog getting a soft treat that doesn’t hurt their teeth, a nervous rescue pup slowly learning that good things come from gentle hands. That’s the true magic of what you’re building here.
Take what you’ve learned, choose one recipe, and start small this week. Test, tweak, share, and most of all—enjoy the process.
For more delicious recipes like this, follow us on social media!
What ingredients should I never use in dog treats I plan to sell?
When you make dog treats to sell, absolutely avoid chocolate, xylitol, grapes, raisins, onions, garlic, alcohol, caffeine, and macadamia nuts. Skip artificial sweeteners entirely, because **xylitol is extremely toxic to dogs, even in tiny amounts**. Go very light on salt and fat, and avoid heavy sugar, frosting, or candy-style coatings. If you use flavored yogurt or peanut butter, double-check the label for xylitol and unnecessary additives. When in doubt, use simple, whole foods you can clearly explain to a cautious dog parent.
How can I safely test shelf life for my homemade dog treats?
Bake a test batch and store portions in different conditions: airtight at room temperature, in the fridge, and (if appropriate) in the freezer. Check them daily for changes in smell, color, texture, or any signs of mold, and write everything down. Always choose a conservative “Best By” date that errs on the side of safety rather than pushing for a longer shelf life. Remember that low-moisture, crunchy dog treats usually keep longer than soft or meat-heavy treats. If you scale up your recipe or change ingredients, repeat your shelf-life testing.
How should I package dog treats so they stay fresh and look professional?
Use food-safe, airtight bags or containers, like stand-up pouches with resealable zippers, to protect your dog treats from moisture and crushing. Always label clearly with your brand name, treat name, full ingredient list (in order by weight), net weight, “Best By” date, and required regulatory statements such as “Made in a Home Kitchen” if applicable. Include your business name and contact details so buyers can reorder or reach you with questions. Keep your design clean and readable; busy dog parents want to scan and trust your label quickly. Attractive, sturdy packaging not only preserves freshness but also helps your dog treats stand out online and at markets.
Recipe
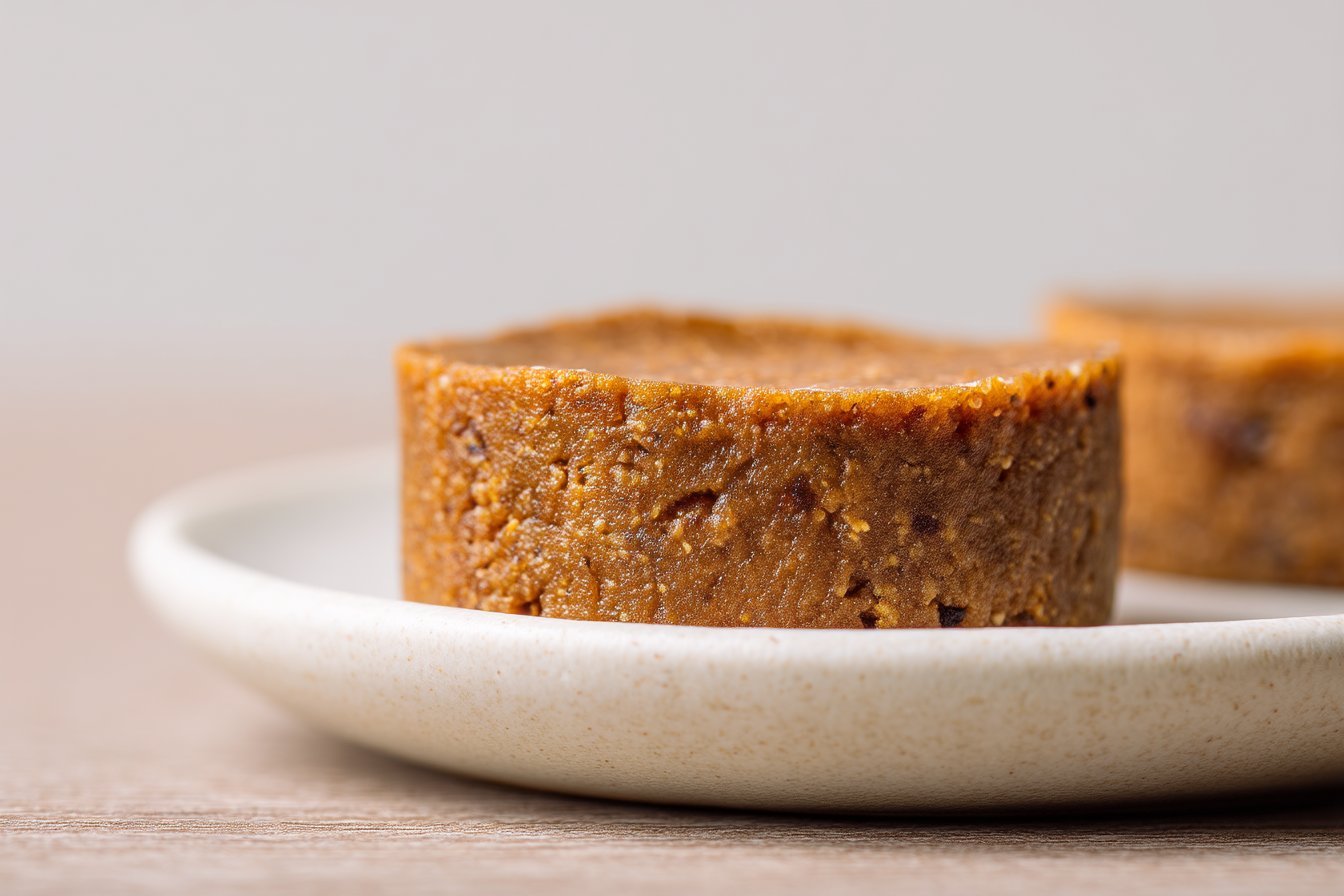
Pumpkin Peanut Butter Dog Treats to Sell
Ingredients
Method
- Preheat the oven to 350°F and line a baking sheet with parchment paper.
- In a medium bowl, stir together oat flour, rolled oats, and ground flaxseed.
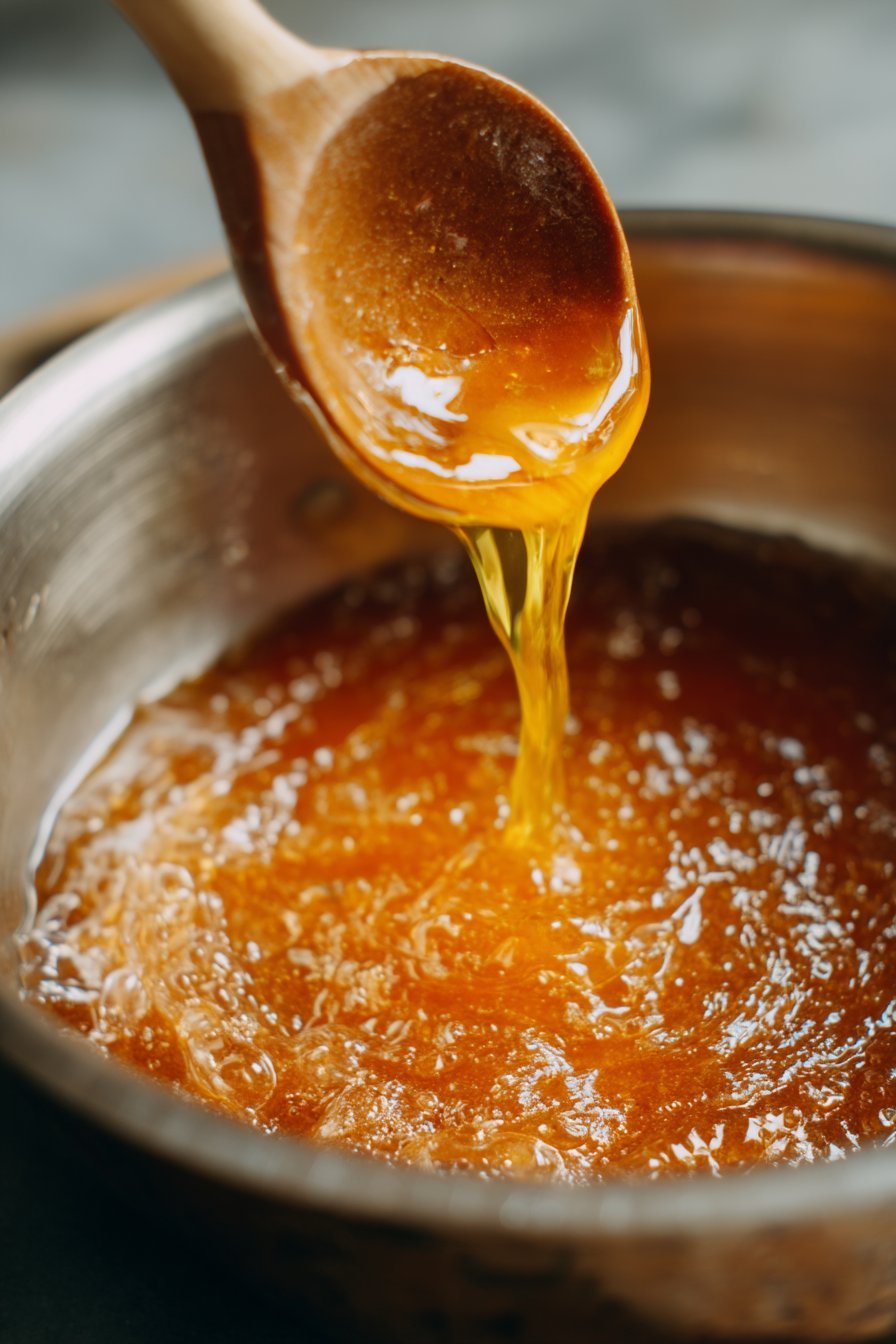
- In another bowl, whisk together pumpkin puree, egg, and peanut butter until smooth.
- Pour the wet mixture into the dry ingredients and stir until a stiff dough forms.
- Add water, 1 tablespoon at a time, only if needed to help the dough come together.
- Lightly flour a work surface with oat flour and roll the dough to 1/4 inch thickness.
- Cut out shapes with small cookie cutters and place them on the prepared baking sheet.
- Bake for 20–25 minutes, until the treats are dry and lightly browned around the edges.
- Turn off the oven, leave the treats inside, and let them sit for 10–15 minutes to dry further.
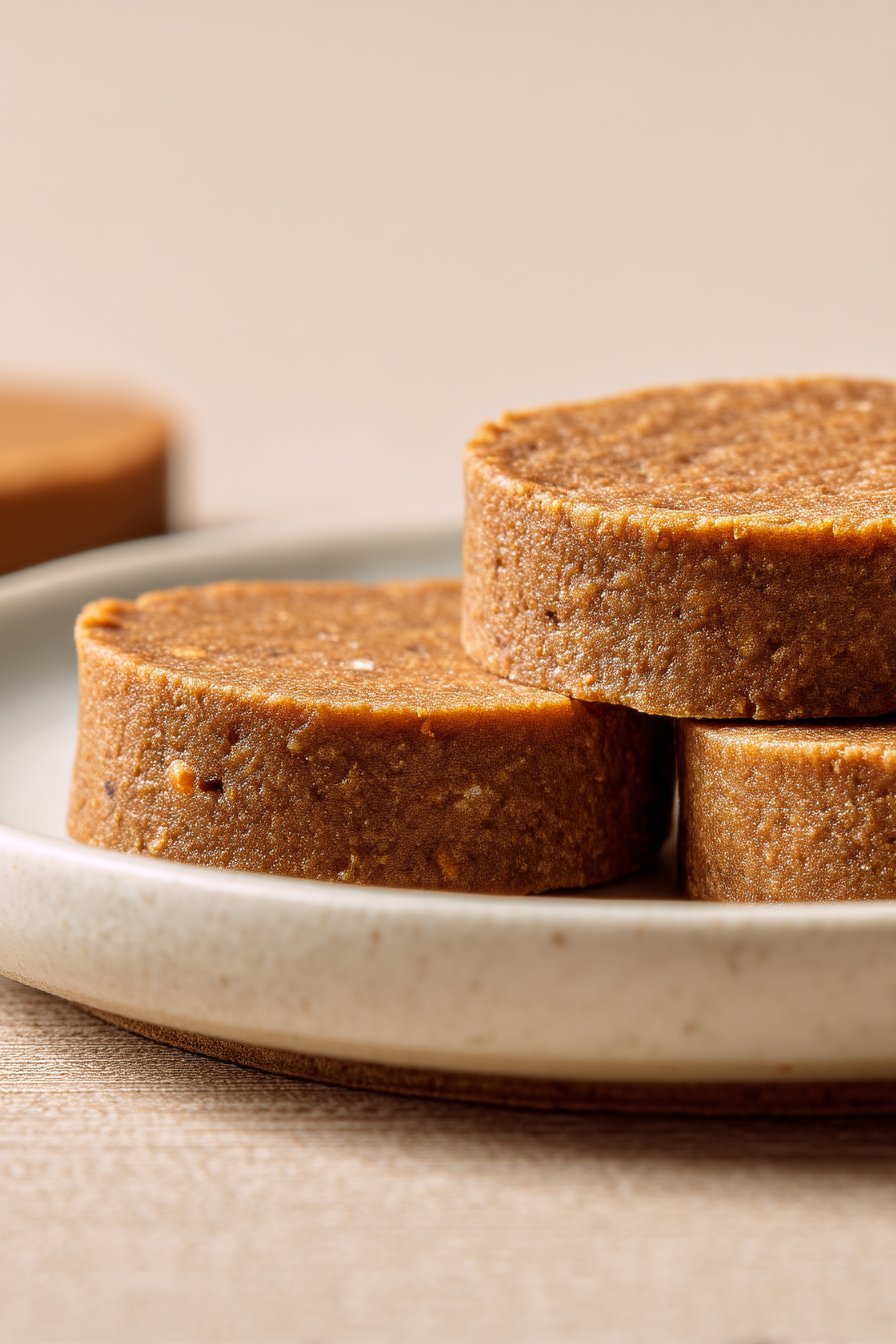
- Transfer the treats to a wire rack and cool completely before serving or packaging.
Notes
- For longer shelf life, be sure the treats are fully cooled and dry before storing in airtight containers at room temperature.


