

The Memory Behind This Treat
The very first batch of these Crunchy Pumpkin Peanut Butter Wafers happened on a rainy October afternoon, when Max was officially declared a “senior dog” at his vet checkup. I remember coming home with a list of joint supplements, a lump in my throat, and a strong urge to make him something special yet gentle. His regular biscuits suddenly felt a little too hard, so I pulled out a can of pure pumpkin, a half-empty jar of peanut butter, and my trusty bag of whole wheat flour. While the rain tapped on the windows, I mixed the dough with my wooden spoon, adding just enough water to bring it together without making it sticky. Max waited patiently by the oven, his chin on his paws, giving me those big hopeful eyes every time I opened the door to peek in.
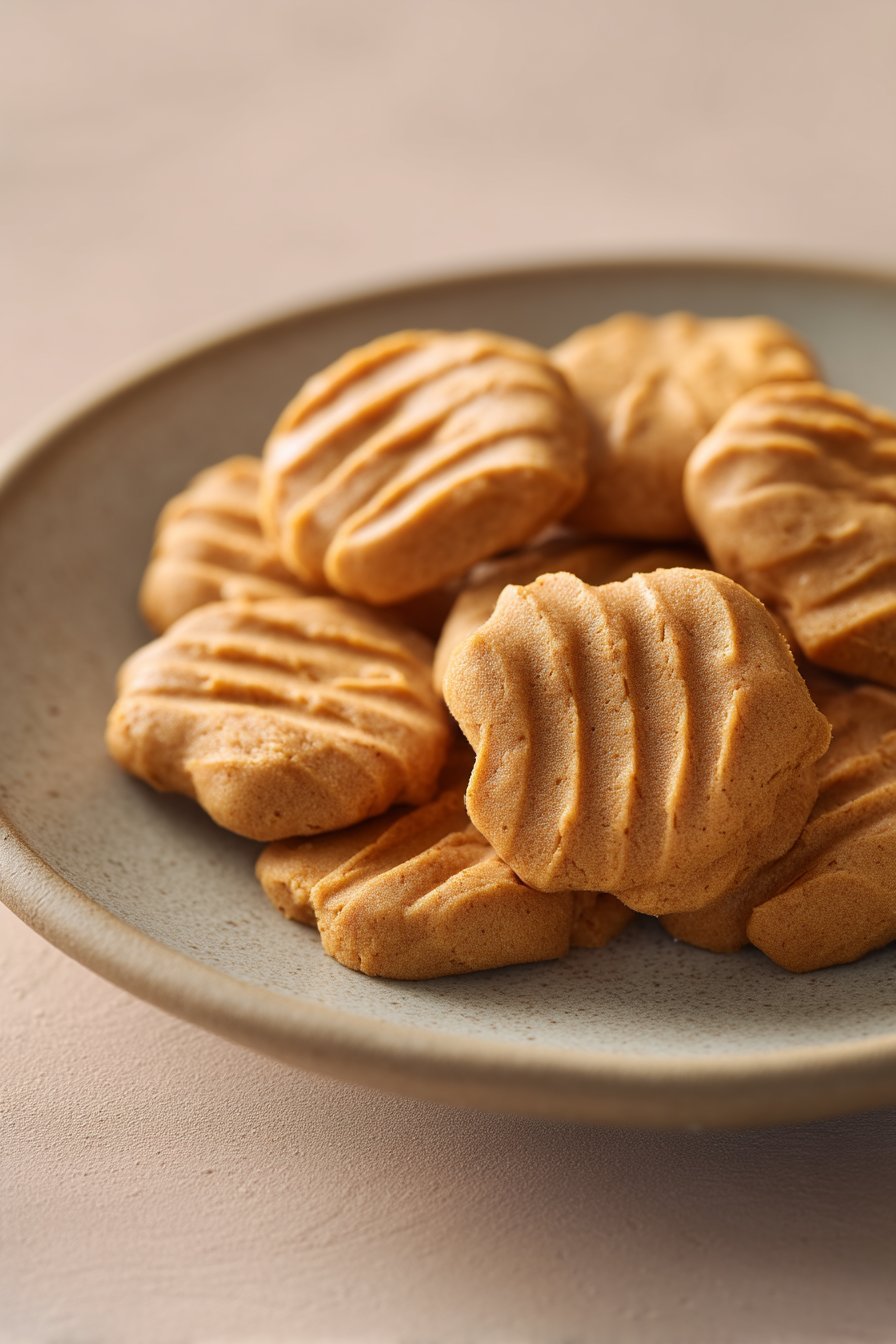
When the first tray came out, the kitchen smelled like warm peanut butter with that cozy, autumn pumpkin aroma. I tested one wafer between my fingers—it had a light, gentle crunch, the kind older teeth wouldn’t struggle with. Max gave it a quick sniff, then a delicate taste, and suddenly his whole tail got in on the wagging. That was my sign this recipe was going into our regular rotation of easy dog meals. Over time, I started baking larger batches, breaking some wafers into tiny training bites, and even crumbling a few over his dinner for an extra-special kibble topper. It’s funny how something so simple—flour dust on the counter, a spoonful of pumpkin, a swirl of peanut butter—can turn into a small ritual of love you repeat week after week.
How To Make It (Mix & Ingredients)
To make these Crunchy Pumpkin Peanut Butter Wafers, start with your dry base. Measure 2 cups of whole wheat flour into a mixing bowl, or use oat flour if your dog does better with grain-free treats. I like to whisk the flour first to break up any lumps so the dough comes together evenly. If your pup has a sensitive tummy, oat flour is usually a gentle option, similar to what I use in some of my softer homemade dog treats. You can also sift in the optional ¼ teaspoon of cinnamon here so it’s evenly distributed and doesn’t clump in one spot.
Instructions Process of Crunchy Pumpkin Peanut Butter Wafers
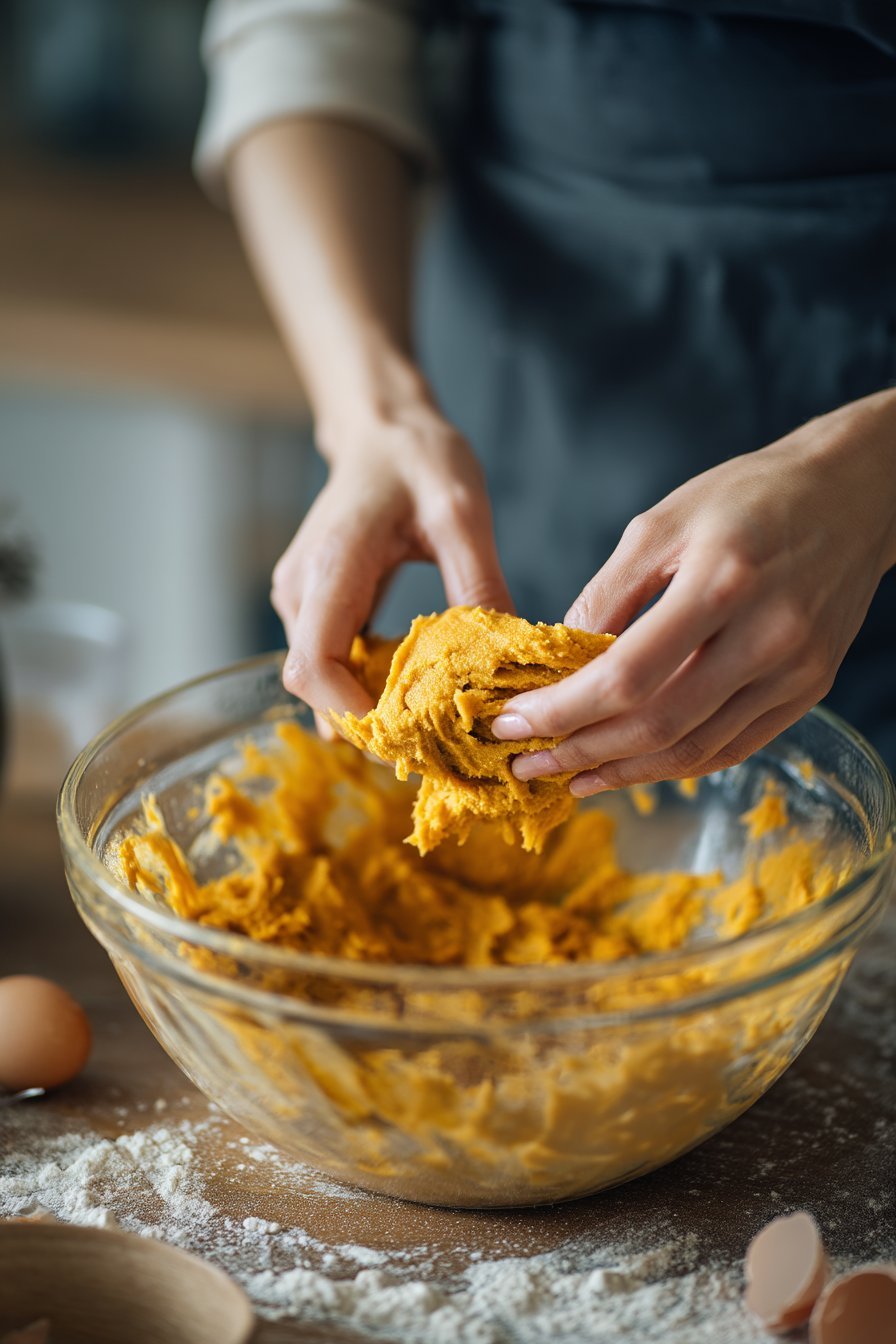
In a separate bowl, stir together ½ cup of 100% pure pumpkin puree (make sure it’s not pumpkin pie filling) and ¼ cup of natural, xylitol-free peanut butter until smooth and glossy. Add ¼ cup of water or low-sodium broth a bit at a time, mixing until the liquid is fully incorporated. Pour the wet ingredients into the flour and use a sturdy spoon (or your hands) to bring everything together into a firm, slightly sticky dough—think playdough that doesn’t stick too badly to your fingers. If it’s too dry and crumbly, sprinkle in a teaspoon of water at a time; if it’s too sticky, dust with a little extra flour. You want a dough that rolls out cleanly without cracking, so those Crunchy Pumpkin Peanut Butter Wafers bake up thin, crisp, and perfect for nibbling.
Make-Ahead & Storage
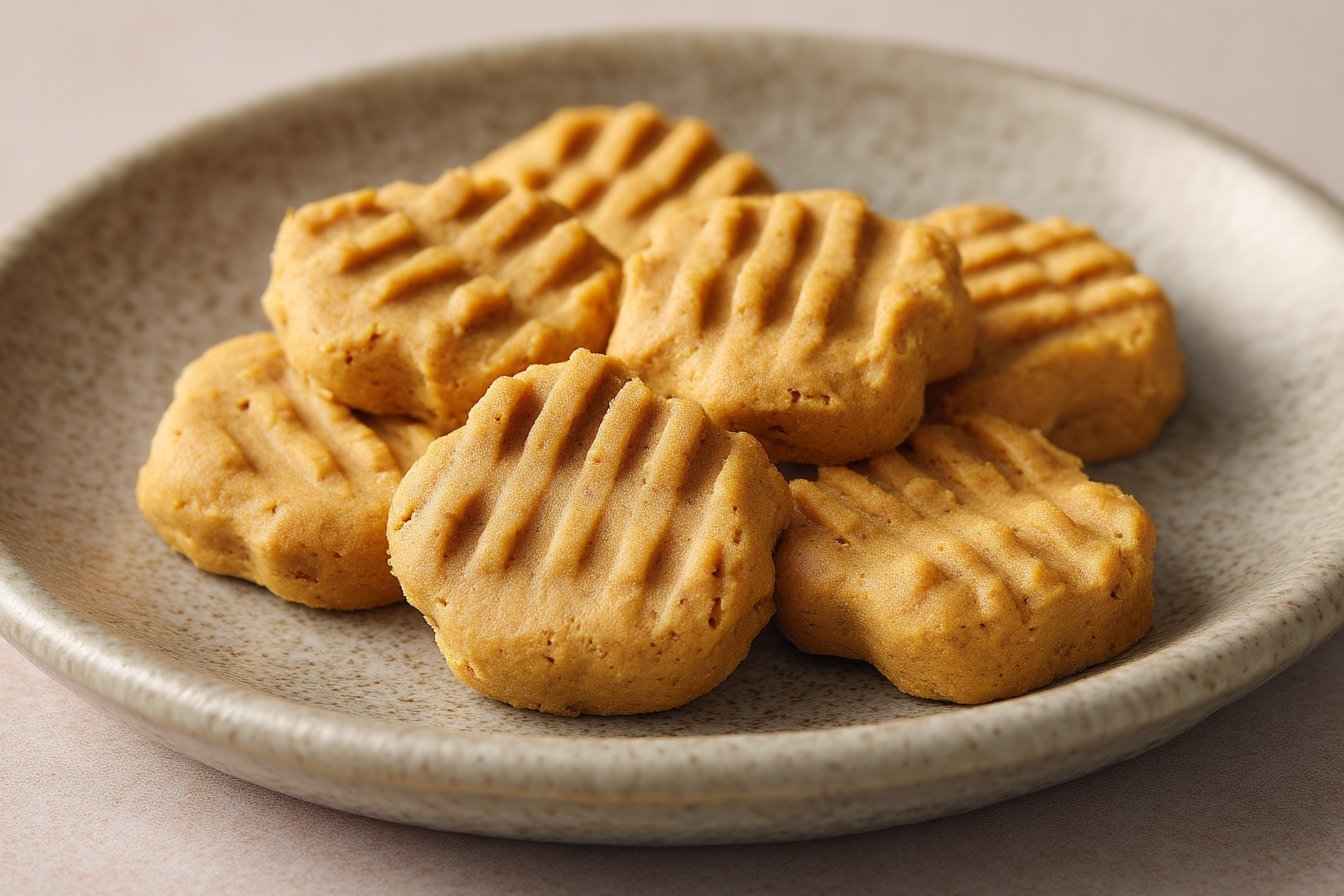
These Crunchy Pumpkin Peanut Butter Wafers are perfect for making ahead, so you can have a jar of tail-wagging goodness ready all week. Once the wafers are completely cool, transfer them to an airtight container or cookie tin and store at room temperature for up to 7 days. A cool, dry spot like a pantry shelf works best—avoid keeping them near the stove or dishwasher where moisture and heat can sneak in. If your kitchen runs humid, you may notice they soften slightly over time; just pop a few back in a low oven (about 250°F for 5–8 minutes) to crisp them back up, then cool before serving. Always peek (and sniff!) before giving one to your dog—if they smell off, feel damp and sticky, or show any mold, toss the batch.
For longer storage, these Crunchy Pumpkin Peanut Butter Wafers freeze beautifully. Arrange them in a single layer on a baking sheet, freeze until solid, then transfer to a labeled freezer bag or container; use within 2–3 months for the best flavor and texture. You can thaw a few wafers at room temperature for about 20 minutes, or serve slightly chilled in warmer weather for a refreshing crunch. If you’re into easy dog meals prep, try portioning a week’s worth into small bags so you can grab-and-go for walks or training days. Whether you’re crumbling them over dinner like a gourmet topper or tucking a few into your treat pouch, smart storage keeps every bite safe, crunchy, and drool-worthy.
Best Ingredients & Party Variations
When you’re baking Crunchy Pumpkin Peanut Butter Wafers, the ingredients you choose make all the difference between a nice idea and a tail-thumping hit. Use 100% pure pumpkin puree, not pumpkin pie filling—pie filling has sugar and spices that can upset sensitive tummies. I love swapping half the whole wheat flour for oat flour when I’m baking for dogs with mild wheat sensitivities; it keeps the wafer crisp but a bit more gentle on their digestion. Reach for natural, unsweetened peanut butter that lists only peanuts (and maybe salt)—always check the label to be sure it contains no xylitol, which is toxic to dogs even in tiny amounts. For extra aroma at your pup’s “party,” use low-sodium chicken or beef broth instead of water; it adds more scent appeal without much changing the calorie count. A tiny pinch of cinnamon is usually safe and adds a warm bakery smell, but skip it if your vet has your dog on a sensitive-stomach or allergy plan.
For party-ready fun, you can turn these Crunchy Pumpkin Peanut Butter Wafers into a whole tasting platter. Use small bone, heart, or star cutters so each guest pup can try a few without overdoing it; mini shapes also work wonderfully as training rewards during a birthday party or Gotcha Day. For a “fancy” touch, mix a spoonful of plain, unsweetened yogurt with pumpkin puree and lightly dip just one side of each cooled wafer, then chill to set—this makes them look frosted without using sugar. You can also bake two different batches: one with whole wheat flour for the hard-crunch crowd, and one with oat flour rolled slightly thicker for younger dogs or seniors who need a softer bite. If you already make my banana oat dog cookies or apple carrot bites, set them out alongside these wafers so the dogs have a little buffet of easy dog meals in treat form. Whatever variation you choose, keep portions modest and watch how each dog handles new treats—excitement plus overeating can lead to tummy troubles, even on the happiest dog party days.
Serving of Crunchy Pumpkin Peanut Butter Wafers
Conclusion
Every time I pull a tray of these Crunchy Pumpkin Peanut Butter Wafers from the oven, Max trots into the kitchen like he’s been personally invited to a party. That simple moment—warm wafers cooling on the rack, tail thumping against the cabinets, your dog’s eyes locked on you—is exactly why I love easy dog meals like this one. You’re not just baking a treat. You’re creating a little ritual of love your pup can taste.
I also love how this recipe has a way of bringing people together. Kids can help cut out the wafer shapes, partners can be “official taste-testers” for looks and smell, and friends with dogs are always thrilled to go home with a small bag of homemade dog treats. These wafers turn an ordinary afternoon into something cozy, playful, and memory-worthy—for you and your pup.
So grab your mixing bowl, preheat that oven, and try this recipe. I have a feeling you’ll see that same happy tail wag I do with Max.
For more delicious recipes like this, follow us on social media!
What are Crunchy Pumpkin Peanut Butter Wafers for dogs?
Crunchy Pumpkin Peanut Butter Wafers are homemade dog treats made with whole wheat or oat flour, pure pumpkin puree, and natural peanut butter. They bake up into thin, crisp wafers with a gentle crunch that most dogs find irresistible. Each piece is about 35 calories, so you can offer them as an occasional snack without overloading your pup. These are the kind of easy dog meals–style treats that feel special but stay simple and wholesome. You control every ingredient, which is a big win if your dog has a sensitive stomach.
Are Crunchy Pumpkin Peanut Butter Wafers safe for dogs with sensitivities?
These wafers can work well for many dogs with mild sensitivities, as long as you choose your flour and liquid carefully. If your pup doesn’t tolerate wheat, you can use oat flour instead and stick to water or a very simple, low-sodium broth. Always introduce any new treat very slowly and watch for signs of digestive upset like soft stool, gas, or itching. **Never use peanut butter that contains xylitol or added artificial sweeteners—they are toxic to dogs.** If your dog has a history of food allergies or chronic tummy issues, check with your vet before adding a new treat.
How should I store Crunchy Pumpkin Peanut Butter Wafers and how long do they last?
Let the wafers cool completely before storing so they stay crunchy and don’t trap moisture. Keep them in an airtight container at room temperature for up to 5–7 days. If your kitchen runs warm or humid, refrigerate them to maintain their texture a bit longer. For longer storage, freeze the wafers in a zip-top bag for up to 2 months and thaw a few at a time as needed. I like to separate them into small “snack packs” so I only open what I’ll use in a few days.
Recipe
Crunchy Pumpkin Peanut Butter Wafers for Dogs
Ingredients
Method
- Preheat the oven to 350°F and line a baking sheet with parchment paper or a silicone baking mat.
- Add the flour and cinnamon (if using) to a medium bowl and whisk to combine and remove lumps.
- In a separate bowl, stir together the pumpkin puree and peanut butter until smooth.
- Add the water or low-sodium broth to the pumpkin mixture and stir until fully combined.
- Pour the wet mixture into the bowl with the flour and stir with a sturdy spoon until a dough begins to form.
- Use your hands to gently knead the dough in the bowl or on a lightly floured surface until it is smooth and slightly tacky but not sticky; add a teaspoon of water if too dry or a sprinkle of flour if too sticky.
- Place the dough on a lightly floured surface and roll it out to about 1/8 inch thickness.
- Cut the dough into small wafers using a knife, pizza cutter, or small cookie cutters and transfer them to the prepared baking sheet, spacing them slightly apart.
- Bake for 20 to 25 minutes, or until the wafers are dry and lightly golden around the edges.
- Turn off the oven, crack the door open, and let the wafers sit inside for an additional 10 minutes to dry and become crunchier.
- Transfer the wafers to a wire rack and let them cool completely before serving to your dog.
Notes
- If using broth, choose low-sodium and onion-free varieties that are safe for dogs.
- For softer wafers for senior dogs, roll the dough slightly thicker and bake closer to 20 minutes.
- Store cooled wafers in an airtight container at room temperature for up to 7 days, or freeze for up to 3 months.
- Always introduce new treats slowly and adjust your dog’s regular food to account for extra calories.


