

The Memory Behind This Treat
The very first time I made this Apple and Cheese Dog Bone Pizza, it was a rainy Saturday and Max was giving me his classic “I’m bored” Lab stare. I had a lonely apple on the counter, a bit of shredded cheese in the fridge, and some whole wheat flour in the pantry—basically the start of an easy dog meal just begging to happen. I remember dusting the counter with flour, rolling out the dough, and cutting that big bone shape while Max nosed my elbow every 3 seconds. When the pizza hit the oven, the kitchen filled with this warm, cozy smell of apples and toasty cheese, and Max parked himself right in front of the oven door like a tiny, furry security guard. By the time it cooled, his tail was thumping so hard against the cabinets I thought he might knock something over.
What I love most about this Apple and Cheese Dog Bone Pizza is how it turned into more than just a homemade dog treat; it became a bit of a family ritual. Now whenever we celebrate a “gotcha day,” a good vet checkup, or even just a perfect-weather walk, I whip up this pizza as our fun centerpiece. It’s simple enough that you can pull it together with basic pantry items, but special enough that your dog knows it’s not an everyday snack. I’ve even sliced it into little training bites for Max when we practice “leave it” and “wait” (he pretends to suffer dramatically, but he’ll do anything for this recipe). That’s really how I want you to feel with this one too—like you have a festive, doable, memory-making treat that says, “You’re my favorite, pup,” without needing a professional kitchen or fancy ingredients.
How To Make It (Mix & Ingredients)
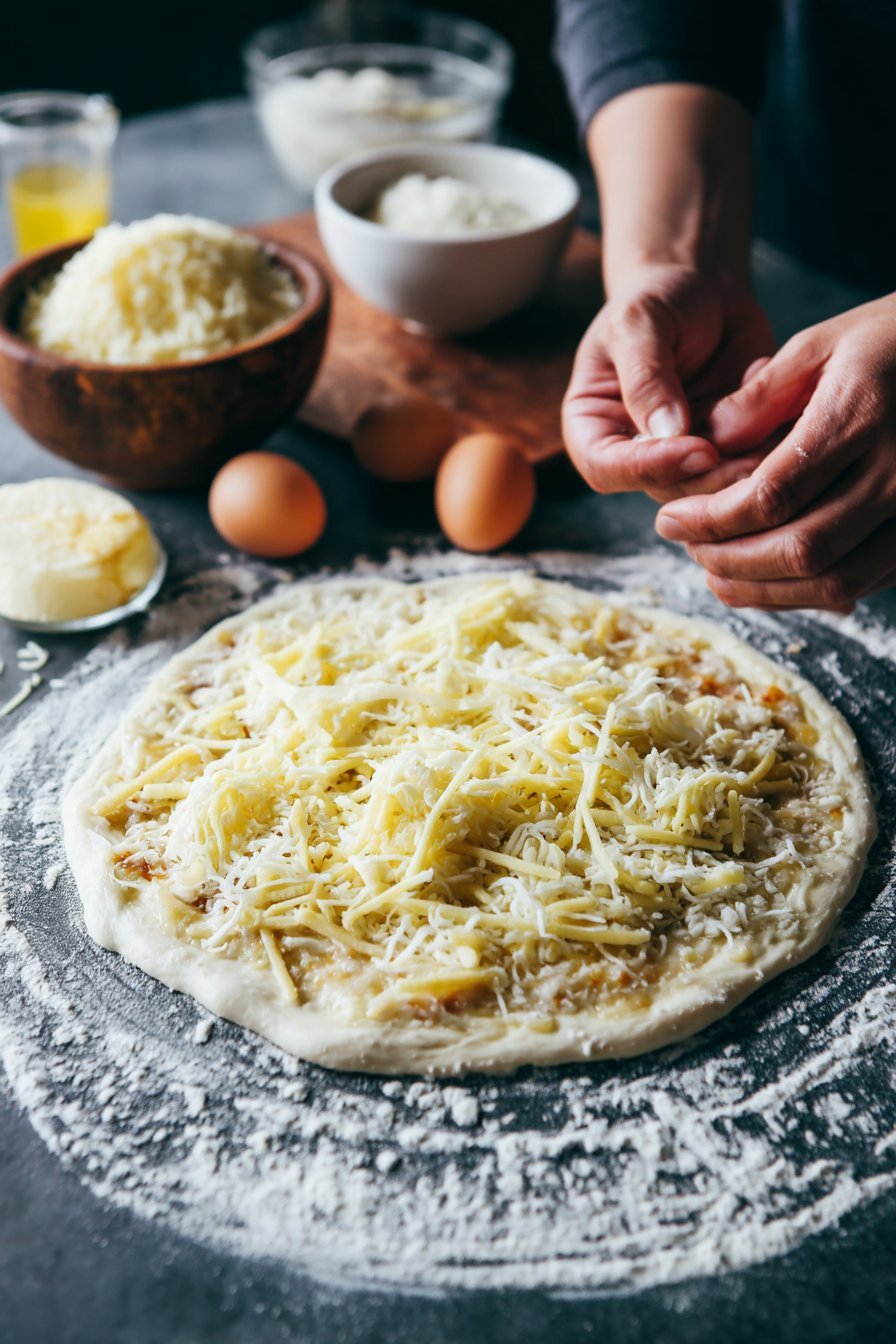
To make your Apple and Cheese Dog Bone Pizza dough, start with a medium mixing bowl and add 1 ½ cups whole wheat flour and ½ tsp baking powder. Give them a quick stir with a fork or whisk so the baking powder spreads evenly through the flour—this helps the crust bake up light instead of dense. In a separate small bowl, whisk 1 large egg with ⅓ cup unsweetened applesauce until it looks smooth and creamy. Pour the wet mixture into the dry ingredients, then begin mixing with a spoon. The dough will look shaggy at first; that’s totally fine. Add 2–3 tbsp water, 1 tablespoon at a time, just until the dough comes together into a soft ball that doesn’t crumble apart when you squeeze it.
Instructions Process of Apple and Cheese Dog Bone Pizza
Once the base for your Apple and Cheese Dog Bone Pizza is holding together, switch to your hands and knead the dough gently in the bowl or on a lightly floured surface for 1–2 minutes. You want it smooth and pliable, like soft playdough—not sticky and not dry or crackly. If it sticks to your fingers, sprinkle a tiny bit more flour; if it cracks, wet your hands lightly and knead the moisture in. At this stage you can roll it out into a bone shape or press it into a bone-shaped pan, depending on how fancy you want to get for your pup’s “pizza night.” Make sure anything you add on top—like a light sprinkle of low-fat, low-sodium cheese or extra apple—stays dog-safe and simple, the same way you would for other homemade dog treats. Don’t worry if your bone shape looks a little wonky; your dog cares more about flavor and crunch than perfect edges!
Make-Ahead & Storage
One of my favorite things about this Apple and Cheese Dog Bone Pizza is that you can absolutely make it ahead. Once your pizza has cooled completely, cut it into portions and store them in an airtight container in the fridge for up to 4 days. I like to layer the pieces with a small sheet of parchment so they don’t stick together, especially if I’ve cut thin slices for training treats. If you’re planning a pup party, you can bake the pizza the night before, chill it, and simply bring it to room temperature about 15–20 minutes before serving. The texture firms up a bit in the fridge, which actually makes it great for clean slices and less crumb mess on your floor.
For longer storage, freeze your Apple and Cheese Dog Bone Pizza in dog-friendly portions. After baking and cooling, slice or cube the pizza, spread the pieces on a lined baking sheet, and freeze until solid, about 1–2 hours. Then transfer them to a freezer bag, press out excess air, label with the date, and store for up to 2 months. You can thaw a few pieces in the fridge overnight, or let a piece sit on the counter for 10–15 minutes before offering it to your dog. Always do a quick sniff and look check—if anything smells off, feels slimy, or looks moldy, safely toss it instead of feeding it.
Best Ingredients & Party Variations
When you’re building your Apple and Cheese Dog Bone Pizza, think like a dog nutritionist and a party planner rolled into one. For the base, I love using whole wheat flour because it adds fiber and keeps the crust firm enough to hold its shape, but you can swap in oat flour if your pup is sensitive to wheat. Make sure your unsweetened applesauce has no added sugar, cinnamon, or artificial sweeteners—never use xylitol, as it’s highly toxic to dogs. For the cheesy topping, choose a low-fat, low-sodium cheese like part-skim mozzarella or mild cheddar, grated finely so it melts and spreads easily without overwhelming their tummy. If you want extra nutrition, you can sprinkle in a spoonful of finely chopped parsley or spinach for a gentle vitamin boost without changing the flavor too much.
Now for the fun part: turning your Apple and Cheese Dog Bone Pizza into a full-on dog party centerpiece. For birthdays, shape the dough into one large bone and bake it as a “pizza cake,” then top with a thin layer of applesauce and a light dusting of cheese—slice it like a pizza and serve each pup a wedge. Hosting a pup playdate? Make mini bone pizzas instead, so every dog gets their own personal treat and you can better control portions. For a training party at the park, bake the pizza a little longer until it’s slightly firmer, then cut it into small, bite-size cubes to use as high-value rewards. And when you want a longer-lasting chewy experience, bake the bone just until fully set, let it cool completely, and offer it as a supervised “chew pizza” session—your dog works through every crunchy, cheesy, appley bite while you enjoy the show.
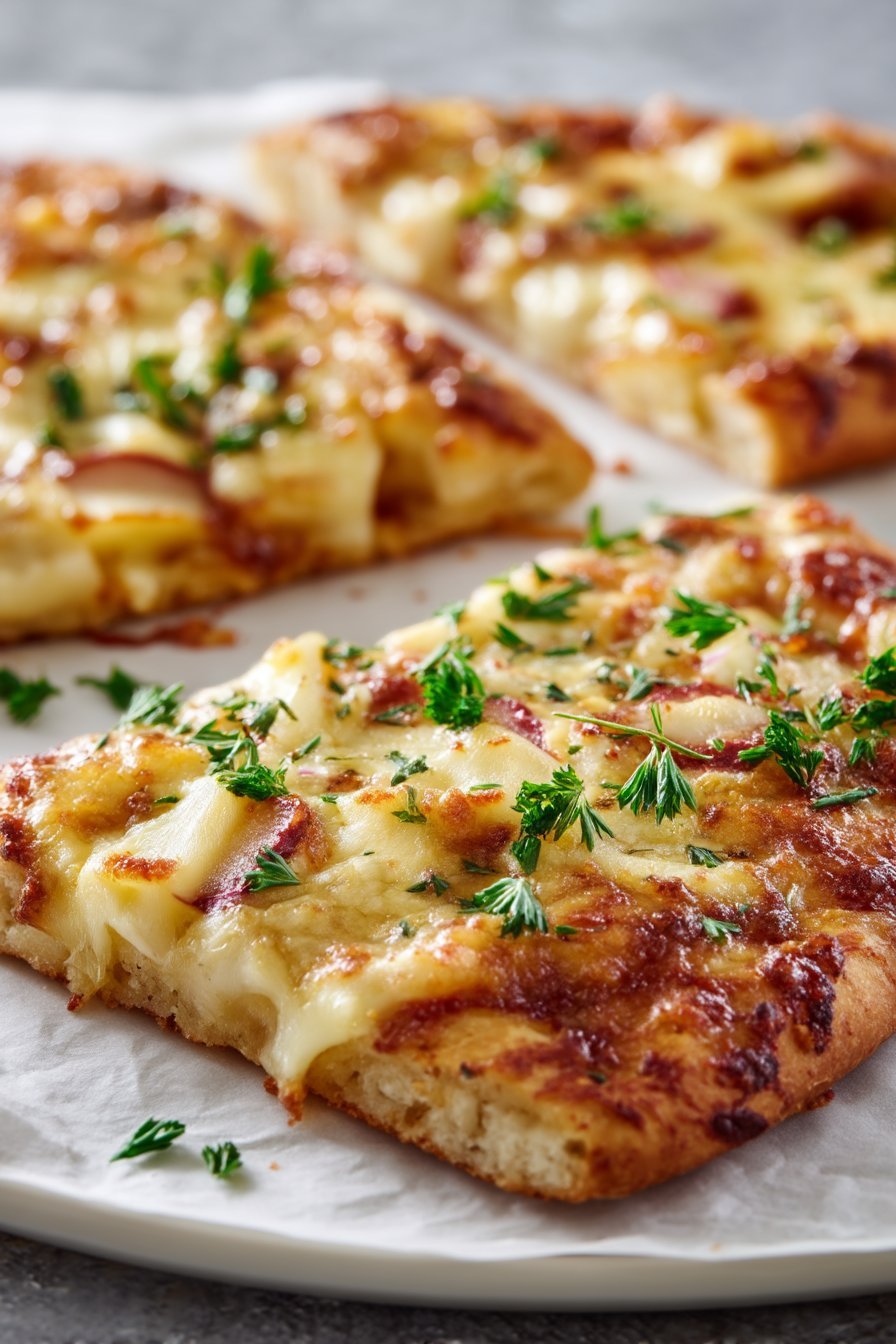
Serving of Apple and Cheese Dog Bone Pizza
Conclusion
Every time I pull this Apple and Cheese Dog Bone Pizza out of the oven, Max is already parked in front of the stove, tail sweeping the floor like a happy little broom. It’s such a simple recipe, but it somehow turns an ordinary afternoon into a moment you’ll remember—your dog watching, you laughing, and the whole house smelling cozy and delicious. These are the tiny traditions that build a beautiful life with our pups.
I hope this recipe inspires you to slow down, grab a mixing bowl, and create something just for your dog. Invite the kids, your partner, or a friend and their pup—baking together turns into giggles, flour on the counter, and lots of delighted barking. Don’t worry about perfection; your dog doesn’t care how it looks, only how much love (and cheese!) you put into it.
Go ahead and give this a try, then let me know how your dog liked it. For more delicious recipes like this, follow us on social media!
What exactly is Apple and Cheese Dog Bone Pizza?
Apple and Cheese Dog Bone Pizza is a homemade dog treat shaped like a big bone and topped with shredded, dog-safe cheese. The base usually uses whole wheat or oat flour mixed with unsweetened applesauce and egg to create a soft, pizza-style crust for pups. It bakes up into a golden, slightly chewy “pizza” that you can slice or serve whole for celebrations. This easy dog meal works beautifully as a special snack, birthday treat, or fun weekend project with your dog as the eager taste-tester.
Is Apple and Cheese Dog Bone Pizza safe and healthy for most dogs?
This recipe uses simple, dog-friendly ingredients like flour, egg, unsweetened applesauce, and natural cheese. There are no artificial sweeteners, spices, or heavy seasonings, which keeps it gentler on most canine tummies. However, **never use xylitol, garlic, onions, or seasoned human pizza toppings**—they can be dangerous to dogs. If your pup has a history of food allergies, pancreatitis, or a sensitive stomach, check with your vet before adding new homemade dog treats like this to their routine.
Can I customize the crust and toppings for my Apple and Cheese Dog Bone Pizza?
You can swap whole wheat flour for oat flour if your dog eats gluten-free or has a gentler belly. Light, dog-safe add-ins like finely grated carrot, a sprinkle of parsley, or a little extra applesauce all work nicely. Stick to modest amounts of low-fat cheese to avoid upsetting your dog’s stomach or adding too many calories. Avoid salty meats, tomato sauce, or rich dairy toppings—they may smell like “real pizza” to us but can overwhelm your dog’s digestion.
Recipe
Apple and Cheese Dog Bone Pizza
Ingredients
Method
- Preheat the oven to 350°F and line a baking sheet with parchment paper.
- In a medium bowl, whisk together the whole wheat flour and baking powder until well combined.
- In a separate small bowl, whisk the egg and unsweetened applesauce until smooth.
- Pour the egg and applesauce mixture into the dry ingredients and stir until a shaggy dough forms.
- Add the water, 1 tablespoon at a time, mixing until the dough comes together into a soft ball that is not sticky or crumbly.
- Transfer the dough to a lightly floured surface and knead gently for 1 to 2 minutes until smooth and pliable.
- Roll the dough out to about 1/4 inch thickness and shape it into a large bone, or press it into a bone-shaped pan.
- Sprinkle the shredded low-fat, low-sodium cheese evenly over the top of the shaped dough, pressing it lightly so it adheres.
- Place the bone-shaped pizza on the prepared baking sheet and bake for 18 to 20 minutes, until the edges are lightly golden and the center is set.
- Remove from the oven and allow the pizza to cool completely on a wire rack before serving to your dog.
- Slice the cooled bone pizza into 4 portions or into small cubes for training treats, and serve in appropriate amounts for your dog’s size.
Notes
- Always choose low-fat, low-sodium cheese and avoid any cheeses containing added herbs, garlic, or onion.
- Let the pizza cool completely before serving to prevent mouth burns and to allow it to firm up for easier slicing.
- Store leftover pieces in an airtight container in the refrigerator for up to 4 days, or freeze for longer storage.


