

Why This One Delivers So Much More Than Store-Bought
These Dog Waffles deliver because they balance simplicity with genuinely dog-friendly nutrition. Oat flour gives a gentle, fiber-rich base that’s easier on most dog tummies than standard wheat flour, and you can swap to coconut or almond flour for pups who need grain-free. Unsweetened applesauce or pumpkin adds natural sweetness and moisture without any added sugar, so you get soft, fragrant waffles without worrying about syrups or harmful sweeteners. You melt a bit of coconut oil into the batter for healthy fats and a light, crispy edge instead of relying on heavy butter. Everything mixes in one bowl, so you can pull this off on a sleepy Sunday morning before your coffee even kicks in.
From a “vet-inspired” perspective, each ingredient in these homemade dog waffles has a job, instead of being filler. Pumpkin or applesauce helps digestion, the egg brings protein and structure, and baking powder creates a soft texture that’s easier to chew than hard biscuits—great for senior dogs or small breeds. You control the extras: add ground flaxseed for omega-3s, or a spoon of Greek yogurt for a protein bump, much like I do in my banana pupcake and biscuit-style homemade dog treats recipes. And because you’re skipping salt, sugar, and mystery preservatives, these waffles become a treat you can use more often—as a breakfast topper, training reward, or special “weekend brunch with the dog” moment.
They also deliver on practicality, which matters just as much on busy days. The batter comes together in about 10 minutes, cooks in 3–5, and the waffles hold up beautifully in the fridge or freezer, just like many of my other easy dog meals. You can batch-cook a double recipe, then reheat or thaw a waffle in seconds whenever you want to spoil your pup. You get the golden, cozy magic of fresh waffles, your kitchen smells amazing, and your dog gets a safe, thoughtful treat instead of whatever happens to be on your plate.
From Prep to Finish: Easy Steps to Fluffy Dog Waffles
Once you’ve gathered your ingredients, the whole Dog Waffles process moves quickly, so I like to preheat the waffle maker first. If your waffle iron isn’t non-stick, lightly grease it with a tiny bit of coconut oil or a dog-safe spray—no buttery sprays with mystery flavors. While it heats, whisk together your wet ingredients in a medium bowl: the unsweetened applesauce (or pumpkin), egg, and melted coconut oil. The mixture should look smooth and a little glossy, with no big streaks of egg. If you’re using extras like Greek yogurt or a splash of low-sodium chicken broth, this is the time to stir them in.
Next, sprinkle in the oat flour and baking powder and gently fold them into the wet mixture. You want a thick but spoonable batter—think pancake batter that just barely falls off the spoon. If it looks too stiff, add a teaspoon or two of water or broth until it loosens up. Scoop 2–3 tablespoons of batter into the center of the waffle iron (too much and it will ooze out the sides like Max’s enthusiasm on walk day). Close the lid and cook for 3–5 minutes, checking early the first time so you learn how your specific waffle maker behaves with Dog Waffles.
When the waffles look golden and feel set to the touch, carefully lift them out with a spatula and transfer them to a wire rack. Let them cool completely—no warm waffles straight from the iron, since dogs can’t tell you when their mouths are burned. Once cool, you can break them into smaller pieces based on your pup’s size and calorie needs. I like to keep a few in an airtight container in the fridge for quick breakfasts and freeze the rest, just like I do with my [banana oat pupcakes] and [savory chicken pup muffins]. From prep to finish, you’ll spend about 20 minutes, and your dog will spend the rest of the morning hanging around the kitchen hoping another waffle “mysteriously” appears.
Timing, Storage, and Make-Ahead Tips for Dog Waffles
These Dog Waffles come together quickly, which is a lifesaver on busy mornings when your pup is already prancing by the food bowl. You’ll need about 10 minutes to mix the batter and another 3–5 minutes to cook each batch, depending on your waffle maker. I like to make a double batch on a quiet Sunday, then cool them completely on a wire rack so they don’t steam and get soggy. Once they’re at room temperature, you can serve a piece right away and tuck the rest away for easy dog breakfasts all week long.
For short-term storage, place cooled Dog Waffles in an airtight container or reusable bag and refrigerate for up to 5–7 days. If you live in a humid climate, layering them with a small piece of parchment between waffles keeps them from sticking together. For longer storage, freeze them in a single layer on a tray, then transfer to a freezer bag or container once solid. They’ll keep well for about 2–3 months in the freezer, and you can break off smaller pieces for tiny pups or training treats. Always let waffles come back to room temperature, or gently warm them, before serving so they’re easy on your dog’s tummy.
To make these healthy Dog Waffles ahead, prep the batter up to 24 hours in advance and store it covered in the fridge; just give it a good stir before pouring into the waffle maker. You can also fully cook the waffles, cool them, and freeze them in pre-portioned snack packs so you can grab exactly what you need for walks or travel. I usually reheat frozen waffles in a dry skillet for 1–2 minutes on low or in the microwave for just a few seconds until soft but not hot—then let them cool so they’re lukewarm at most before offering them. Never feed your dog hot waffles, as they can burn sensitive mouths. If your pup loves variety, you can even alternate these with baked snacks like my sweet potato dog treats to keep breakfast fun and balanced.
Ingredient Swaps and Serving Options for Cozy Dog Waffles
One of my favorite things about these Dog Waffles is how flexible the batter can be, especially if your pup has a sensitive tummy. If oats don’t sit well with your dog, you can swap the oat flour for almond flour or coconut flour for a grain-free version—just start with a little less and add more as needed because these flours absorb differently. Not a fan of apples? Use pumpkin puree or mashed ripe banana instead of applesauce, keeping it unsweetened so you stay away from extra sugar. You can also stir in a spoonful of plain Greek yogurt or coconut yogurt for a creamier texture and a little protein boost, or leave it out entirely if your dog is dairy-sensitive. If your batter feels too thick, a splash of low-sodium chicken broth or plain water will loosen it right up.
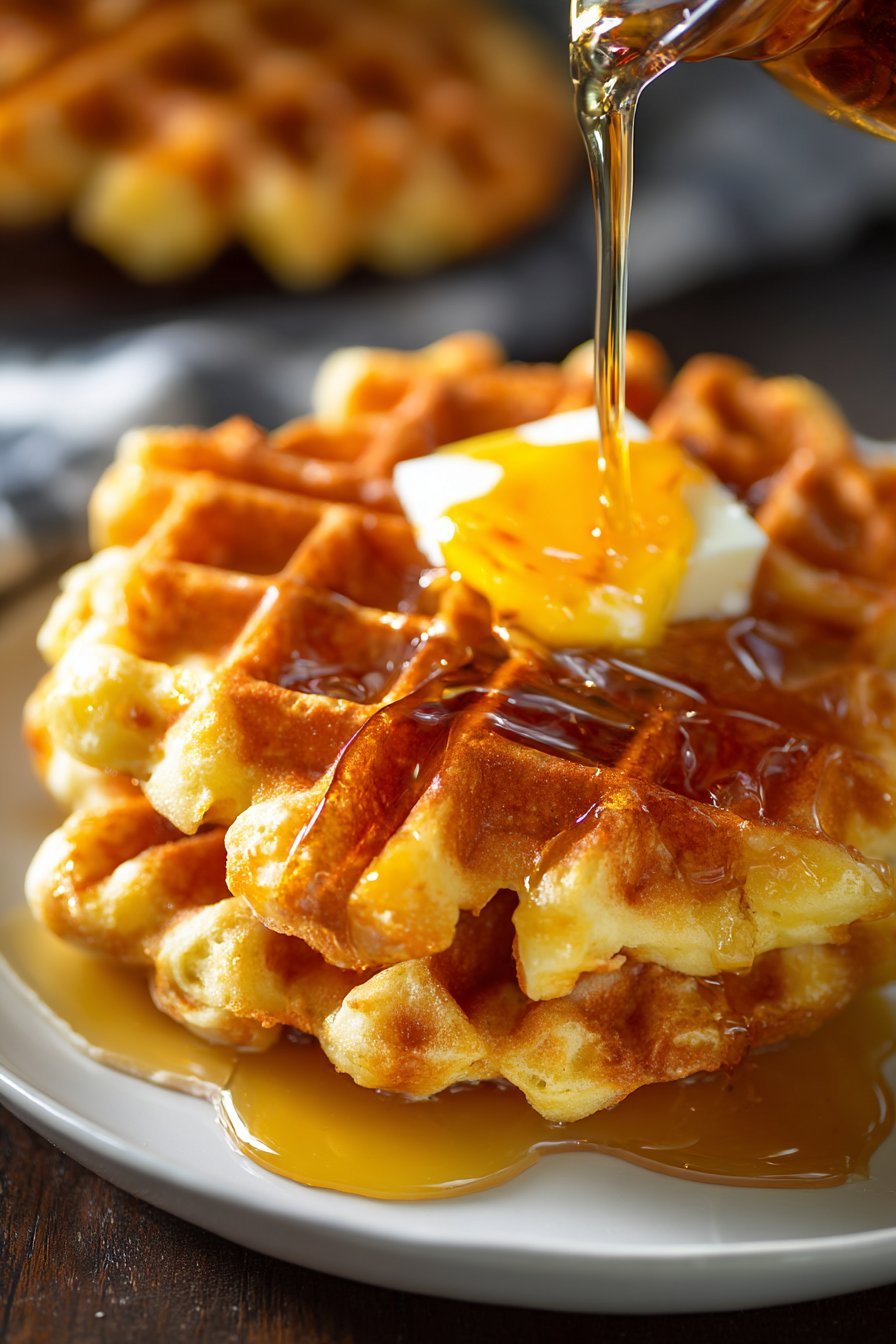
When it comes to serving, think of these Dog Waffles like a blank canvas for dog-safe toppings. For a “special brunch,” I like to break one warm (never hot) waffle into bite-size pieces and drizzle with a tiny amount of unsalted peanut butter thinned with water, or top with a spoon of plain pumpkin or mashed blueberries. For everyday breakfasts, you can crumble half a waffle over your dog’s regular food to add a fun texture and a little variety without overfeeding. Smaller dogs might only need a quarter waffle as a treat, while larger dogs can usually enjoy a half or whole waffle, depending on their size and daily calorie needs. You can even cut cooled waffles into strips, bake them at a low temperature to crisp them up, and turn them into crunchy homemade dog treats perfect for walks or as rewards during training.
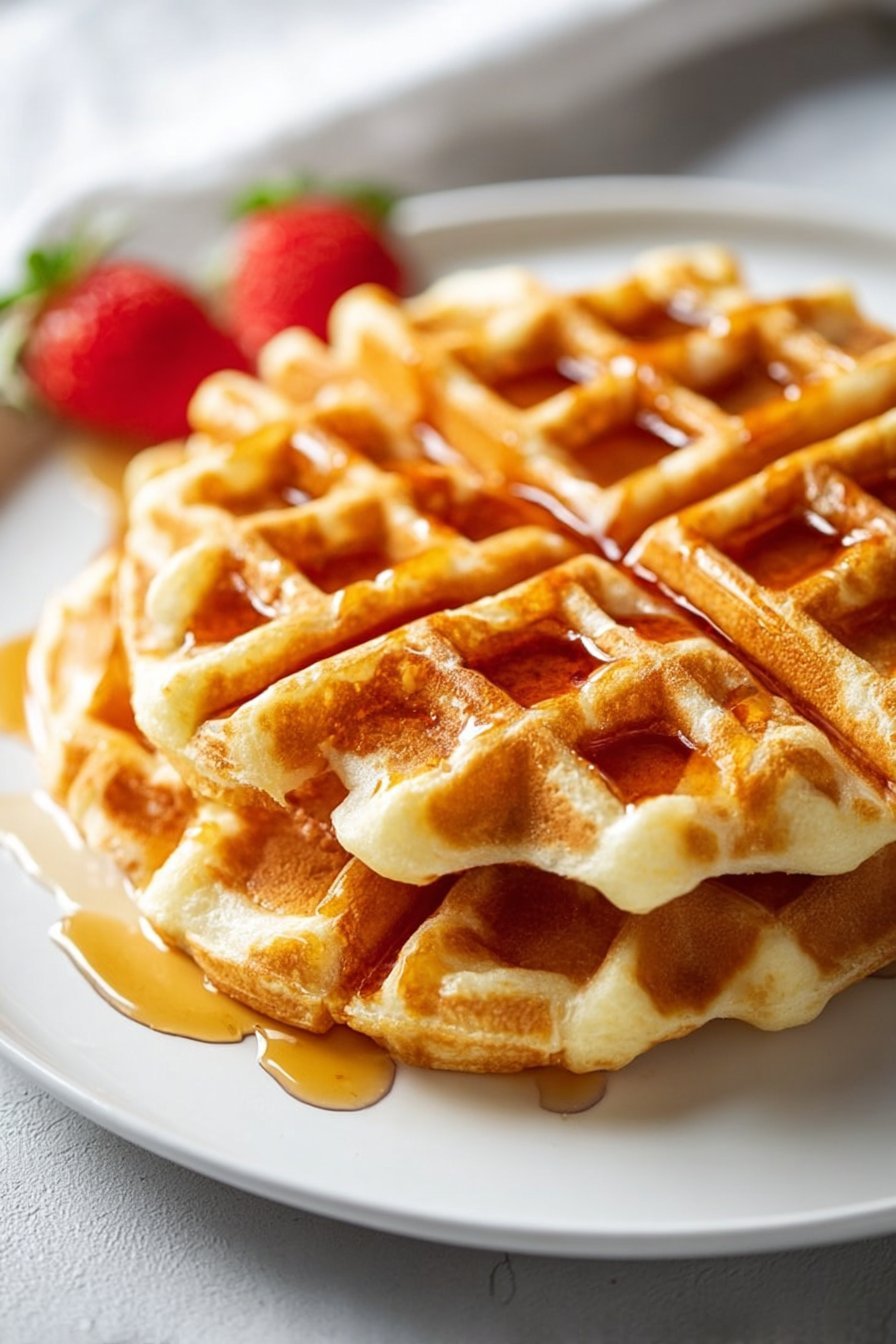
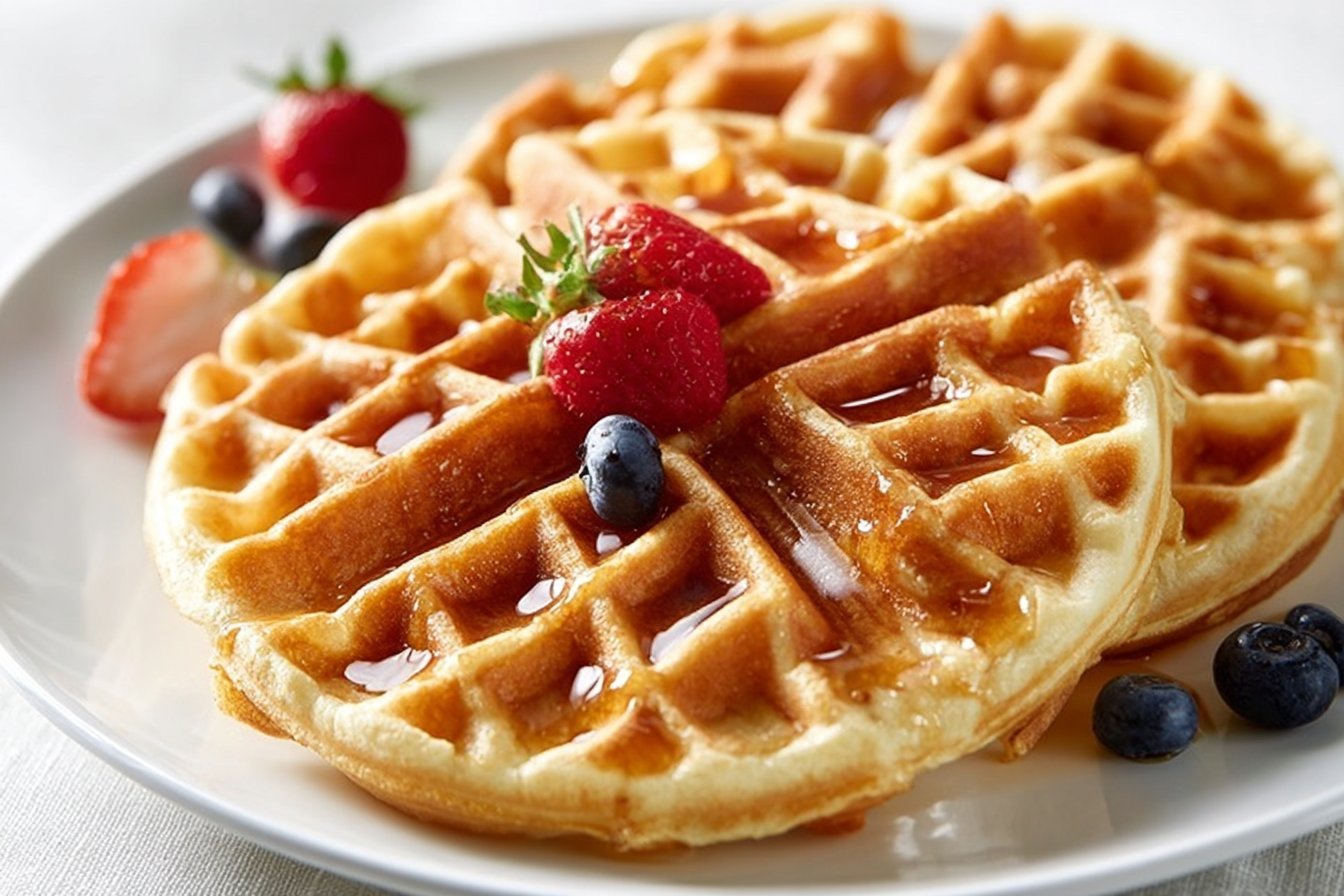
Serving of Dog Waffles
Conclusion
Every time I pull a fresh batch of these waffles off the iron, Max trots into the kitchen like he owns the place, nose in the air and tail doing that full-body wag. Moments like that remind me why I love making homemade treats so much. It’s not just about the ingredients or the recipe—it’s about the little rituals you share with your pup: the happy dance when they hear the mixing bowl come out, the quiet coziness of a weekend morning, the way their eyes light up when they know something special is just for them.
This recipe turns an ordinary day into a “celebration just because.” You might make them for a doggy birthday, a gotcha-day breakfast, or simply to slow down and enjoy a peaceful morning together. However you serve them, you’re not just feeding your dog—you’re building trust, joy, and connection, one bite at a time. I hope you feel inspired to try these dog waffles and see your pup’s reaction for yourself.
For more delicious recipes like this, follow us on social media!
Instructions Process of Dog Waffles
Are these dog waffles safe and vet-inspired for everyday treats?
These dog waffles use simple, dog-friendly ingredients like oat flour, unsweetened applesauce, egg, and a tiny amount of baking powder, which most vets consider acceptable in small quantities. They are designed as a *treat* or occasional breakfast, not a complete replacement for your dog’s balanced daily food. If your pup has allergies, pancreatitis, or is on a prescription diet, always check with your veterinarian before serving new recipes. **Never add sugar, salt, chocolate, xylitol, or flavored syrups**, as these can be dangerous to dogs. Start with a small piece the first time and watch for any signs of tummy upset, itching, or changes in stool.
Can I customize these dog waffles with mix-ins or toppings?
You can absolutely add a few dog-safe extras, as long as you keep portions small and simple. A spoonful of plain Greek yogurt, a sprinkle of ground flaxseed, or a few finely chopped blueberries make great mix-ins. For toppings, try a thin smear of unsalted, xylitol-free peanut butter or a dollop of mashed banana once the waffle is fully cooled. Avoid human pancake syrups, honey in large amounts, whipped cream, or anything with artificial sweeteners. When in doubt, keep the waffle plain and check with your vet before experimenting.
How should I store and serve leftover dog waffles safely?
Let the waffles cool completely on a wire rack before storing to prevent moisture buildup and sogginess. Place them in an airtight container in the refrigerator, where they will keep for about 5–7 days. For longer storage, freeze them in a single layer, then transfer to a freezer bag for up to 2 months. You can thaw in the fridge or on the counter, and serve at room temperature or lightly warmed. Always test the temperature with your fingers first—if it’s too hot for you, it’s too hot for your dog’s mouth.
Recipe
Dog Waffles
Ingredients
Method
- Preheat your waffle maker according to the manufacturer’s instructions. If it is not non-stick, lightly grease it with a small amount of coconut oil.
- In a medium bowl, whisk together the unsweetened applesauce, egg, and melted coconut oil until smooth.
- Add the oat flour and baking powder to the bowl and stir until a thick, smooth batter forms.
- Scoop about 2–3 tablespoons of batter into the center of the preheated waffle maker, spreading slightly if needed.
- Close the waffle maker and cook for about 3–5 minutes, or until the waffle is golden brown and fully set.
- Carefully remove the waffle and place it on a wire rack to cool completely before serving to your dog.
- Repeat with the remaining batter.
- Store cooled waffles in an airtight container in the refrigerator for up to 7 days or freeze for longer storage. Thaw in the refrigerator before serving.
Notes
- Let waffles cool completely before serving to prevent mouth burns.
- Break waffles into small pieces appropriate for your dog’s size and chew style.
- You can gently rewarm refrigerated waffles, but always check that they are only slightly warm before serving.


