

The Practical Why Behind It
These Peanut Butter Pumpkin Chew Twists for Dogs give your pup something to really work on, instead of a treat that disappears in one chomp. You get a wholesome, oven-baked chew you can trust, with simple ingredients you probably already have in your pantry.
The pumpkin adds gentle fiber that can help keep stools more regular, which I’m always grateful for on early-morning walks with Max. Natural peanut butter brings protein and healthy fats, so each twist feels satisfying without needing to be huge or overly rich. The firm, twisted shape encourages your dog to nibble and gnaw instead of just inhaling the treat, which gives their jaw a little workout and may lightly scrape along the teeth. Because you bake these low and slow, they turn into a denser chew that lasts longer than a soft cookie-style treat.
From a kitchen perspective, these twists solve a few very real problems. You control the ingredients, so there’s no mystery “meat by-product,” artificial color, or added sugar sneaking into your dog’s snack time. You can also adjust things easily: roll them a little thinner and shorter for small dogs, or make slightly thicker twists and bake them a bit longer for bigger chewers. If your vet prefers you keep things simple, you can skip the optional cinnamon, honey, or egg and still have a sturdy, tasty treat. And honestly, having a batch of homemade chew twists ready makes training sessions, crate time, and “please don’t bark at the mail carrier” moments a lot easier, because you’ve got a high-value reward your dog truly loves that still fits into a balanced routine of healthy dog food recipes and easy dog meals at home.
Step-by-Step Method for Perfect Chew Twists
Start by preheating your oven to 350°F (175°C) and lining a large baking sheet with parchment paper so your Peanut Butter Pumpkin Chew Twists for Dogs don’t stick. In a medium bowl, stir together the plain pumpkin purée and xylitol-free peanut butter until the mixture looks smooth and unified, with no streaks of either ingredient. If you’re using the egg, whisk it lightly first, then mix it in; the dough will feel a bit thicker and more elastic. In a separate bowl, whisk the flour and cinnamon (if using), then gradually add the dry mix to the wet mix, about ½ cup at a time. Stir as you go, and if the dough starts to feel crumbly or too stiff, add a teaspoon of water at a time until it comes together in a soft but not sticky ball.
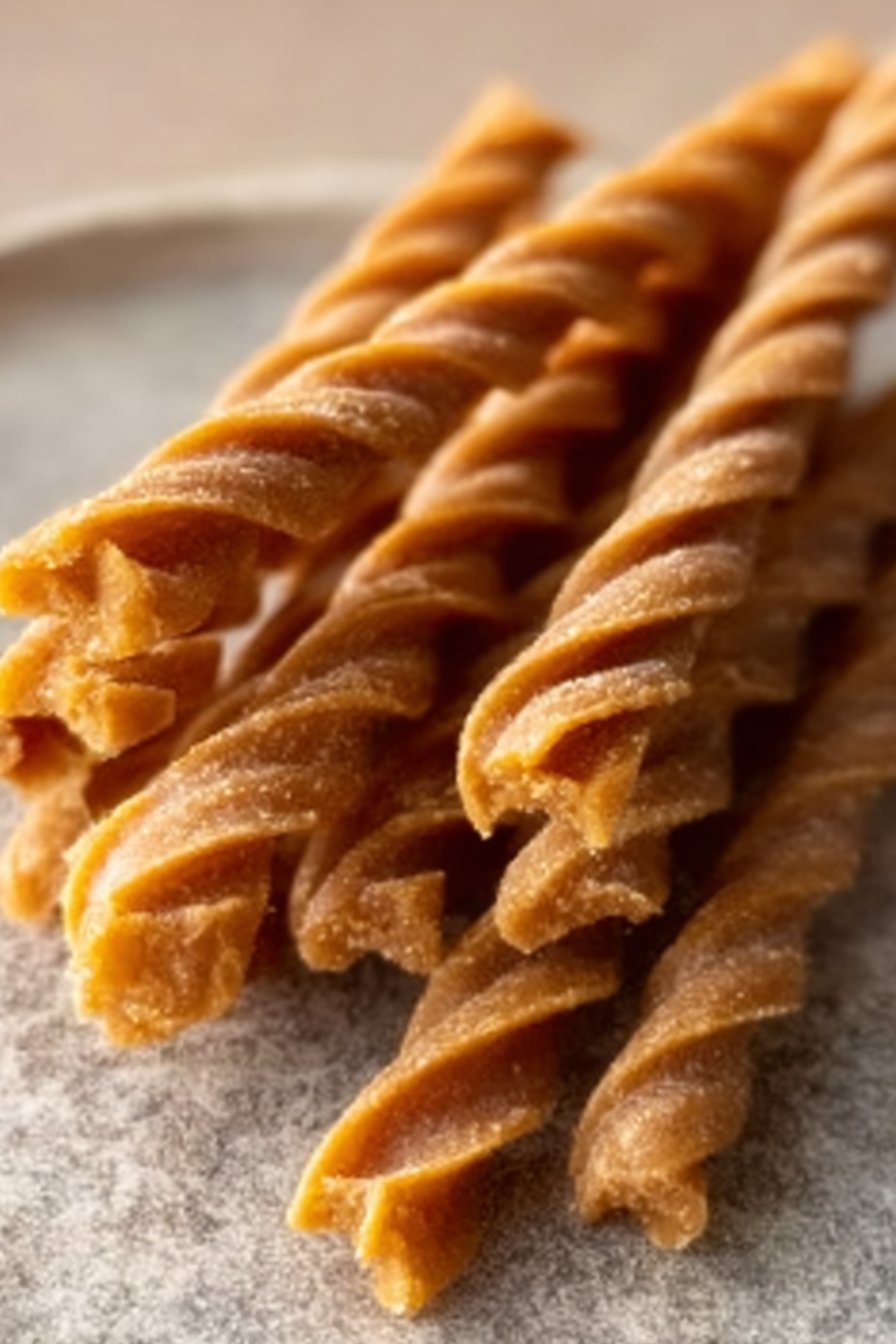
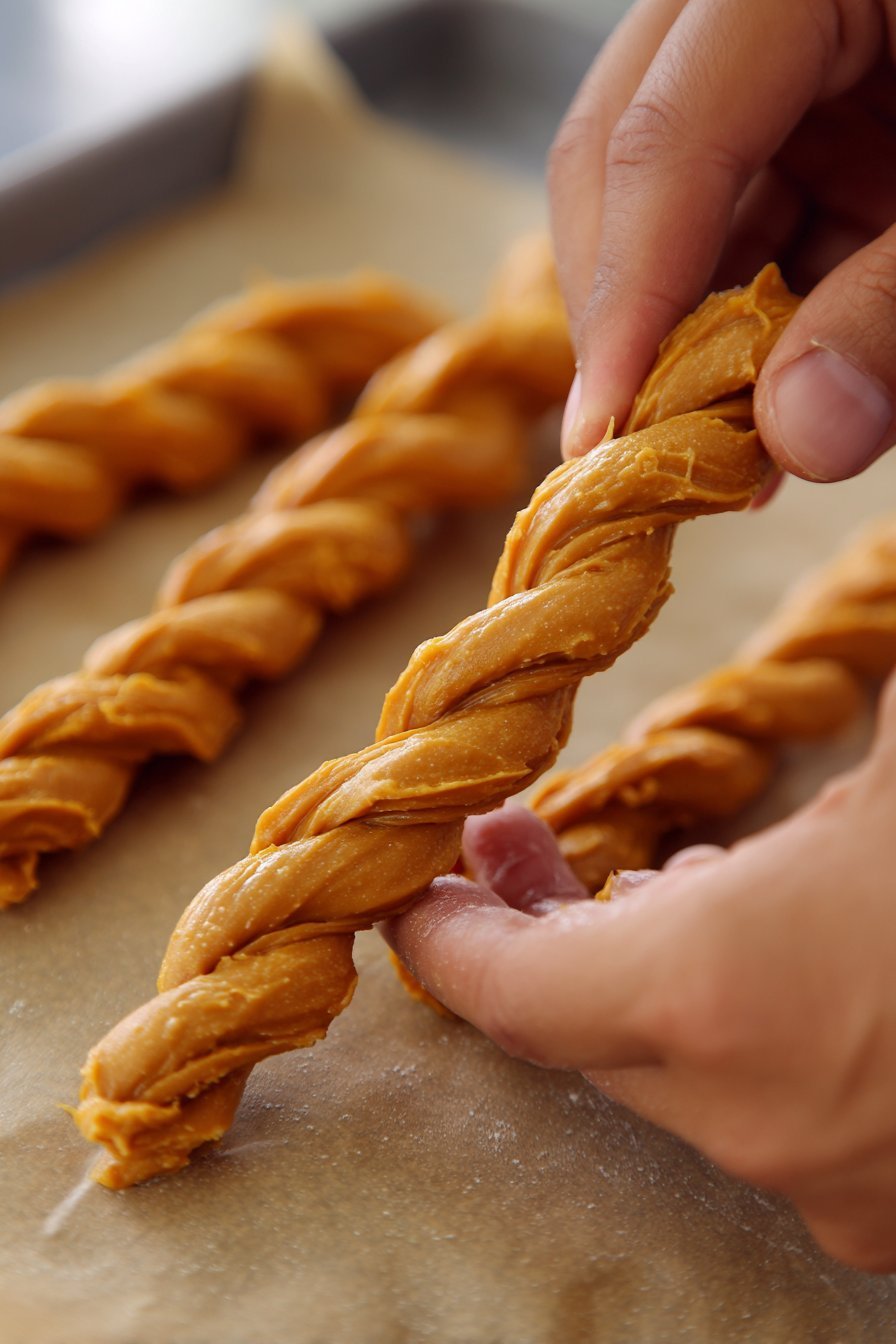
Lightly flour your counter or a large cutting board, then turn the dough out and knead it for 2–3 minutes. You’re aiming for a dough that feels like firm playdough: it holds together, doesn’t crumble, and only leaves a light dusting on your hands. Pinch off small pieces about the size of a golf ball and roll each into a rope about 15 cm (6 inches) long; if the rope keeps shrinking back, let it rest for a minute, then roll again. To create the twist shape, gently hold each end of the rope and twist in opposite directions, or fold it in half and twist the two strands together—either way, keep them thick enough so they don’t burn. Lay each twist on your prepared baking sheet with a little space between them, then bake for 25–30 minutes, until the edges are golden and the twists feel dry and slightly firm. Let them cool completely on a wire rack so they crisp up a bit more as they cool before you offer one to your pup, just like I do with Max when we make these along with his other favorites like my soft sweet potato biscuits.
Make-Ahead and Storage Notes for Peanut Butter Pumpkin Chew Twists
These Peanut Butter Pumpkin Chew Twists for Dogs work beautifully as a make-ahead treat, which is a lifesaver on busy weeks. Once they cool completely, store them in an airtight container at room temperature for up to 5 days—think cookie jar on the counter, away from direct sunlight and heat. If your kitchen runs warm or your twists are a little softer from added water or pumpkin, move them to the refrigerator, where they’ll stay fresh for about 10 days. For chewier twists, slightly underbake them and refrigerate; for a crunchier, longer-lasting texture, bake them on the longer end of the time range and let them sit in the turned-off oven for another 10–15 minutes.
If you like to batch-bake easy dog meals and homemade dog treats, these twists freeze very well. Lay the cooled twists in a single layer on a baking sheet and freeze until firm, then transfer them to a freezer-safe bag or container, pressing out as much air as possible. Label with the date, and use within 2–3 months for the best flavor and texture. You can thaw a twist in the fridge overnight or at room temperature for 15–20 minutes; many dogs even enjoy them slightly chilled straight from the fridge for a firmer chew. Always check each twist before serving—if you notice mold, off smells, or a strange texture, it’s safest to toss it and bake a fresh batch of Peanut Butter Pumpkin Chew Twists for Dogs.
Variations and How to Serve It
You can easily tweak these Peanut Butter Pumpkin Chew Twists for Dogs to fit your pup’s tastes and dietary needs. For sensitive tummies, swap the whole wheat flour for oat flour or a certified gluten-free blend; just be prepared to add a tablespoon or two of extra water if the dough feels dry. If your dog loves crunch, bake the twists on the longer side, then turn off the oven and leave them inside with the door cracked for an extra 10–15 minutes to dry out. For softer chews (better for seniors or dogs with dental issues), take them out on the earlier side of the baking range and shape them a bit thicker. You can even roll a few slightly shorter for small dogs so they can enjoy the same chewy treat in a more manageable size.
When it’s time to serve these twists, think of them as a treat or chew, not a meal replacement. I like to offer one twist as a mid-afternoon snack after a walk, or break one into smaller pieces for training rewards if your dog gets extra excited about pumpkin and peanut butter. Always let the twists cool completely before serving so the centers firm up and don’t steam your pup’s mouth. If your dog tends to gulp chews, hold one end of the twist while they nibble, at least the first time, so you can see how they handle it. Start with a single twist and watch your dog over the next couple of hours—especially if pumpkin is new to them—then adjust portion size next time based on how their tummy and energy level respond.
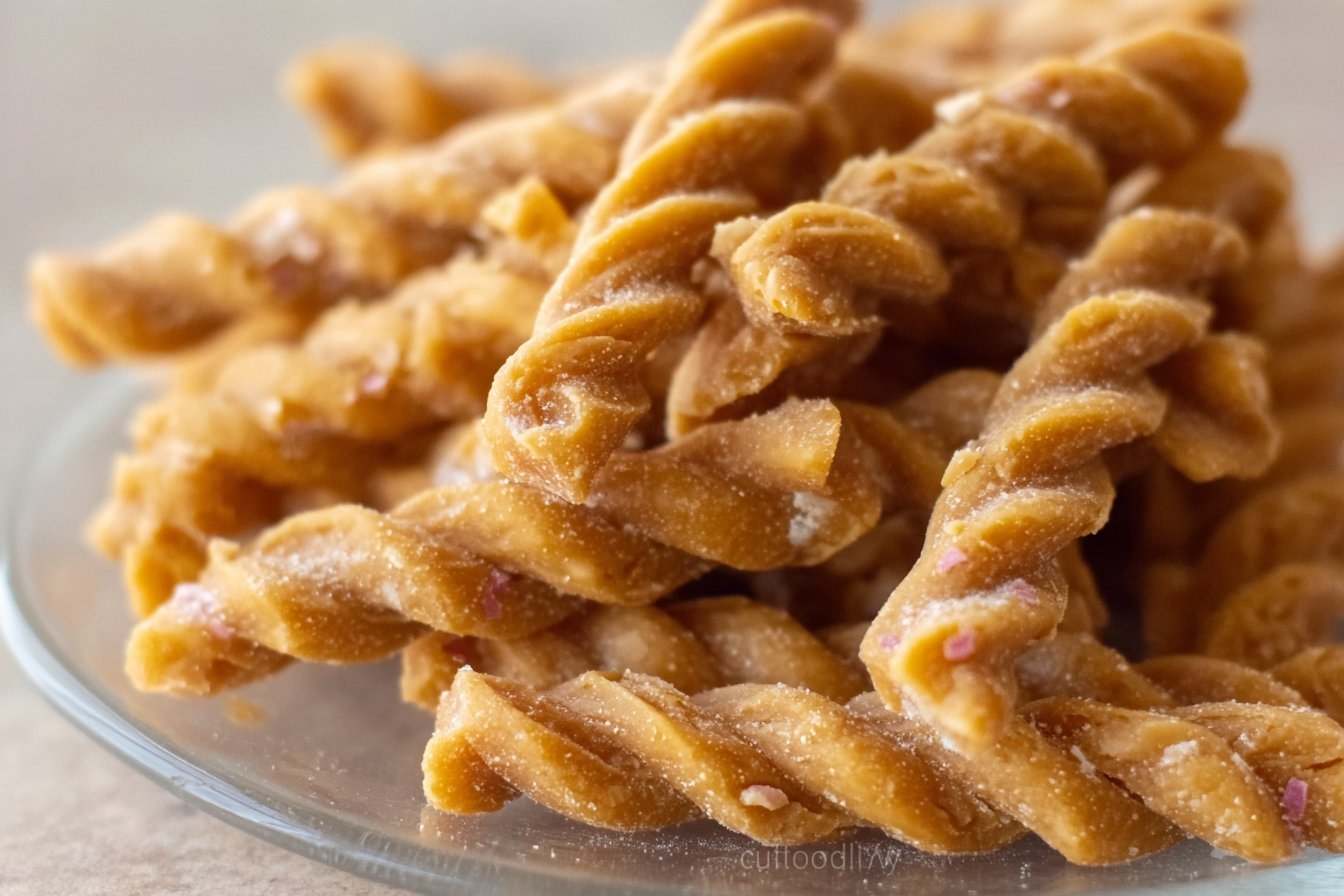
Serving of Peanut Butter Pumpkin Chew Twists for Dogs
Conclusion
When I pull a fresh batch of these Peanut Butter Pumpkin Chew Twists for Dogs out of the oven, Max always trots into the kitchen like he’s been personally invited to a party. And honestly, he has. There’s something so special about knowing exactly what goes into your dog’s treats, shaping each twist by hand, and seeing that expectant tail wag while they cool. It turns an ordinary afternoon into a tiny celebration between you and your best furry friend.
I hope this recipe brings that same kind of joy into your home—maybe it becomes your rainy-day baking ritual, a birthday “cookie,” or a cozy weekend project with the kids and the dog all hovering around the counter. These small homemade moments are where memories are made, and your pup doesn’t care if every twist is perfectly shaped. They only know it was made with love.
Give this recipe a try, see how your dog likes it, and make it your own.
Instructions Process of Peanut Butter Pumpkin Chew Twists for Dogs
Are Peanut Butter Pumpkin Chew Twists for Dogs safe for all breeds and ages?
Peanut Butter Pumpkin Chew Twists for Dogs are generally safe for most healthy adult dogs, as long as they do not have allergies to wheat, eggs, or peanut butter. Always check with your veterinarian first if your pup has a history of food sensitivities, pancreatitis, or digestive issues. For puppies, senior dogs, or tiny breeds, you may want to bake the twists slightly softer and break them into smaller pieces to reduce choking risk. Always supervise your dog while they enjoy a new chew-style treat.
What kind of peanut butter and pumpkin should I use in these chew twists?
Use plain canned pumpkin purée with no added sugar, spices, or pie-filling ingredients, since those extras can upset your dog’s stomach. For peanut butter, choose a natural, unsweetened variety that is completely free from xylitol. **Never use xylitol—it is extremely toxic to dogs, even in tiny amounts.** Ideally, the ingredient list should be just peanuts, or peanuts and a small amount of salt. Stir well before measuring so the oil is evenly mixed and the dough texture stays consistent.
How should I store Peanut Butter Pumpkin Chew Twists for Dogs and how long do they last?
Let the twists cool completely on a rack before storing, so trapped steam does not make them soggy or moldy. Keep them in an airtight container at room temperature for up to 5–7 days in a cool, dry spot. For longer storage, refrigerate them for up to 2 weeks, or freeze for about 3 months. If freezing, separate layers with parchment so the twists do not stick together, and thaw at room temperature before serving.
Recipe
Peanut Butter Pumpkin Chew Twists for Dogs
Ingredients
Method
- Preheat the oven to 350°F and line a large baking sheet with parchment paper.
- In a medium bowl, mix the pumpkin puree and peanut butter until smooth and fully combined.
- Add the egg and stir until the mixture is well blended.
- In a separate bowl, whisk together the whole wheat flour and ground cinnamon.
- Gradually add the dry ingredients to the wet mixture, stirring after each addition until a rough dough forms.
- Add the honey and water and mix until the dough comes together in a firm, pliable ball that is not sticky.
- Transfer the dough to a lightly floured surface and knead for 2 to 3 minutes until smooth and uniform.
- Pinch off a golf ball–sized piece of dough and roll it into a rope about 6 inches long.
- Twist the rope by holding each end and turning in opposite directions, then place the twist on the prepared baking sheet.
- Repeat with the remaining dough, spacing the twists slightly apart on the sheet.
- Bake for 25 to 30 minutes, until the twists are golden brown and feel firm to the touch.
- Turn off the oven and let the twists sit inside for 10 minutes if you want them extra dry and chewy.
- Remove the baking sheet and let the chew twists cool completely on a wire rack before serving to your dog.
- Store the cooled twists in an airtight container at room temperature, or refrigerate or freeze for longer storage.
Notes
- Introduce any new treat gradually and adjust portion size based on your dog’s size and overall diet.
- For smaller dogs, roll thinner, shorter ropes and check for doneness a few minutes early.
- For a crunchier texture, bake on the longer end of the time range and let them cool completely on the rack.
- Store at room temperature for up to 5 days, refrigerate for up to 10 days, or freeze for up to 3 months.


