
Why This One Delivers for Real-Life Dog Families
Pumpkin Dog Sticks give your pup a wholesome, vet-inspired treat while giving you an easy, no-fuss baking project you can pull off on a busy day. You mix everything in one bowl, use simple pantry ingredients, and end up with a batch of chewy or crunchy sticks you can tailor to your dog’s teeth, size, and snack needs.
These Pumpkin Dog Sticks fit how you actually cook and live with your dog, not some idealized version of life. You need only a bowl, a spoon, and a baking sheet—no fancy molds or dehydrators—and you can mix the dough in about the same time it takes your coffee to brew. Using pumpkin puree, eggs, and peanut butter means you probably already have everything on hand, so you can whip up a batch when you realize you’re out of store-bought treats or when your pup gives you that “I was very good today” look. And with just around 45 calories per stick, you can factor them into your dog’s daily treat allowance without guesswork.
From a texture standpoint, these Pumpkin Dog Sticks are wonderfully flexible, which matters a lot more in real kitchens than “perfect” photos. Bake them on the shorter end for a softer chew that’s kind to sensitive teeth or senior dogs, or give them a few extra minutes for a firmer, crunchier stick that keeps enthusiastic chewers busy longer. You slice them with a knife into long strips, so you can adjust the thickness: thinner for training rewards, thicker for a “wow, that was worth sitting for” snack. And because the ingredient list is short and intentional—plain pumpkin puree, xylitol-free peanut butter, eggs, and a hint of cinnamon—you know exactly what’s going into your dog’s body.
These treats also deliver on that “vet-inspired” promise without turning your kitchen into a lab. Pumpkin is a go-to ingredient many vets recommend for gentle digestion support, and that makes these Pumpkin Dog Sticks feel more like a functional treat than junk food in a cute shape. You can keep them simple for sensitive tummies or personalize them with a bit of parsley for fresher breath or grated carrot for extra crunch, similar to the add-ins I use in my other easy dog meals and homemade dog treats. The result is a recipe that works just as well for busy weeknights as it does for special occasions—reliable, repeatable, and totally tail-wag approved.
From Prep to Finish: Shaping and Baking Pumpkin Dog Sticks
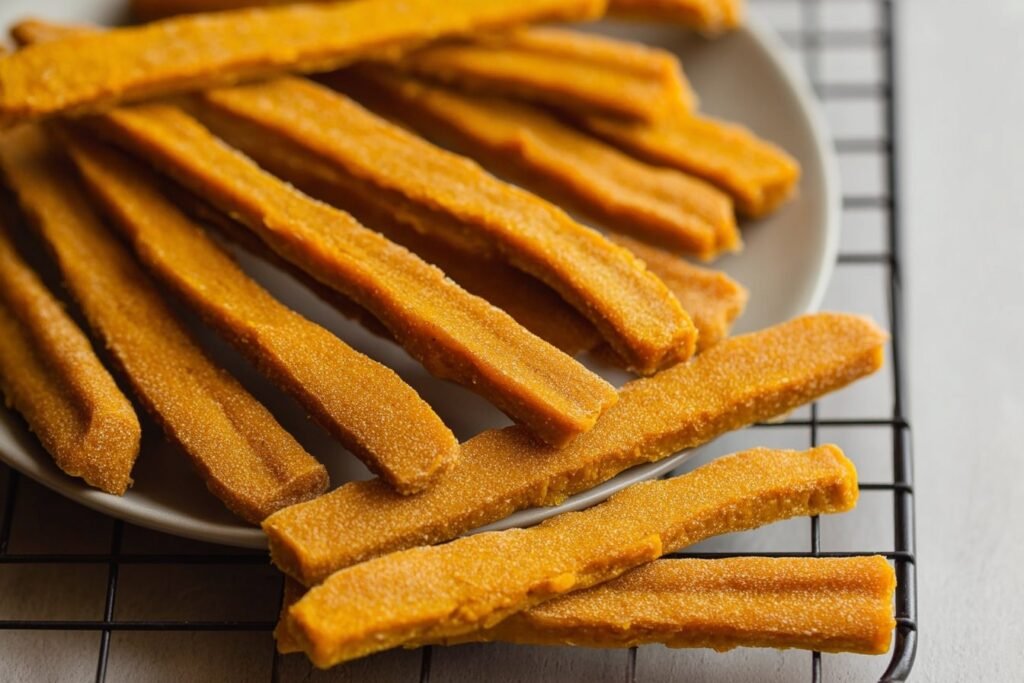
Once you’ve mixed your pumpkin, eggs, peanut butter, and optional cinnamon into a thick, scoopable dough, you’re ready to turn that bowl of goodness into Pumpkin Dog Sticks. Lightly flour your countertop (or line a baking sheet with parchment if you prefer less mess), then scoop the dough out and pat it into a rough rectangle about ½–¾ inch thick. Don’t stress about perfect edges—your dog cares about flavor, not symmetry. Use a sharp knife or bench scraper to slice long strips, about the width of your finger for small dogs and a little wider for bigger pups. Transfer each stick to your baking sheet, leaving just a little space between them; these don’t spread much, so you can fit quite a few on one pan.
Slide the tray into a preheated oven and bake for about 20 minutes for firm, crunchy Pumpkin Dog Sticks, or closer to 15 minutes if your dog has sensitive teeth and prefers a softer chew. You’ll know they’re ready when the edges look dry and slightly darkened, and the bottoms feel set rather than doughy. For extra crunch, you can turn off the oven and let the sticks sit inside with the door slightly open for another 5–10 minutes. Let them cool completely on a wire rack—cooling lets them firm up and makes them safer and easier for your dog to enjoy. Once cool, you can offer a small piece as a taste-test, then store the rest in an airtight container for the week or freeze a batch so you always have a quick, homemade dog treat ready after your walks.
Timing, Storage, and Make-Ahead Tips for Pumpkin Dog Sticks
From start to finish, these Pumpkin Dog Sticks come together in about 30 minutes, which makes them perfect for a quick weekend bake or a “my dog had an extra-cute day” reward. For a softer, chewier stick, aim for the lower end of the baking time (about 15–18 minutes); for a firmer, crunchier texture, lean closer to 20–22 minutes and let them cool completely on the pan. I like to test one by breaking it in half—if the center still feels very moist, give the tray a few more minutes. Just remember that treats will firm up a bit more as they cool, so don’t overbake if your pup prefers gentle-on-the-teeth snacks.
Once your Pumpkin Dog Sticks are completely cool, store them in an airtight container at room temperature for up to 3 days, or in the fridge for about 7 days. Because this is a fresh, preservative-free dog treat (just like my other easy dog meals and homemade dog treats), it won’t last on the counter as long as store-bought biscuits. For longer storage, freeze them in a single layer on a baking sheet, then transfer to a freezer bag or container—most dogs are happy to crunch them straight from the freezer, but you can thaw a few in the fridge overnight if your pup prefers softer treats. I like to portion them into weekly bags so I can pull out only what I need and keep the rest frozen and fresh.
If you want to make ahead, mix and shape the dough for your Pumpkin Dog Sticks, lay the strips on a parchment-lined baking sheet, and refrigerate up to 24 hours before baking. You can also freeze the unbaked sticks on the tray, then transfer them to a freezer bag; bake from frozen, adding just a few extra minutes to the time. Whether you refrigerate the dough or freeze the finished sticks, always label the container with the date and a note like “Pumpkin treats – 1 stick = 1 snack” to help you avoid over-treating. And as tempting as it is to keep handing them out when those puppy eyes appear, remember these are snacks, not a full meal—pair them with a balanced diet and maybe rotate with other healthy dog food recipes to keep your pup’s menu varied and fun.
Ingredient Swaps and Serving Options for Pumpkin Dog Sticks
One of my favorite things about these Pumpkin Dog Sticks is how forgiving the recipe is when real-life pantry situations happen. If you’re out of peanut butter, you can use plain unsweetened pumpkin seed butter or natural almond butter in the same amount, as long as it contains no salt, sugar, or xylitol. Never use xylitol—it’s toxic to dogs. For pups who can’t do eggs, you can swap each egg for 3 tablespoons of unsweetened applesauce or mashed banana; the sticks will be a bit softer but still hold together nicely. Sensitive tummies? Use plain pumpkin puree and skip the cinnamon entirely, or replace it with a tiny pinch of ginger, which some vets suggest can help settle mild stomach upset. You can also mix in a spoonful of oat flour if your dough feels too sticky or you want a slightly firmer chew.
Serving these Pumpkin Dog Sticks is where you can really tailor them to your dog’s size, age, and energy level. For big chewers, cut the dough into thicker, longer sticks and bake on the longer side so they dry out and become crunchier. For seniors or dogs with dental issues, shape the dough into thinner, shorter pieces and pull them from the oven a few minutes early for a soft, almost breadstick-like texture—perfect for gentle nibbling. If your pup is watching their weight, break one stick into smaller pieces and use them as training rewards throughout the day instead of offering a whole piece at once. You can also crumble a stick over their regular meal as a “garnish” to make dinner more exciting without overdoing treats. No matter how you serve them, always introduce new treats slowly and keep these as an occasional snack alongside balanced meals like your usual easy dog meals and other homemade dog treats.
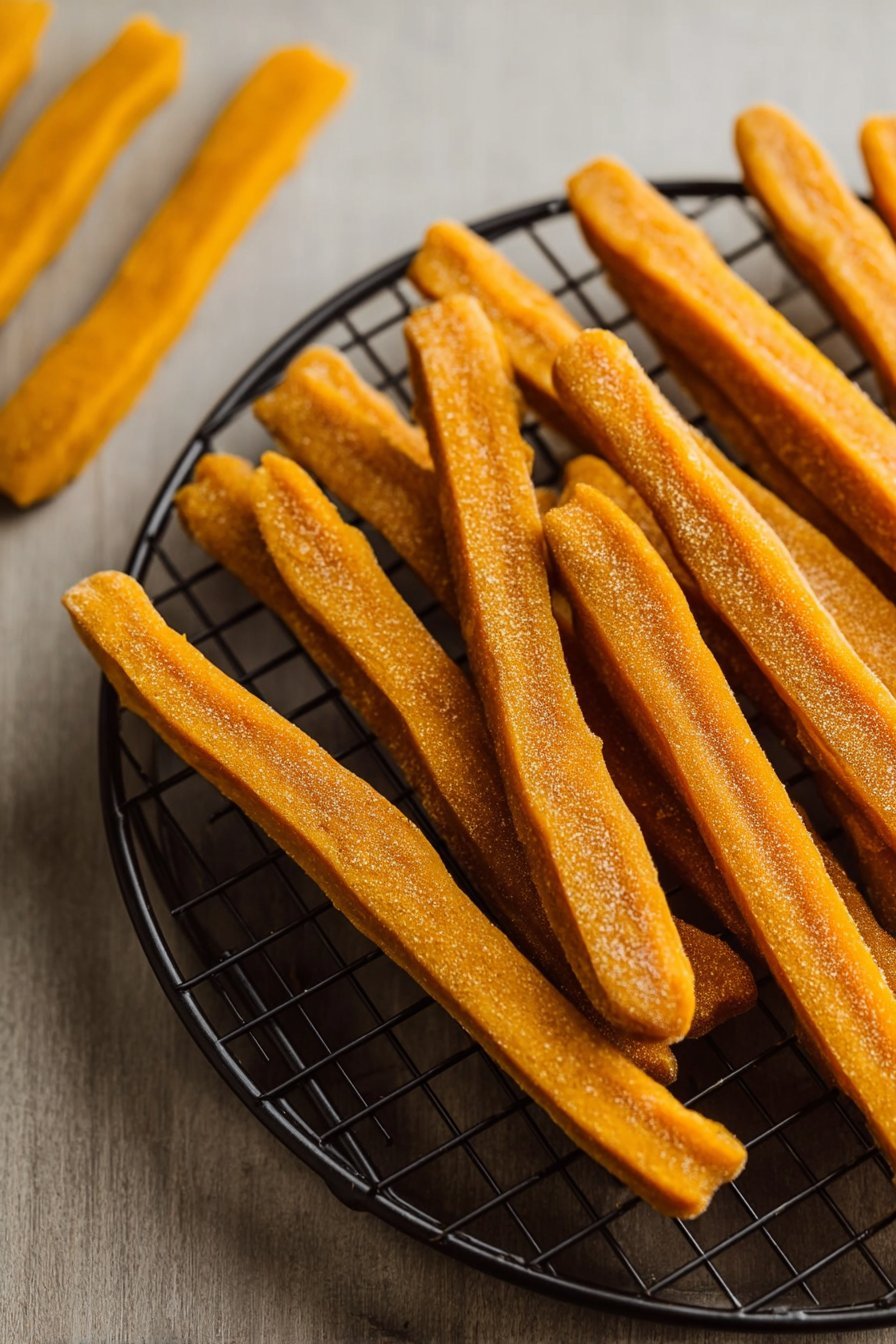
Serving of Pumpkin Dog Sticks
Conclusion
Every time I pull a batch of these out of the oven, Max trots into the kitchen like he’s been personally invited to a celebration—and honestly, he has. There’s something so simple and special about setting aside a little time, turning on the oven, and knowing you’re making something wholesome with your own hands for your dog. These Pumpkin Dog Sticks are more than just a treat; they’re a way to slow down, share a cozy moment, and show your pup just how loved they are.
I love how this recipe brings people together, too. Kids can help shape the sticks, partners can be in charge of taste-testing with the dog, and before you know it, the kitchen turns into a little family project centered around your four-legged best friend. If you haven’t tried making them yet, I hope you grab your mixing bowl and give this recipe a go—you might just start a new tradition at home.
For more delicious recipes like this, follow us on social media!

Instructions Process of Pumpkin Dog Sticks
Recipe

Pumpkin Dog Sticks
Ingredients
Method
- Preheat the oven to 350°F and lightly grease or line a baking sheet with parchment paper.
- In a medium bowl, whisk the eggs until well combined.
- Add the pumpkin puree and peanut butter to the eggs and stir until smooth.
- Stir in the cinnamon, then add the parsley and carrot if using, mixing until evenly distributed into a thick dough.
- Lightly flour a clean work surface, then turn the dough out onto it and gently pat it into a rough rectangle about 1/2 inch thick.
- Use a sharp knife to slice the dough into long strips, about finger-width, to make 12 sticks.
- Transfer the strips to the prepared baking sheet, spacing them slightly apart.
- Bake for 18 to 20 minutes, or until the edges look dry and slightly darkened and the bottoms feel set.
- Remove the baking sheet from the oven and let the sticks cool on the sheet for 5 minutes, then transfer them to a wire rack to cool completely before serving to your dog.
Notes
- Ensure the peanut butter is xylitol-free, as xylitol is toxic to dogs.
- For softer treats, check for doneness at 15 to 18 minutes; for crunchier sticks, bake closer to 20 minutes and cool fully.
- Store in an airtight container at room temperature for up to 3 days, in the refrigerator for up to 7 days, or freeze for longer storage.
- Break treats into smaller pieces for small dogs or use as training rewards.


