
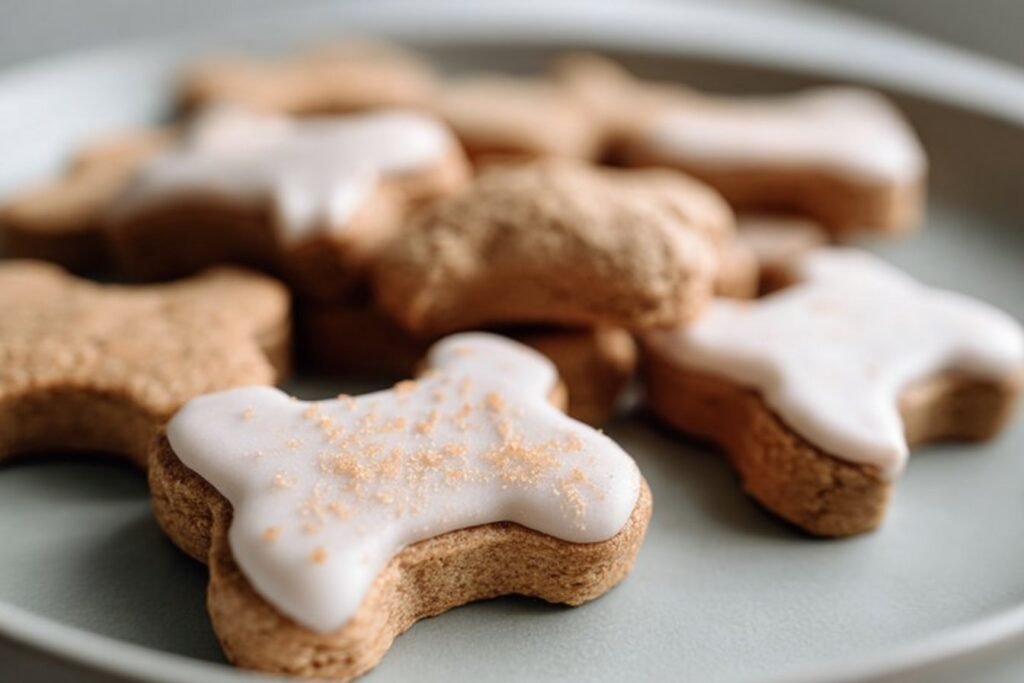
The Practical Why Behind It
When I first started playing with frosted dog treats, my main goal wasn’t cuteness. It was control. By baking your own frosted dog treats, you skip the mystery ingredients in store-bought options—no artificial colors, no excess sugar, and no risky sweeteners lurking in the fine print. Here, you already know every component: simple oat flour, one egg, a bit of water, and plain yogurt. That means you can focus on what your dog actually needs: gentle ingredients that are easier on sensitive tummies and joints, especially compared to many crunchy, high-fat commercial treats.
From a day-to-day kitchen standpoint, this recipe is also about making your life easier. You mix one bowl of dough, shape it however you like (bones, hearts, simple circles—your dog does not judge), and bake once. The light yogurt “frosting” goes on after the cookies cool, so there’s no pressure to pipe bakery-perfect designs; a spoon and the back of a butter knife work just fine. If you have a dog that’s picky or has mild food sensitivities, you can tweak this base into other easy dog meals—for example, making plainer unfrosted biscuits for training and reserving the frosted version for extra-special rewards.
These soft, oven-baked frosted dog treats also solve a very real behavior and training problem: portion control without guilt. At around 40 calories per treat (and you can roll them smaller to cut that down), you can celebrate things like nail trims, good leash manners, or successful crate time without overfeeding. Their chewy texture works well for older dogs who struggle with very hard biscuits, and the yogurt layer adds just enough excitement to keep your pup interested. In other words, you get cute “special occasion” treats with practical, everyday benefits—no fancy equipment, no complicated frosting techniques, and a whole lot of tail wags.
Step-by-Step Method for Easy Frosted Dog Treats
Start by preheating your oven to 170°C and lining a baking sheet with parchment paper so the treats don’t stick. In a medium bowl, whisk the egg lightly, then add the oat flour and a splash of water. Mix with a spoon at first, then switch to your hands when it comes together. You’re aiming for a soft, Play-Doh–style dough: if it’s too dry and crumbly, add water a teaspoon at a time; if it’s sticky and clings to your fingers, add a spoonful more oat flour. Once the dough feels smooth and easy to handle, you’re ready to shape your frosted dog treats.
Pinch off small portions of dough and roll them into balls or press them into simple shapes with your fingers—about 2–3 cm across works well for most dogs. Arrange them on the baking sheet with a little space between each one so they bake evenly. Slide the tray into the oven and bake for about 18 minutes, until the bottoms are lightly golden and the tops feel set when you tap them. For a softer, chewier bite, take them out right around 18 minutes; for a slightly firmer snack, you can add 2–3 extra minutes, just keep an eye on the color. Let the baked treats cool completely on a rack—if they’re even a little warm, the yogurt frosting will melt and slide off instead of staying pretty.
When the treats are fully cool, spoon a little plain yogurt into a small bowl and stir until it looks smooth and creamy. Use a small offset spatula, the back of a teaspoon, or even a clean fingertip to spread a thin layer of yogurt on each treat; think light coating, not cupcake-style swirl, so they’re easy on your dog’s tummy. If your kitchen is warm, place the frosted dog treats on a tray and refrigerate them for 20–30 minutes to help the yogurt set. You can serve them straight from the fridge for a refreshing snack, or learn how to pair them with simple biscuits in recipes like my easy dog meals for special occasions. Once set, store them in an airtight container in the refrigerator and enjoy that little tail wag every time you open the door.
Make-Ahead and Storage Notes for Frosted Dog Treats
You can absolutely make these frosted dog treats ahead of time, which is a lifesaver on busy weeks or before a special pup-iversary. For best texture, I like to bake the cookies one day, then frost the next. Store the unfrosted baked treats in an airtight container at room temperature for up to 4 days, making sure they are completely cool before you close the lid to avoid trapped moisture and sogginess. If your kitchen runs warm or humid, you can slide the container into the fridge instead and keep them fresh for about 7 days. Always check for any off smells, mold, or unusual softness before giving one to your dog.
Because the frosting is just plain yogurt, it adds some important storage rules. Once you frost the treats, refrigerate them in a single layer on a tray or plate for 30–60 minutes so the yogurt sets a bit, then transfer to an airtight container with parchment between layers to prevent sticking. Frosted dog treats keep in the fridge for 3–4 days; after that, the yogurt can start to weep and the cookie base may get too soft. For longer storage, skip the frosting, freeze the plain baked treats in a freezer-safe bag for up to 2 months, and thaw a few at a time in the fridge before adding the yogurt. This way, you keep decorating simple, your pup enjoys “freshly” frosted snacks, and you don’t find sad, forgotten treats hiding in the back of the refrigerator.
Variations and How to Serve These Frosted Dog Treats
You can easily customize these frosted dog treats to match your pup’s taste and any vet guidance you’ve been given. For a sensitive tummy, swap part of the oat flour with pumpkin purée (about 2–3 tablespoons) and reduce the water, so your dough stays workable but not sticky. If your vet allows it, you can mix a teaspoon of smooth, unsalted peanut butter into the dough for extra aroma—just make sure it’s xylitol-free, always. You can also tint the yogurt frosting naturally by stirring in a tiny bit of mashed blueberry or pureed strawberry for a soft pink or purple swirl. For older dogs who prefer softer bites, bake the cookies a few minutes less to keep them extra tender under the frosting.
When it comes to serving, think of these frosted dog treats as special snacks, not everyday meals. For a medium-size dog, 1–2 small cookies is usually plenty at a time, while tiny pups may need only half a cookie—especially if you already use other homemade dog treats during training. I like to offer one treat after a calm walk or grooming session as a “thank you for being patient” reward. If your dog eats fast, serve the cookie broken into pieces in their bowl instead of from your hand, so they don’t try to gulp it whole. And on hot days, you can chill the frosted cookies in the fridge for 20–30 minutes before serving; that cool yogurt topping feels a bit like a mini pup ice cream moment, without all the sugar.
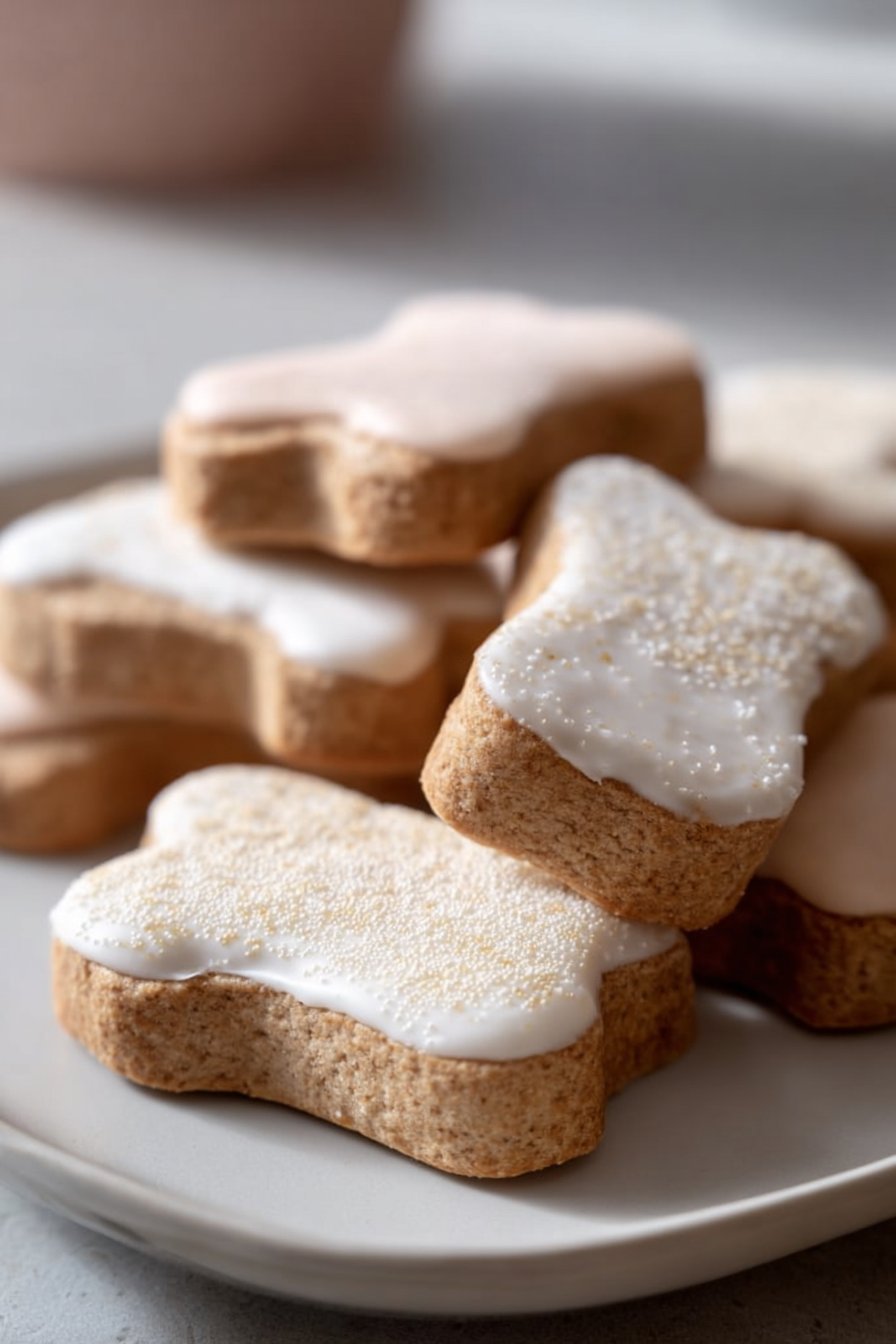
Serving of Frosted Dog Treats
Conclusion
Every time I pull a tray of these warm, lightly sweet-smelling Frosted Dog Treats from the oven, Max trots into the kitchen like he’s been personally invited to a party. And in a way, he has. These moments—waiting for the treats to cool, adding the frosting, watching those bright, expectant eyes—are the tiny rituals that turn an ordinary day into something special. It’s not just about giving your dog a snack; it’s about sharing a bit of love that you made with your own two hands.
I hope this recipe becomes one of those “remember when” traditions in your home—maybe you bake a batch before a family movie night, or you let the kids help drizzle the frosting while your pup supervises from below. Those shared giggles, floury countertops, and wagging tails are what easy dog meals are all about.
Go ahead and give this recipe a try—your dog won’t care if the frosting swirls are crooked, they’ll just taste the love.
For more delicious recipes like this, follow us on social media!

Instructions Process of Frosted Dog Treats
Recipe

Ingredients
Method
- Preheat the oven to 340°F and line a baking sheet with parchment paper.
- In a medium bowl, whisk the egg, then add the oat flour and water.
- Mix until a soft, workable dough forms, adding a few drops of water or a pinch of flour as needed to reach a Play-Doh-like texture.
- Pinch off pieces of dough and shape into small balls or flattened cookies about 1 inch wide.
- Arrange the shaped treats on the prepared baking sheet, spacing them slightly apart.
- Bake for 18 minutes, until the bottoms are lightly golden and the tops are set.
- Remove the treats from the oven and cool completely on a wire rack.
- Stir the yogurt in a small bowl until smooth, then spread a thin layer on top of each cooled treat.
- Place the frosted treats on a tray and refrigerate for 20 to 30 minutes to help the yogurt set before serving.
Notes
- Store frosted treats in an airtight container in the refrigerator for up to 5 days.
- For longer storage, freeze unfrosted baked treats for up to 2 months and add yogurt frosting after thawing.
- Make the treats smaller for training rewards to reduce calories per bite.


