
What Makes This Recipe Reliable
When I created these Homemade Chicken Broth Dog Biscuits – Tasty & Crunchy Treats, I built them the same way I test recipes for my own dog, Max. The ingredient list stays short and recognizable, so you know exactly what you are feeding your pup. We use low sodium chicken broth with no onion or garlic, because those are common ingredients in store broth that can upset a dog’s system. The dough gives you clear cues, so if it looks crumbly you add a little more broth, and if it looks sticky you sprinkle in a touch of flour. That means you can adjust confidently, even if you are new to easy dog meals.
I also rely on basic, consistent ratios that behave well in a real home kitchen, not just in a test kitchen. Rolled oats give structure, the egg binds, and the olive oil helps create those crunchy, golden treats that hold up in a treat jar. You will bake these Homemade Chicken Broth Dog Biscuits – Tasty & Crunchy Treats at a standard temperature and time, so there is no guesswork with special equipment or hard to find ingredients. The recipe includes simple visual checks, like looking for dry, lightly browned edges, which matter more than the exact minute on the timer. I have baked versions of these biscuits on old baking sheets and shiny new ones, and they come out reliably crisp and safe for most healthy adult dogs when you follow the notes and portion sensibly.
The Method (Step-by-Step)
Start by preheating your oven to 175 °C and lining a baking sheet with parchment paper so your Homemade Chicken Broth Dog Biscuits – Tasty & Crunchy Treats do not stick. In a medium bowl, whisk the egg until it looks smooth and slightly frothy, then stir in the low sodium chicken broth and olive oil. Slowly add the rolled oats, stirring with a spoon or your hands until everything is well coated. At this point, you want a soft dough that holds together when you press it into a ball, not a loose pile of oats. If it feels too crumbly and falls apart, mix in 1 tablespoon of extra broth at a time, up to 2 tablespoons, until it starts to come together. If it becomes sticky and hard to handle, sprinkle in 1 tablespoon of flour at a time, just until it firms up and pulls away cleanly from the bowl.
Once your dough feels workable, turn it out onto a lightly floured surface and gently press or roll it to about 0.5 to 0.75 centimeters thick. Use your favorite cookie cutter, a small glass, or even a knife to cut the dough into bite sized shapes that suit your dog. Place the pieces on the prepared baking sheet, leaving a little space between them so the heat can circulate and create those crunchy edges. Bake for about 15 to 20 minutes, until the biscuits look golden around the edges and feel firm when you tap the top. For extra crunch, you can turn off the oven, crack the door open, and let the Homemade Chicken Broth Dog Biscuits – Tasty & Crunchy Treats sit inside for another 10 minutes to dry out slightly as they cool. Let them cool completely on a wire rack before serving, since hot biscuits and eager pups are not a safe mix.
Keep It Fresh: Timing and Storage
Once you have a tray of Homemade Chicken Broth Dog Biscuits Tasty & Crunchy Treats cooling on the counter, timing matters just as much as the recipe. Always let the biscuits cool completely on a wire rack before you store them, or trapped steam can turn them soft and invite mold. At room temperature, keep them in an airtight container or jar for about 5 to 7 days, away from direct sunlight or your helpful furry taste tester. If your kitchen runs warm or humid, aim for the shorter side of that range and check a biscuit by breaking it in half. You want a dry, crisp center rather than a bendy, chewy one.
For longer storage, I treat these just like my other easy dog meals and healthy dog food recipes and use the freezer. Place fully cooled biscuits in a single layer on a baking sheet and freeze until solid, then transfer them to a labeled freezer bag or container. They keep well for up to 2 months. Pull out a few Homemade Chicken Broth Dog Biscuits Tasty & Crunchy Treats at a time, and let them thaw on the counter for 10 to 15 minutes before serving. If a biscuit ever smells off, feels unusually soft or sticky, or shows any sign of mold, toss it out right away. Your pup will forgive you faster than their belly would recover from a spoiled snack.
Swaps, Variations, and Serving Ideas
You can keep these Homemade Chicken Broth Dog Biscuits Tasty & Crunchy Treats simple, or dress them up a little for fun. For a grain varied option, swap some of the oats for whole wheat flour or oat flour if you need a sturdier dough for cookie cutters. If your pup is sensitive to chicken, use low sodium beef or vegetable broth, as long as it is completely free from onion, garlic, and seasonings. You can also stir in a tablespoon of canned pumpkin or mashed sweet potato for extra fiber, but be ready to add a sprinkle or two of extra flour if the dough turns sticky. When I add mash for Max, I usually roll the dough slightly thinner, about 0.5 centimeter, so the treats still bake up crunchy.
For easy flavor twists, mix in a tablespoon of finely chopped fresh parsley or a teaspoon of dried rosemary, both dog safe in small amounts, to brighten the aroma without overwhelming sensitive tummies. If your dog likes a softer bite, roll the dough thicker and shave a few minutes off the baking time, then let the biscuits cool on the tray so they set but stay more tender. For senior dogs with fewer teeth, you can even crumble a biscuit over their usual food, the chicken broth flavor turns everyday kibble into a special meal. On busy weeks, I bake a double batch of these Homemade Chicken Broth Dog Biscuits Tasty & Crunchy Treats, keep some in an airtight jar for quick rewards, then freeze the rest for walks, training sessions, or pup playdates. If you enjoy this recipe, you might also like trying similar easy dog meals such as simple broth based pup muffins or oat and chicken snack squares as part of your homemade dog treats rotation.
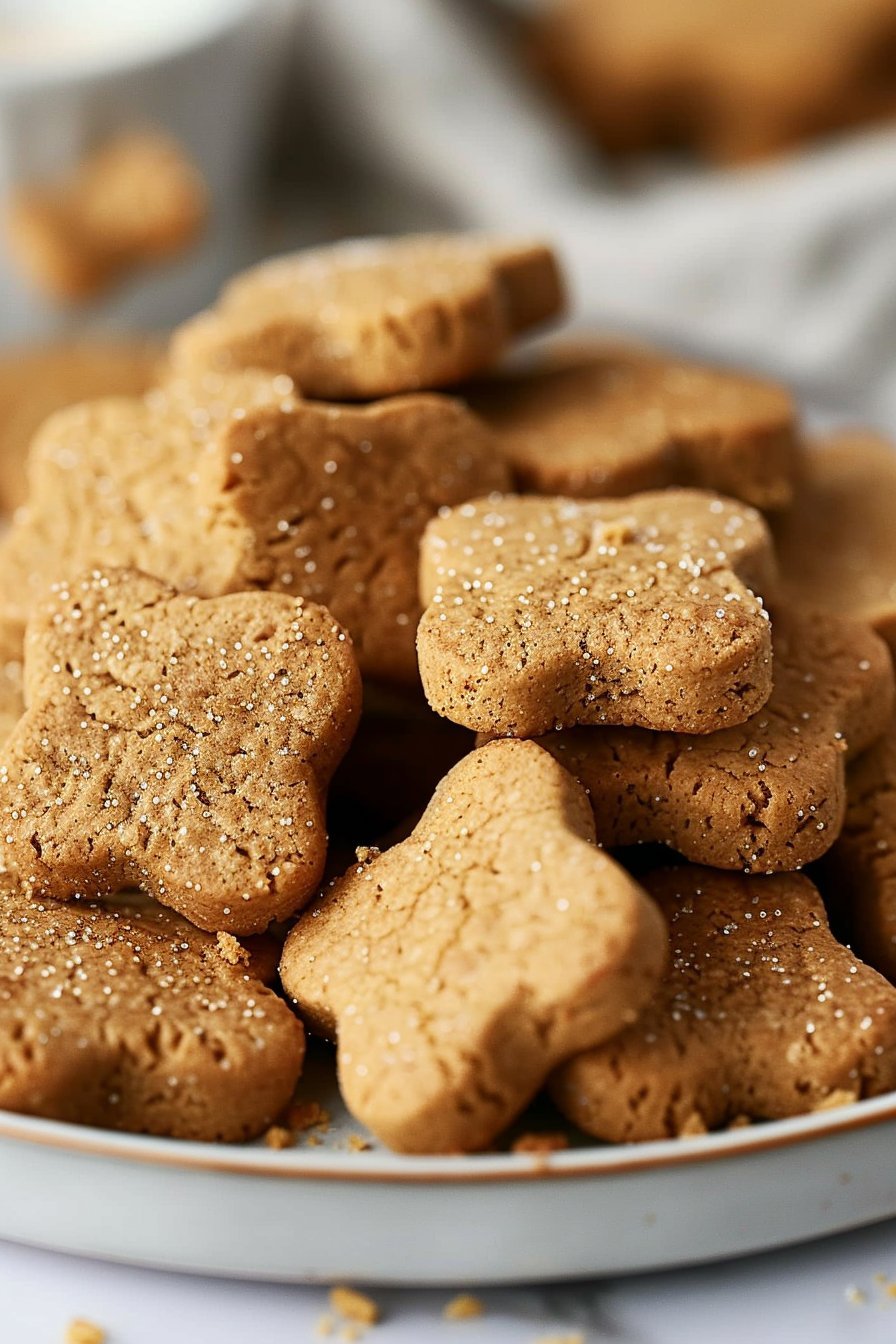
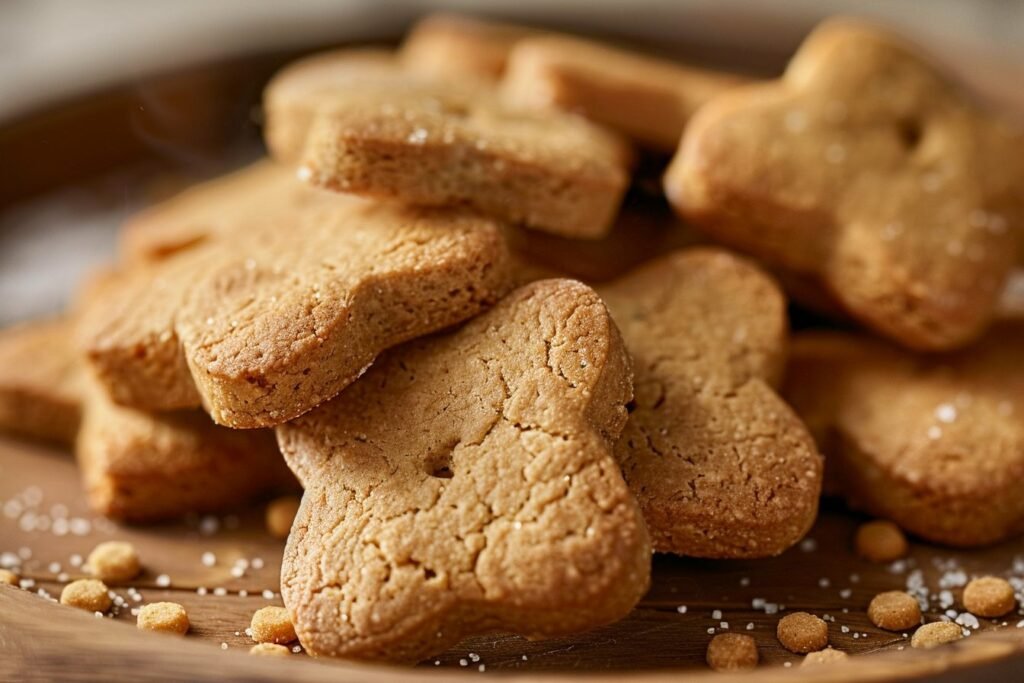
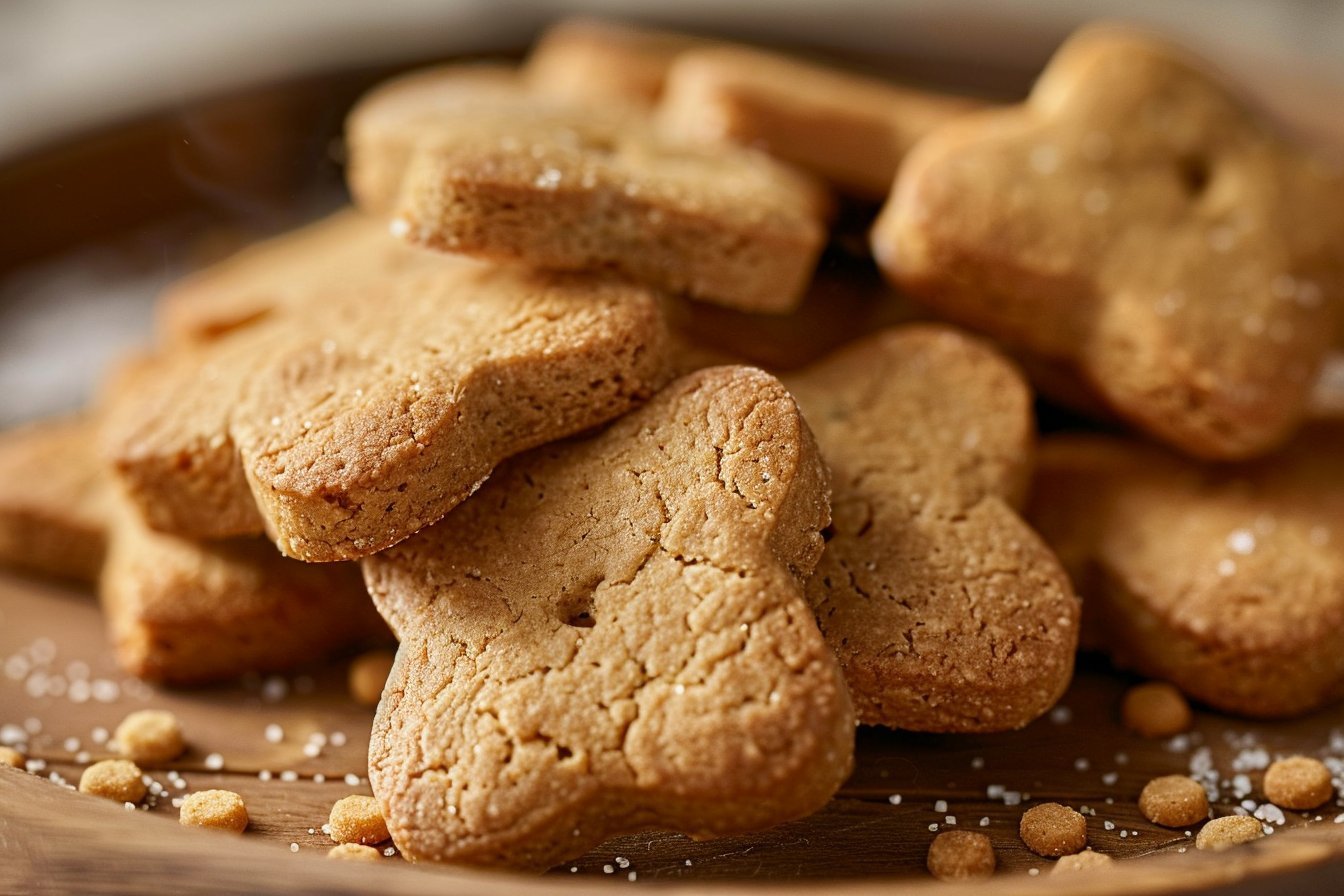
Serving Image of Homemade Chicken Broth Dog Biscuits – Tasty & Crunchy Treats
Conclusion
As I pull a fresh tray of golden biscuits from the oven and hear Max’s paws click excitedly across the kitchen floor, I always remember why I love baking for him. These Homemade Chicken Broth Dog Biscuits – Tasty & Crunchy Treats are more than just snacks. They are little moments of connection, trust, and love that you can share with your dog, one crunchy bite at a time. There is something so simple and special about knowing exactly what goes into your pup’s treats and seeing that happy, expectant face in return.
I hope this recipe brings the same cozy, tail wagging joy into your home. Whether you are baking for a Gotcha Day, a training session, or just a quiet evening on the couch, you are creating memories and routines that your dog will look forward to again and again. Roll up your sleeves, preheat that oven, and give this recipe a try. Then let your dog be the true judge and taste tester.
For more delicious recipes like this, follow us on Facebook and Pinterest!
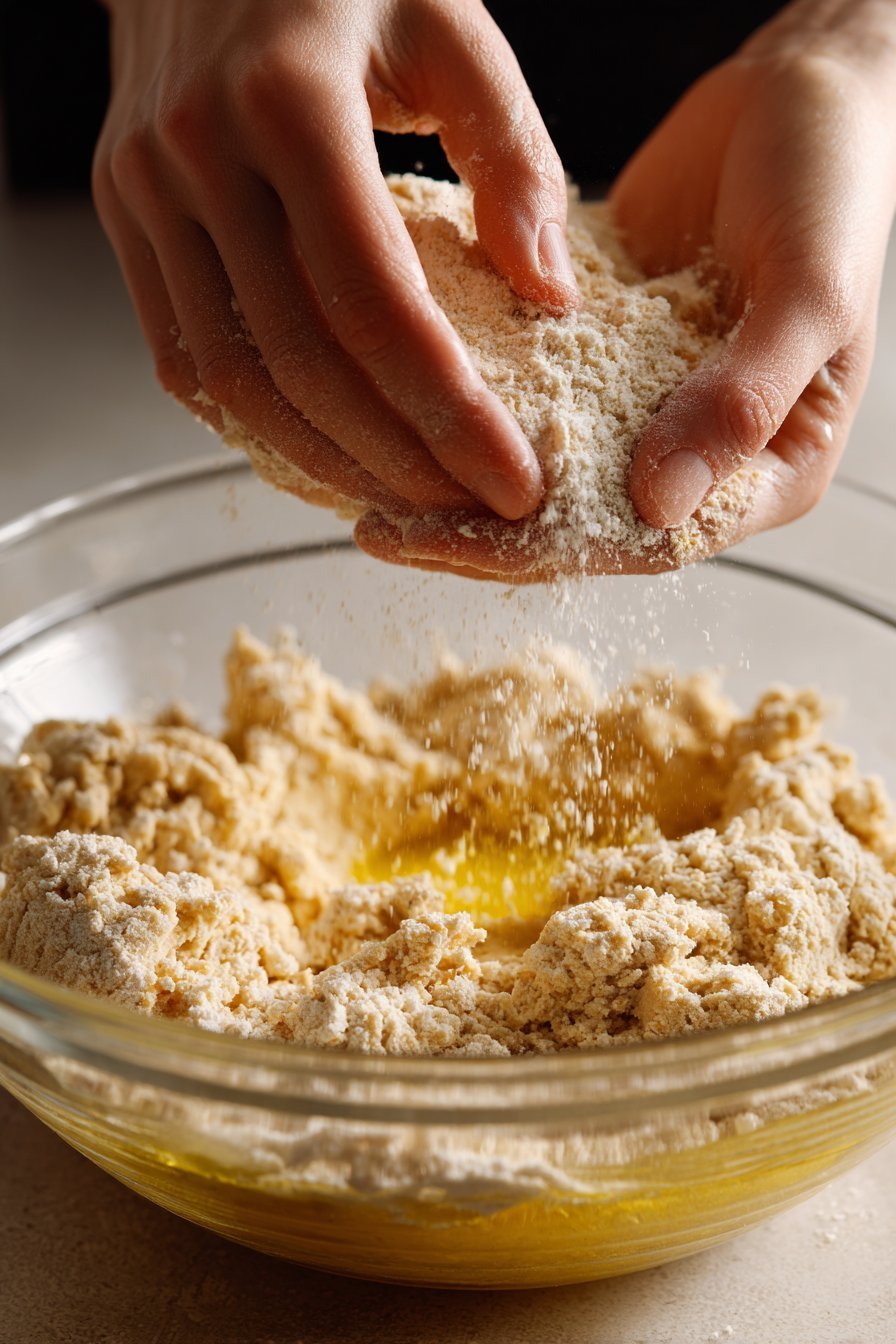
Process Image of Homemade Chicken Broth Dog Biscuits – Tasty & Crunchy Treats
Recipe
Homemade Chicken Broth Dog Biscuits – Tasty & Crunchy Treats
Ingredients
Method
- Preheat oven to 350 F and line a baking sheet with parchment paper.
- In a medium bowl, whisk the egg until smooth and slightly frothy.
- Stir in the 1/2 cup chicken broth and olive oil until well combined.
- Add the rolled oats and stir until the oats are fully coated and a soft dough begins to form.
- If the dough is too dry and crumbly, add up to 2 tablespoons additional broth, 1 tablespoon at a time, stirring until the dough holds together when pressed.
- If the dough is too wet or sticky, sprinkle in flour 1 tablespoon at a time and stir until the dough is workable and pulls away from the bowl.
- Lightly flour a work surface, then turn the dough out and gently press or roll it to 1/4 inch thickness.
- Cut the dough into small, bite sized shapes using a cookie cutter, small glass, or knife.
- Arrange the pieces on the prepared baking sheet, leaving a little space between each biscuit.
- Bake for 15 to 20 minutes, until the biscuits are golden around the edges and feel firm when tapped.
- Turn off the oven, slightly open the door, and let the biscuits sit inside for 10 minutes for extra crunch, if desired.
- Transfer biscuits to a wire rack and cool completely before serving to your dog.
Notes
- Store completely cooled biscuits in an airtight container at room temperature for 5 to 7 days, or freeze for up to 2 months.


