The Memory Behind This Treat
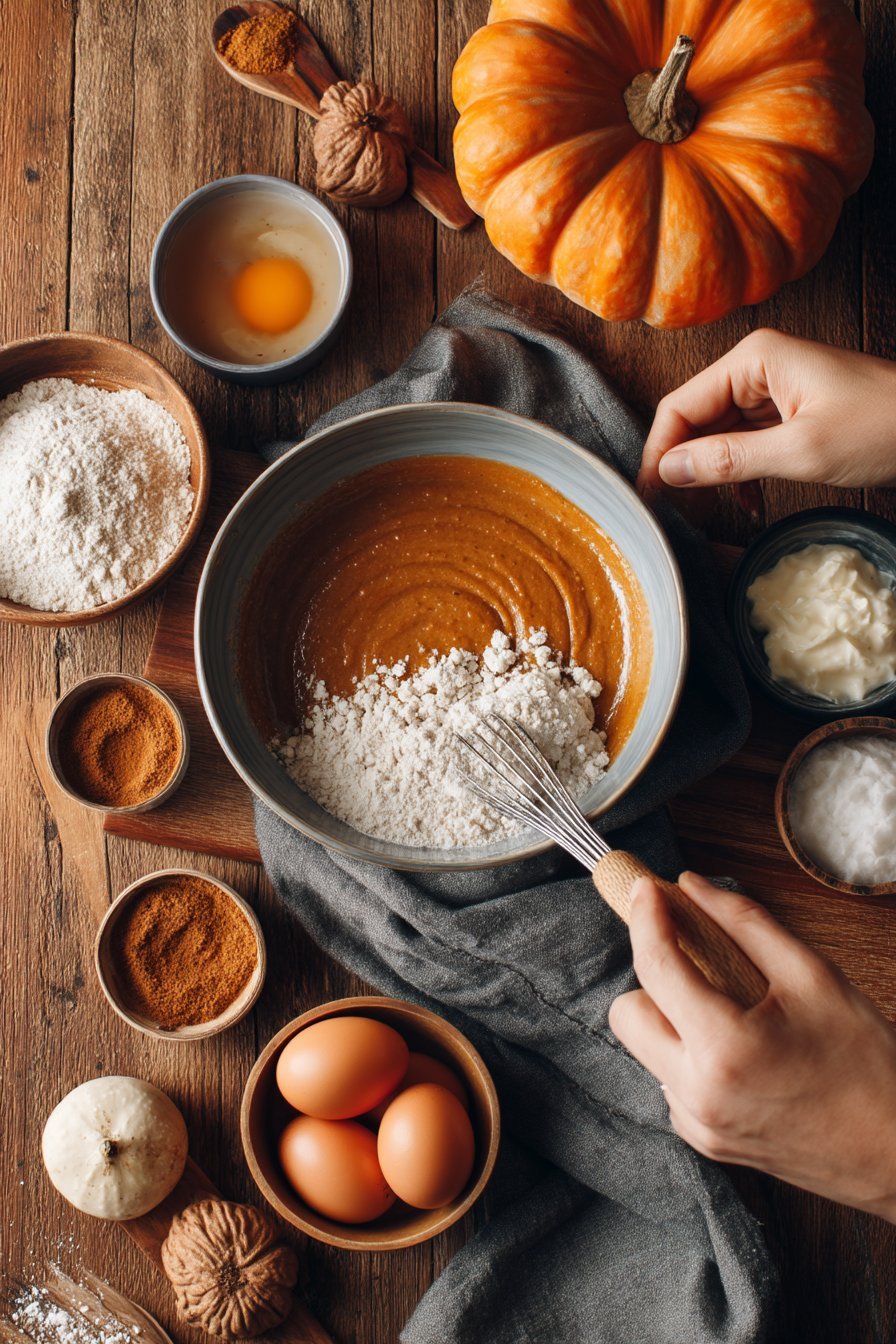
The first batch of these Crunchy Pumpkin Peanut Butter Wafers happened by accident on a rainy Saturday, when Max was pacing the kitchen like a tiny, furry sous-chef. I had half a can of pumpkin left from testing another healthy dog food recipe and a jar of natural peanut butter sitting on the counter, calling my name. Max had been slowing down a bit with age, and I wanted something crisp enough to feel special but gentle enough for his older teeth. I remember scooping the pumpkin into the bowl, watching that bright orange swirl into the flour, and Max tilting his head like he was supervising quality control. As the wafers baked, the house filled with this cozy, nutty pumpkin smell that felt like October and long walks in the leaves.
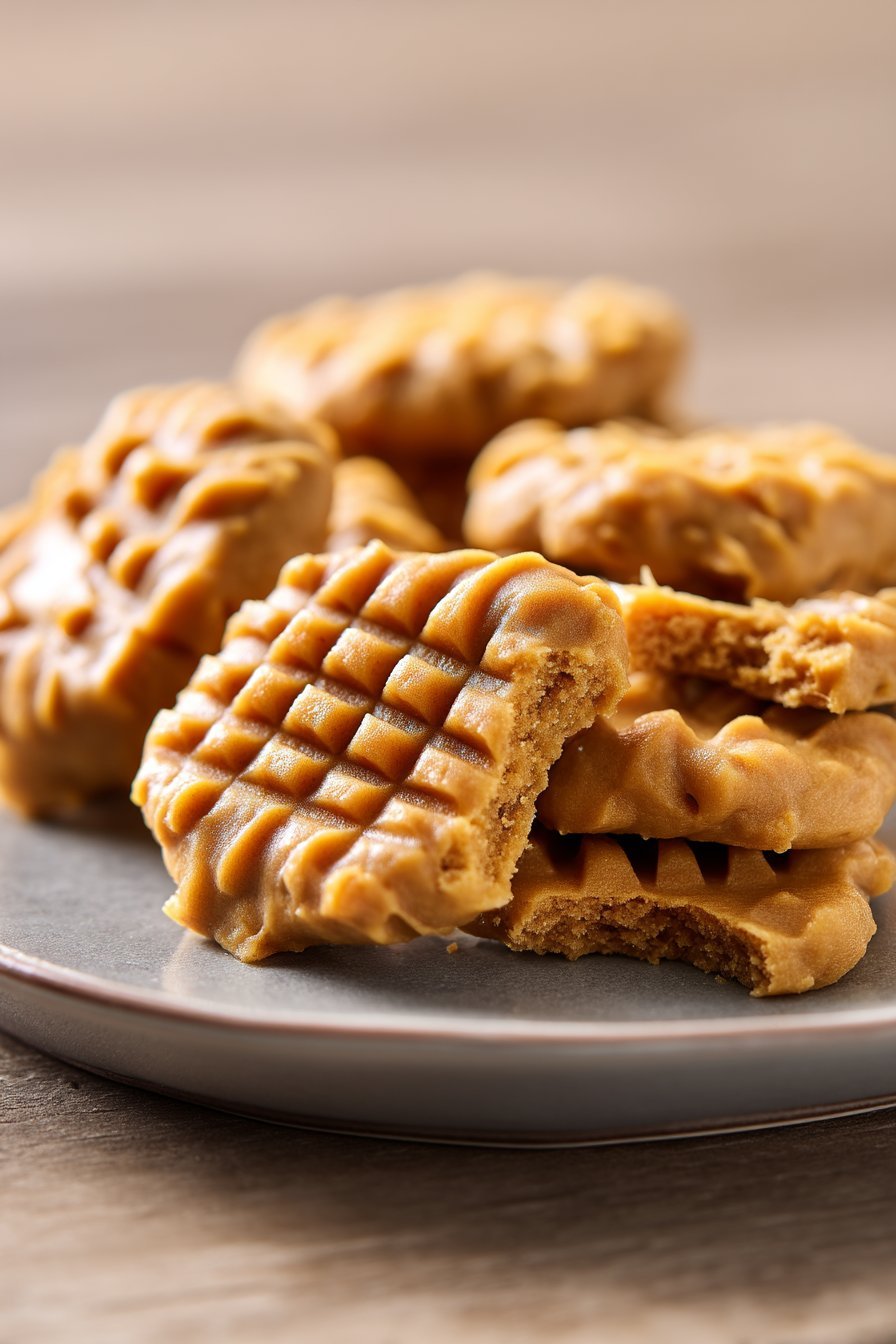
I tested the first tray like I would for any of my homemade dog treats: tap for crunch, break for texture, taste for balance (yes, I taste them too—these are all human-safe ingredients). The wafers snapped cleanly down the middle but didn’t shatter, which meant they would work as both a gentle senior snack and a sturdy training treat. I broke one into tiny pieces to tuck into Max’s puzzle feeder, and he went into full detective mode, sniffing out every last crumb. That was the moment I knew these Crunchy Pumpkin Peanut Butter Wafers were more than just another easy dog meal add-on—they became our “after-walk” tradition. Now, whenever I stir pumpkin and peanut butter together in the same bowl, Max trots over, sits by the oven, and waits with that patient, hopeful look only a dog who knows what’s coming can give.
How To Make It (Mix & Ingredients)
To make these Crunchy Pumpkin Peanut Butter Wafers, you’ll start with a simple, sturdy dough. In a medium bowl, whisk together 2 cups whole wheat flour (or oat flour for a gentler, wheat-free option) with an optional 1/4 teaspoon of cinnamon. In a separate bowl, mix 1/2 cup 100% pure pumpkin puree (look for “pumpkin” only on the label, not pumpkin pie filling) with 1/4 cup natural, xylitol-free peanut butter and 1/4 cup water or low-sodium broth. I like to use a sturdy spoon or spatula to combine the wet ingredients until they’re smooth, then slowly stir them into the flour mixture. The dough should come together into a soft, slightly tacky ball—firm enough to roll, but not crumbly. If it’s too dry, add water a teaspoon at a time; if it’s too sticky, sprinkle in a tablespoon of flour and mix again.
Instructions Process of Crunchy Pumpkin Peanut Butter Wafers
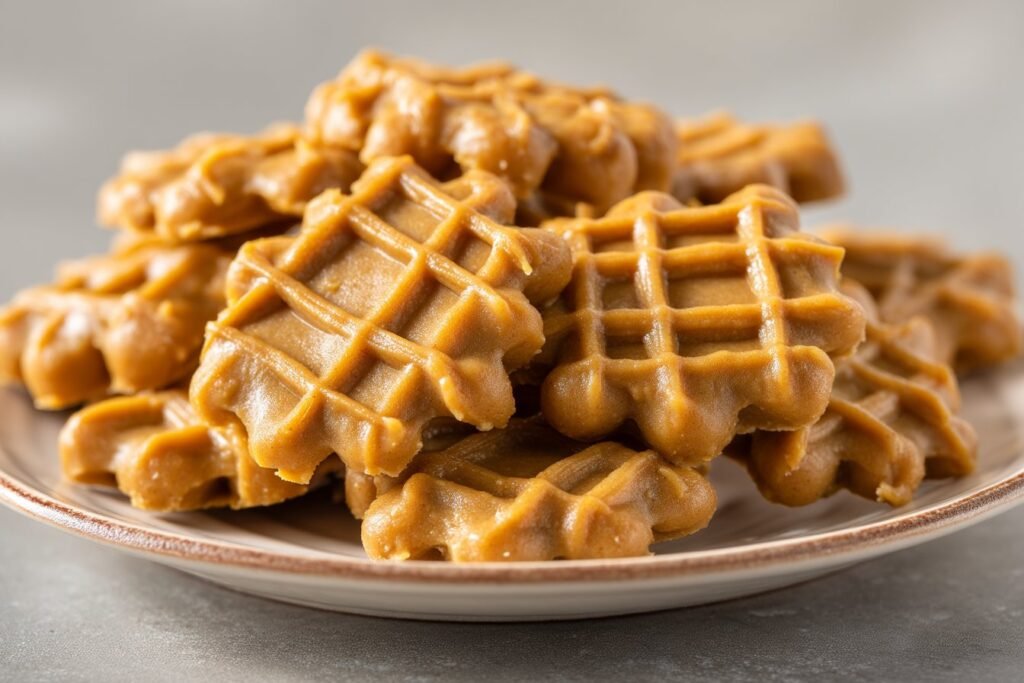
Once your Crunchy Pumpkin Peanut Butter Wafers dough is ready, lightly flour your counter and roll the dough to about 1/4 inch thick. Use a knife, pizza cutter, or small cookie cutters to cut your wafers into evenly sized pieces—small for training treats, larger for snack-time chews. Place them on a parchment-lined baking sheet with a tiny bit of space between each piece; they won’t spread much, but this helps them bake evenly. Bake in a preheated oven (usually around 325–350°F works well) until the edges turn a light golden color and the wafers feel firm and dry to the touch. For extra crunch, you can turn off the oven and let them sit inside for another 10–15 minutes as it cools, similar to how we finish some of our other homemade dog treats. Let them cool completely before offering one to your pup—or before storing them with your other easy dog meals favorites.
Make-Ahead & Storage
These Crunchy Pumpkin Peanut Butter Wafers are perfect for baking ahead so you’re not tied to the oven every time your dog gives you the “snack eyes.” I like to double the batch on a slow Sunday, then cool every wafer completely on a wire rack—no warmth at all in the center—before storing. If they go into a container even slightly warm, trapped steam can soften that lovely crunch and encourage mold. Once cool, store the wafers in an airtight jar or container at room temperature for up to 7 days. Keep the container in a cool, dry spot away from direct sunlight, just like you would with your own crackers.
For longer storage, these Crunchy Pumpkin Peanut Butter Wafers freeze beautifully. Line a baking sheet with parchment, spread the wafers in a single layer, and freeze until solid, then transfer them to a labeled freezer bag or container (include the date and “pumpkin PB wafers” so you remember what they are). They’ll keep in the freezer for up to 2 months. To serve, you can either thaw a few wafers at room temperature for 10–15 minutes or give one to your dog straight from the freezer for an extra-crunchy, cooling treat on warm days. If you like prepping a variety of homemade dog treats, you can stash these right next to your frozen banana bites or carrot cookies so you’ve always got a fun mix ready for walks, training, or cozy evenings on the couch.
Best Ingredients & Party Variations
To get the crunch just right in these Crunchy Pumpkin Peanut Butter Wafers, start with a flour your dog’s tummy likes. I usually reach for whole wheat flour because it bakes up crisp and sturdy, perfect for pups who really enjoy that snap. If your dog is grain-sensitive, use oat flour instead; it still gives you structure but stays a touch more tender. Make sure your peanut butter is natural and xylitol-free, with no added sugar or mystery oils—just peanuts (and maybe a pinch of salt). For the pumpkin, only use 100% pure pumpkin puree, not pumpkin pie filling, which contains spices and sugar that dogs do not need. If you’d like a small health boost, a tiny pinch of cinnamon is fine, but skip nutmeg entirely, as it can be unsafe for dogs.
For birthday parties, adoption anniversaries, or “just because” gatherings, there are so many fun ways to dress up these wafers while keeping them dog-safe. You can roll the dough a bit thinner and cut it into tiny bones or hearts for a training treat platter that looks adorable on the table but still bakes quickly and evenly. If you want extra crunch, bake the wafers a few minutes longer and let them cool completely in the oven with the door slightly open—this slowly dries them into extra-crisp party bites. For dogs who prefer softer snacks, shape them a little thicker and reduce the bake time so the centers stay just a bit tender. You can also dip one edge in plain unsweetened yogurt and freeze them for “frosted” wafers, or crumble them over a pup-friendly frozen pumpkin cup for a mini dessert bar that will make every tail at the party thump with approval.
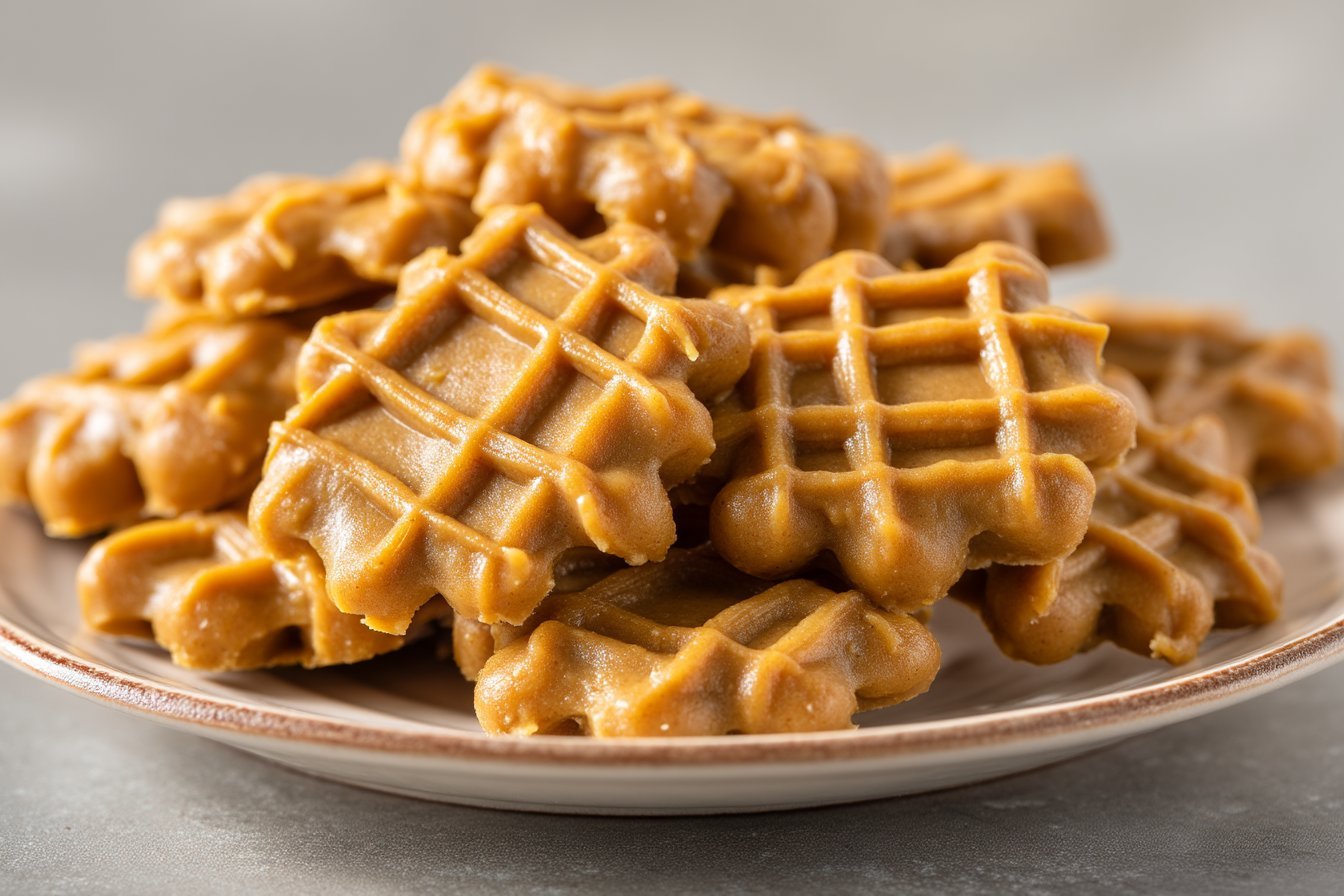
Serving of Crunchy Pumpkin Peanut Butter Wafers
Conclusion
Every time I pull a tray of these Crunchy Pumpkin Peanut Butter Wafers out of the oven, Max trots into the kitchen like he’s been personally invited to a party. That simple moment—warm biscuits cooling on the counter, paws tap-tap-tapping on the floor, and those bright, hopeful eyes—reminds me why I love making homemade dog treats so much. It’s not just about ingredients; it’s about slowing down, sharing something special, and showing our pups how much they mean to us.
When you make these, you’re not just baking; you’re creating memories. Maybe your kids help cut out the shapes. Maybe your pup camps out by the oven like Max does, or maybe you share a quiet evening snack together after a long walk. However you enjoy them, these wafers turn ordinary days into little cozy celebrations.
I hope you feel inspired to preheat that oven and give this recipe a try. Your dog doesn’t care if every wafer is perfectly shaped—they’ll just taste the love.
For more delicious recipes like this, follow us on social media!
Are Crunchy Pumpkin Peanut Butter Wafers safe for everyday treats?
Crunchy Pumpkin Peanut Butter Wafers are made with simple, dog-friendly ingredients like pure pumpkin, whole wheat or oat flour, and **xylitol-free** peanut butter. For most healthy adult dogs, they’re fine as a small daily treat in moderation. Keep treats to about 10% or less of your dog’s total daily calories, especially if your pup needs to watch their weight. Always introduce any new snack slowly and watch for signs of tummy upset, like soft stool or gas. If your dog has pancreatitis, food allergies, or a special diet, check with your vet before adding these to the treat jar.
Can I use any peanut butter in these Crunchy Pumpkin Peanut Butter Wafers?
Always choose a peanut butter that is clearly labeled **xylitol-free**, because xylitol is extremely toxic to dogs even in tiny amounts. I prefer natural peanut butter with just peanuts (and maybe salt) and no added sugars, sweeteners, or oils. Avoid “sugar-free” brands unless you have triple-checked the label for xylitol and other artificial sweeteners. If your dog is sensitive to fat, you can use a reduced-fat, xylitol-free peanut butter, but the wafers may bake up slightly drier. When you first make the recipe, watch how your dog tolerates the fat and adjust portion sizes if needed.
How should I store Crunchy Pumpkin Peanut Butter Wafers and keep them crunchy?
Let the wafers cool completely before storing so trapped steam doesn’t soften them. Keep them in an airtight container at room temperature for up to 5–7 days if your kitchen is cool and dry. For longer storage, refrigerate them for about 2 weeks or freeze for up to 3 months. I like to freeze them in small batches and thaw only what I’ll use in a couple of days. If they lose their crunch, you can re-crisp them in a low oven (about 250°F) for a few minutes and cool again before serving.
Recipe
Crunchy Pumpkin Peanut Butter Wafers
Ingredients
Method
- Preheat the oven to 350°F. Line a baking sheet with parchment paper.
- In a medium bowl, whisk together the flour and cinnamon, if using.
- In a separate bowl, stir together the pumpkin puree, peanut butter, and water or broth until smooth.
- Pour the wet mixture into the dry ingredients and stir until a dough forms.
- If the dough is too dry, add water 1 teaspoon at a time; if it is too sticky, add a little more flour until it is soft and workable.
- Lightly flour a clean work surface and roll the dough out to about 1/4 inch thickness.
- Cut the dough into small wafers using a knife, pizza cutter, or small cookie cutters, and place them on the prepared baking sheet slightly apart.
- Bake for 20 to 25 minutes, until the wafers are firm and the edges are lightly golden.
- Turn off the oven and let the wafers sit inside for 10 to 15 minutes for extra crunch, then remove and cool completely on a wire rack.
- Once fully cooled, store the wafers in an airtight container until ready to serve to your dog.
Notes
- Always choose natural peanut butter that is free from xylitol, which is toxic to dogs.
- For older dogs or those with sensitive teeth, you can roll the dough slightly thicker and bake a bit less for a gentler crunch.