The Memory Behind This Treat
The very first batch of Gluten Free Banana Dog Treats I ever made happened after a not-so-fun discovery: Max’s “mystery itch” was actually a combination of gluten sensitivity and seasonal allergies. I remember standing in the pet aisle, squinting at treats labeled “hypoallergenic,” only to find wheat, fillers, or 12 different things I couldn’t pronounce. That night, I went home, pulled out a ripe banana, some certified gluten free oat flour, and natural peanut butter, and decided Max deserved something simpler. As the treats baked, the kitchen smelled like warm banana bread, and Max parked himself right in front of the oven door, tail thumping every time I moved. By the time the first batch cooled, I already knew this would become one of our “comfort recipes” for itchy, uncomfortable days.
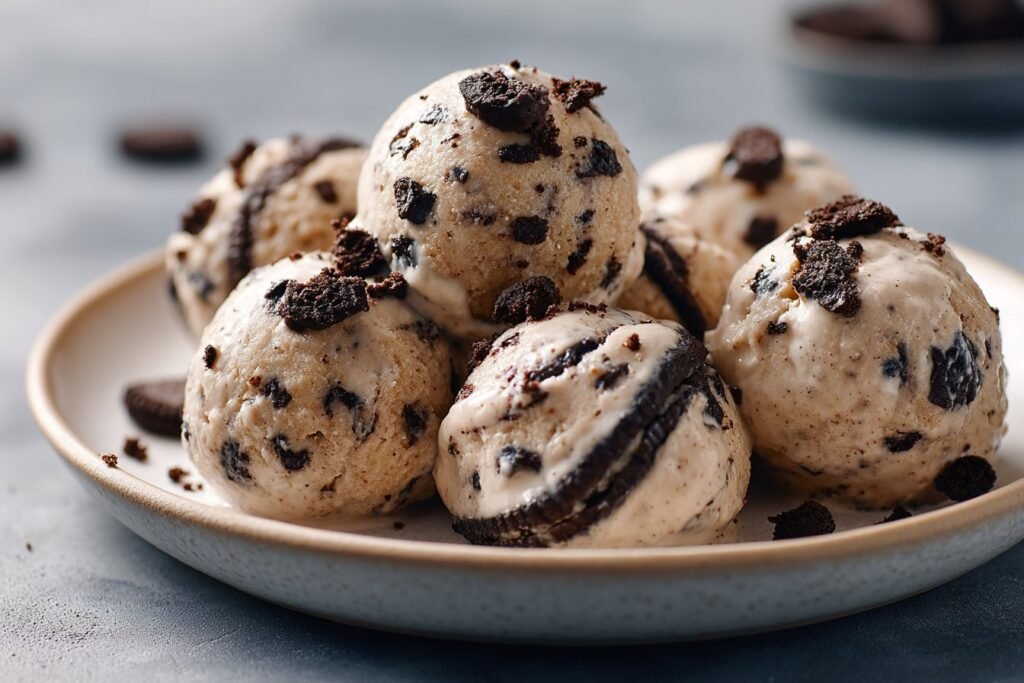
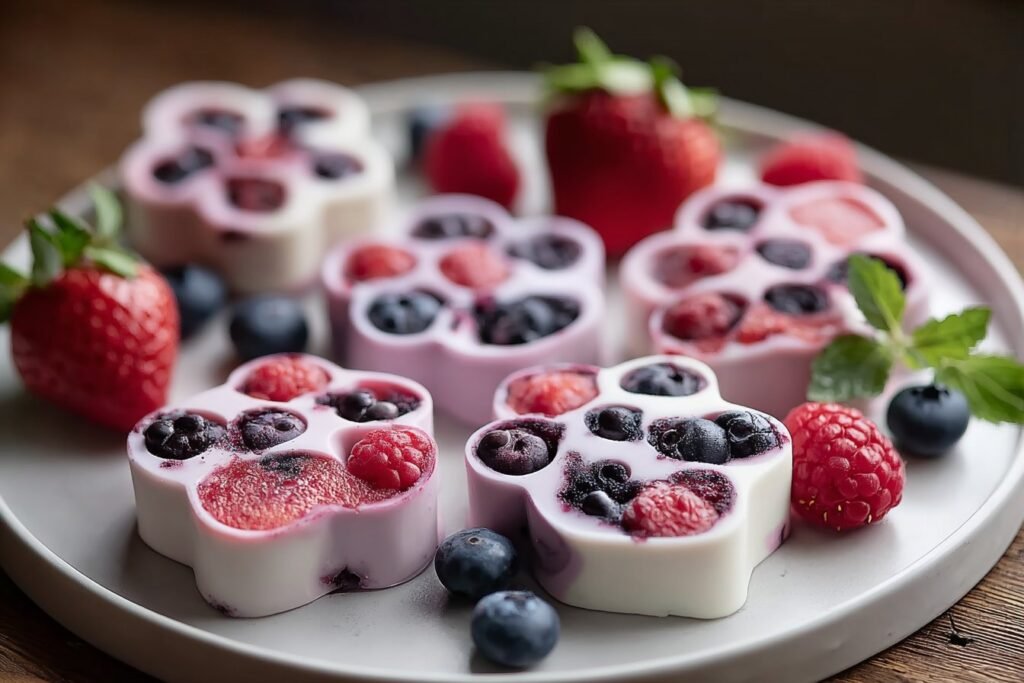
A few weeks later, those same gluten free banana dog treats turned into our little pre-walk ritual. On high-pollen days, when Max’s allergies were threatening to flare, I’d tuck a couple of banana and peanut butter bites into my pocket before we headed out. I noticed something important: when his treats were clean and gluten free, his scratching calmed down, and his digestion stayed steady. That gave me the confidence to experiment with even more banana-based recipes, like coconut & banana chewy bites for extra texture, and frozen banana & berry pops for hot afternoons. Every new batch felt less like “baking dog treats” and more like quietly telling him, “I see what you’re going through, and I’m doing my best to help.” Now, whenever I mash a banana in the mixing bowl, Max trots in instantly—he remembers exactly what’s coming, and honestly, I think that memory is half the magic.
How To Make It (Mix & Ingredients)
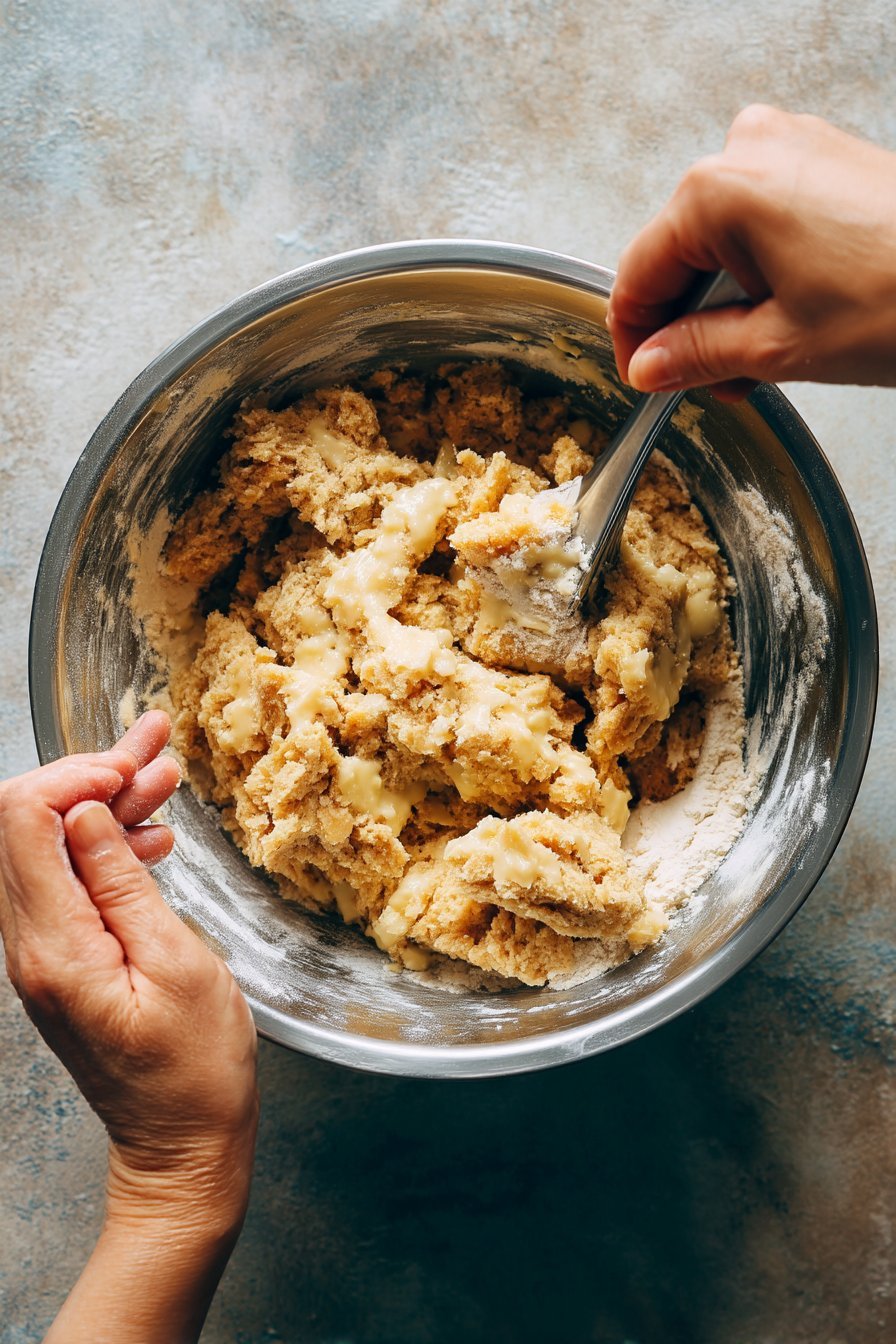
To make these Gluten Free Banana Dog Treats, start with a very ripe banana—the kind with lots of brown spots. They mash more easily and add natural sweetness, so you don’t need any sugar. In a medium mixing bowl, mash the banana until mostly smooth, then stir in the natural, unsalted peanut butter (always make sure it’s xylitol-free) and the egg until the mixture looks creamy and uniform. Sprinkle in the oat flour a little at a time so you can watch the dough come together; you’re aiming for a soft, non-sticky dough that holds its shape when you press it with your fingers. If it’s too wet, add a tablespoon of oat flour; if it’s crumbly, add a teaspoon of water or a bit more mashed banana.
Instructions Process of Gluten Free Banana Dog Treats
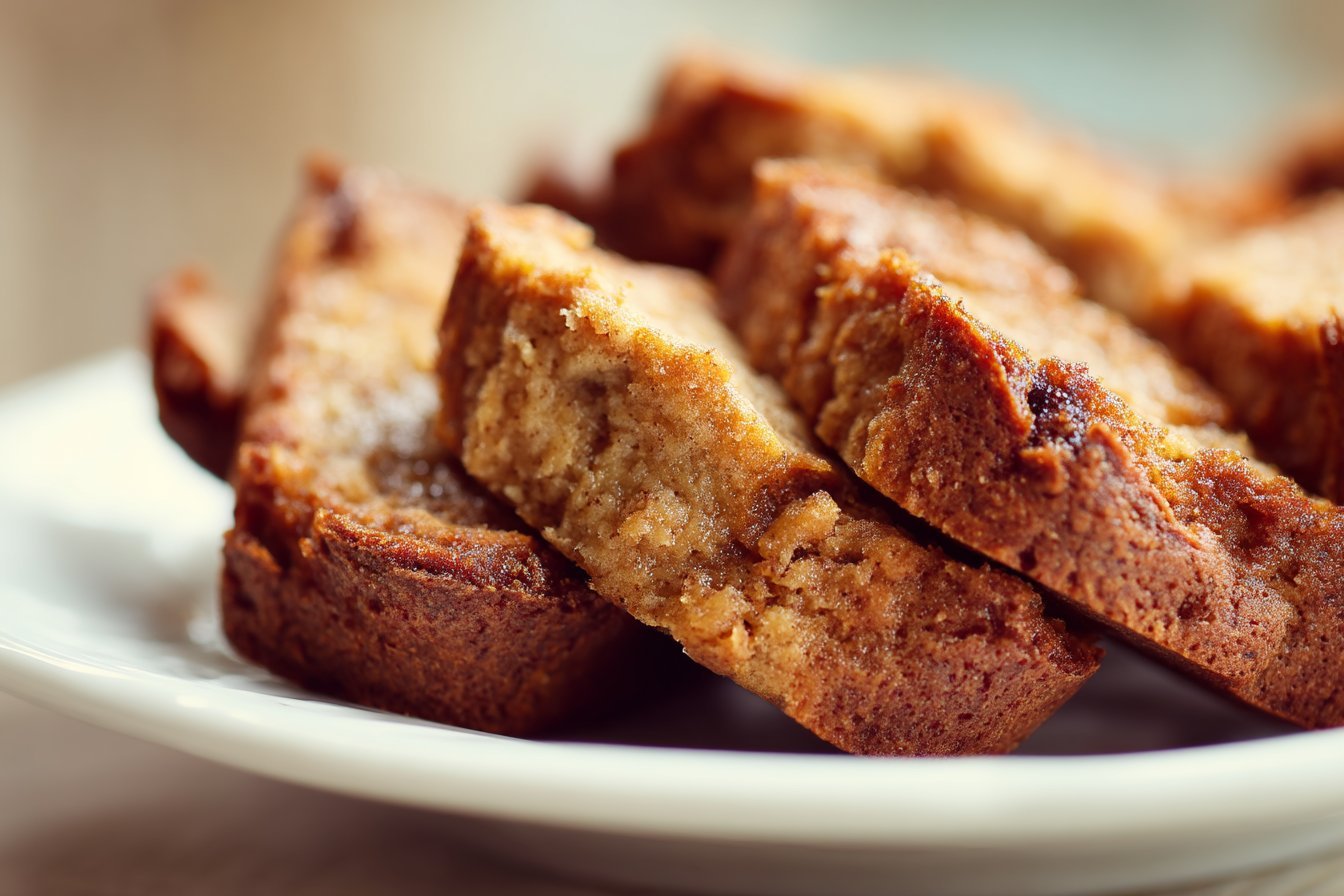
Lightly dust your counter with a pinch of oat flour, then roll the dough out to about ¼ inch thick—thin enough to bake evenly, but not so thin that it burns. Use your favorite small cookie cutters (I like tiny bone shapes for these easy dog meals) and place each cutout on a parchment-lined baking sheet. If you’re also making a batch of coconut or chickpea-based homemade dog treats, keep each dough separate to avoid confusion, especially if your pup has multiple allergies. Bake until the edges turn a light golden color and the tops feel firm to the touch; the goal is a slightly crunchy, dry texture that stores well and is gentle on sensitive tummies. Let them cool completely before serving—Max once tried to grab one warm off the tray, but waiting that extra 10 minutes keeps mouths safe and treats crisp.
Make-Ahead & Storage
One of my favorite things about these Gluten Free Banana Dog Treats is how well they fit into a busy dog parent’s week. You can easily double a batch of the Simple Banana & Peanut Butter Bites or Coconut & Banana Chewy Bites on a Sunday and have snacks ready for walks, training, and post-dinner “just because you’re cute” moments. For baked treats like the bites and chickpea blondies, let them cool completely on the baking sheet so they firm up, then store them in an airtight container. On the counter, they’ll keep about 2–3 days if your kitchen is cool and dry; for longer storage, refrigerate them for up to 7 days. If your bananas were very ripe and the treats feel extra soft, I recommend going straight to the fridge to keep them from molding.
For anyone who likes to really plan ahead, almost all of these gluten free banana dog treats freeze beautifully. Baked treats (bites, crisps, blondies) should go into a freezer-safe bag or container with parchment between layers so they don’t stick; freeze for up to 2 months. Pull out just what you need and let them thaw on the counter for 10–15 minutes, or give them slightly frozen on hot days for a firmer, crunchier snack. The Frozen Banana & Berry Pops are perfect straight from the freezer—just offer them in a bowl or outside so they don’t melt all over your floor. Always label your containers with the treat type and date, especially if you’re rotating different allergy-friendly recipes, so you can track freshness and avoid accidentally serving something past its prime.
Best Ingredients & Party Variations
When you’re making Gluten Free Banana Dog Treats, think of your ingredient list as your dog’s VIP guest list—only the safest, most gentle options get invited. Start with very ripe bananas (lots of brown spots), because they mash smoothly and add natural sweetness without any added sugar. Pair them with certified gluten-free oat flour, coconut flour, or chickpea flour so you avoid the wheat, barley, and rye that can trigger allergies. For healthy fats and flavor, add a spoonful of xylitol-free peanut butter or plain pumpkin purée. If your dog tolerates eggs, they help bind the dough; if not, you can try a “flax egg” (1 tbsp ground flax + 3 tbsp water, rested for 5 minutes) for structure. Always skip vanilla extract, artificial sweeteners, and added salt—they’re for people, not pups.
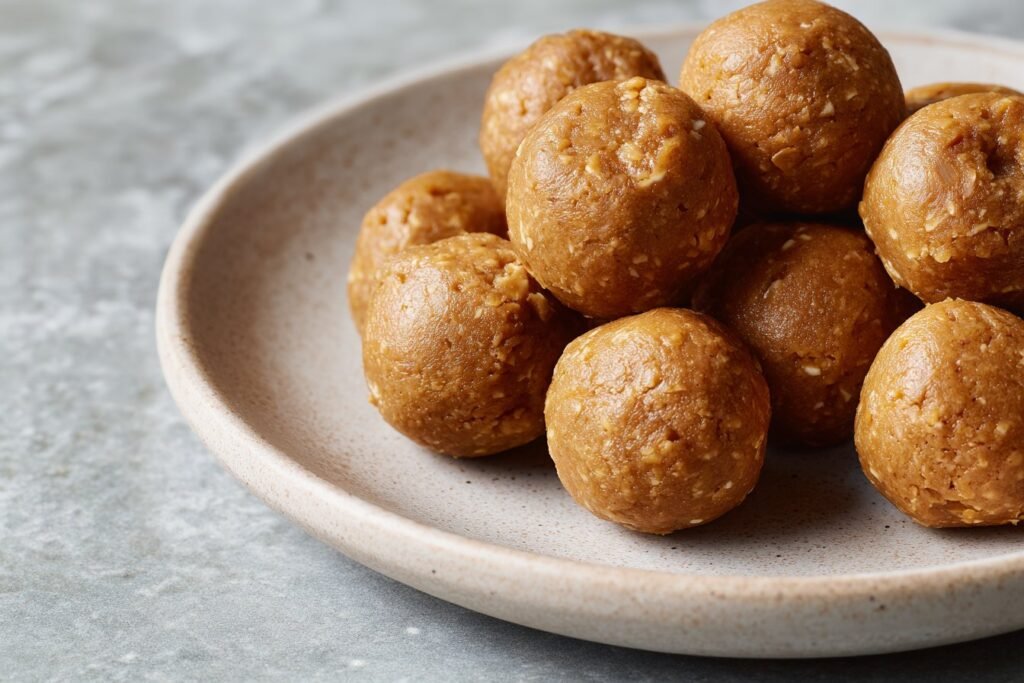
For party-ready variations, you can turn one basic dough into a full “treat bar” of Gluten Free Banana Dog Treats with just a few tweaks. For a birthday or gotcha day, cut the dough into tiny bone shapes and press a single blueberry on top before baking for a cute pop of color. Make “Coconut & Banana Chewy Bites” by rolling the dough into small balls and gently coating them in unsweetened shredded coconut. For summer parties, bake mini banana treats, cool them, then crumble them over frozen banana & berry pops for a crunchy topping. If you’re hosting multiple dogs with different sensitivities, label each batch—like “peanut-free,” “egg-free,” or “coconut-only”—so every pup parent knows exactly what their dog is getting. Most of all, keep portions small; even the healthiest treat should stay a fun extra, not a full meal.
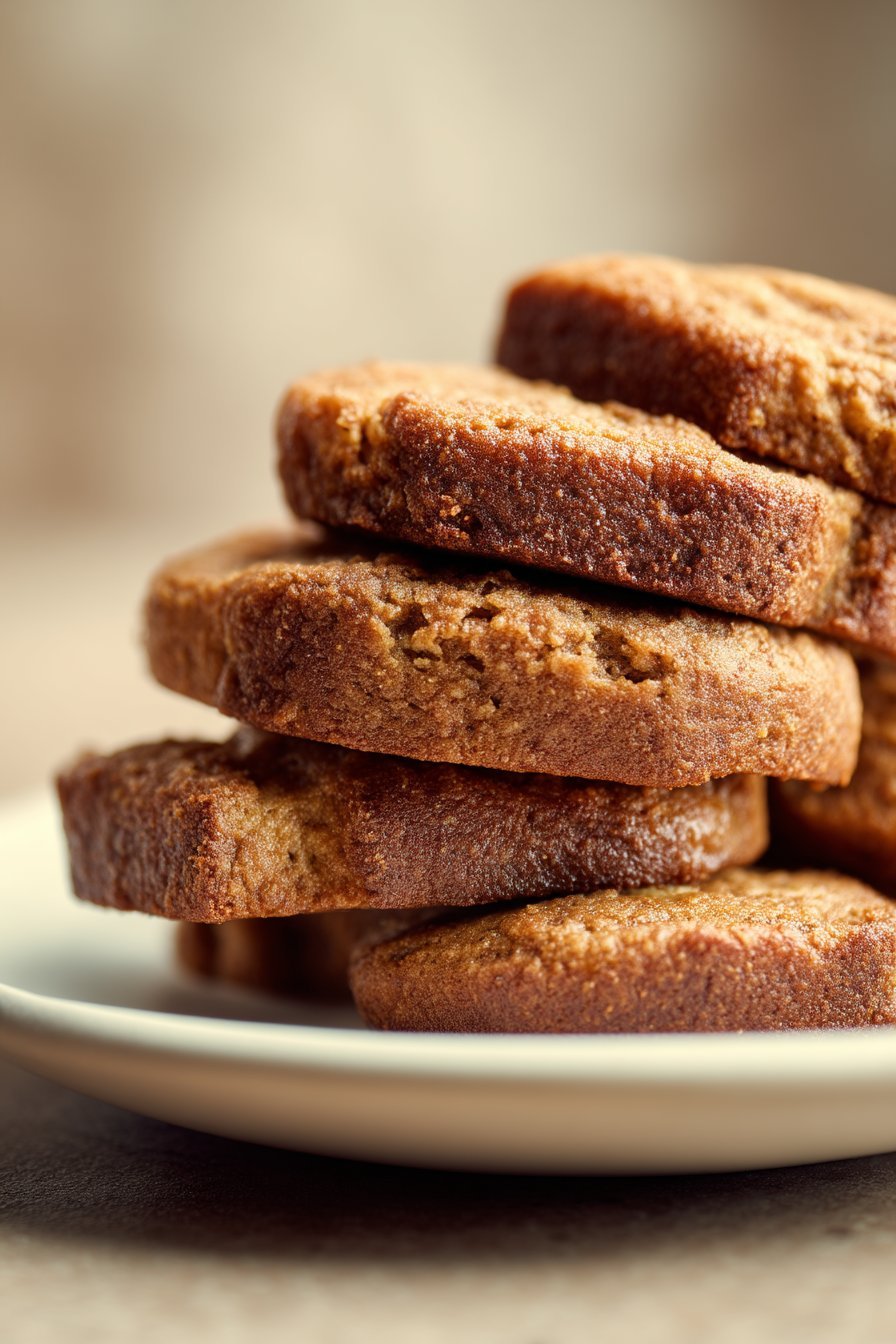
Serving of Gluten Free Banana Dog Treats
Conclusion
When I look back at all the tiny, happy moments I’ve shared with Max, so many of them start in the kitchen—me mashing bananas, him supervising every move with hopeful eyes. That’s the quiet magic of baking: you’re not just whipping up treats, you’re creating cozy rituals and memories. Whether you’re measuring oat flour with your kids, laughing as your dog taps your leg for a “taste test,” or packaging a few extras for a fellow dog parent, these simple baking sessions have a way of bringing everyone a little closer.
If your pup struggles with sensitivities, finding safe, tasty snacks can feel stressful. I hope these ideas for gluten free banana dog treats remind you that allergy-friendly can still be fun, easy, and full of tail wags. Pull out those ripe bananas, preheat the oven, and give one (or all five!) of these recipes a try—you might just start a new tradition in your home.
For more delicious recipes like this, follow us on social media!
Are these Gluten Free Banana Dog Treats safe for allergy-prone dogs?
Yes, these Gluten Free Banana Dog Treats are designed with sensitive pups in mind and use simple, limited ingredients like banana, gluten-free flours, and natural peanut butter. Always double-check every ingredient label to make sure there are no hidden allergens, flavorings, or added sugars. If your dog has multiple or severe allergies, talk with your vet before introducing any new homemade dog treats. **Choose certified gluten-free flours** to reduce the risk of cross-contamination from wheat or other grains. Start by offering a small piece first and watch for any itching, stomach upset, or changes in behavior.
Which gluten-free flours work best in banana dog treats?
Oat flour (certified gluten-free) is my favorite for Gluten Free Banana Dog Treats because it bakes up soft and is usually gentle on sensitive stomachs. Coconut flour is naturally gluten free too, but it absorbs a lot of moisture, so you often need more banana or a little extra egg to keep treats from crumbling. Chickpea (garbanzo) flour adds protein and structure, but it has a stronger flavor, so mix it with oat flour if your dog seems unsure. Always introduce new flours slowly and watch how your dog’s belly responds. If your dog has a known grain allergy, stick with grain-free options like coconut or chickpea flour.
How long can I store homemade Gluten Free Banana Dog Treats?
For baked banana treats, store them in an airtight container at room temperature for 3–5 days, depending on how soft they are and how humid your kitchen is. After that, refrigerate them for up to 10–14 days to keep them fresher and slow down mold. For longer storage, freeze the treats in a single layer, then move them to a labeled freezer bag and keep them for up to 3 months. Thaw a few at a time in the fridge or at room temperature before serving. Always discard any treats that smell sour, feel sticky, or show visible mold.
Recipe
Gluten Free Banana Peanut Butter Dog Treats
Ingredients
Method
- Preheat the oven to 350°F and line a baking sheet with parchment paper.
- In a medium mixing bowl, mash the ripe banana until mostly smooth.
- Add the peanut butter and egg to the bowl and stir until the mixture is creamy and well combined.
- Gradually add the oat flour to the wet mixture, stirring until a soft, non-sticky dough forms that holds its shape when pressed.
- Lightly dust a clean work surface with a small amount of oat flour and place the dough on it.
- Roll the dough out to about 1/4 inch thick using a rolling pin.
- Use small cookie cutters to cut shapes from the dough and place them on the prepared baking sheet.
- Gather any dough scraps, reroll, and cut additional treats until all the dough is used.
- Bake the treats for 18 to 20 minutes, or until the edges are lightly golden and the centers feel firm to the touch.
- Remove the baking sheet from the oven and let the treats cool completely on the sheet before serving or storing.
Notes
- Store cooled treats in an airtight container at room temperature for up to 3 days or refrigerate for up to 7 days.