Why These Green Bean Dog Treats Are Worth Making
These Green Bean Dog Treats work so well because they balance lean protein, gentle carbs, and veggies in one bite-sized snack. Shredded chicken gives each treat enough satisfying protein to feel like a “real” snack to your dog, not just a crunchy cracker. Finely chopped, lightly steamed green beans add texture and fiber without upsetting sensitive tummies the way some richer treats can. Oat flour holds everything together and is usually easier on digestion than wheat flour, especially for dogs that get itchy or gassy with too much gluten. With just 35 calories per treat, you can reward generously on walks, training sessions, or lazy afternoons without overdoing it.
From a practical standpoint, this recipe is wonderfully forgiving in the kitchen. If your dough feels dry and crumbly, you simply splash in a bit more low-sodium chicken broth until it comes together—just like adjusting cookie dough. Too wet? A spoonful of extra oat flour brings it back into line quickly. Coconut or olive oil adds a subtle richness and moisture that helps the treats bake up tender instead of rock-hard, making them easier for senior dogs to chew. Simple add-ins like parsley or ground flaxseed let you turn these basic Green Bean Dog Treats into a more tailored snack: fresher breath from the parsley, and skin-and-coat support from flax’s omega-3s. It’s a smart, vet-inspired foundation you can bake often, tweak a little, and feel genuinely good about feeding your pup.
How to Make These Vet-Inspired Green Bean Dog Treats
Start by preheating your oven to 350°F and lining a baking sheet with parchment paper so the Green Bean Dog Treats don’t stick. In a medium bowl, combine the cooked, shredded chicken and finely chopped, lightly steamed green beans. Make sure the chicken is boneless and skinless, and the green beans are cooled—warm ingredients can make the eggs scramble later. In a larger mixing bowl, whisk together the eggs, low-sodium chicken broth, and melted coconut oil or olive oil until smooth. Gradually stir the chicken and green bean mixture into the wet ingredients, then add the oat flour a little at a time, stirring until a soft, workable dough forms.
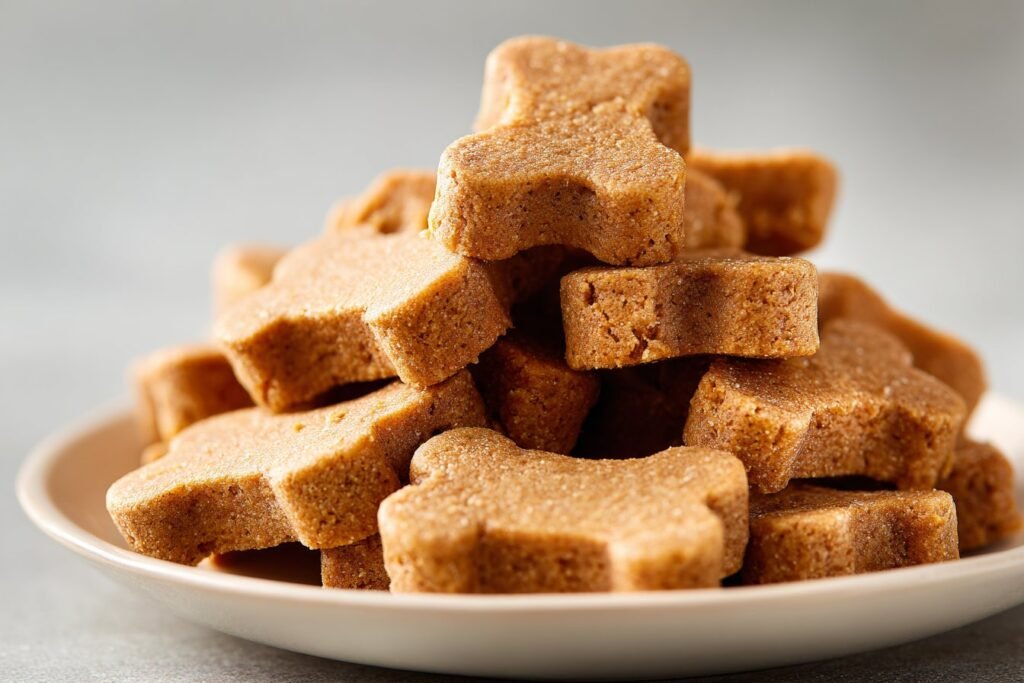
You want a dough that holds together like cookie dough—slightly sticky, but not wet. If it feels crumbly when you pinch it, add 1 tablespoon of extra broth at a time. If it’s too sticky and clings to your fingers in strings, sprinkle in more oat flour until it firms up. Lightly flour your counter with a bit of oat flour, then roll the dough to about ¼-inch thickness. Use small bone- or heart-shaped cutters (or just slice into bite-sized squares with a knife) and arrange the pieces on your prepared baking sheet, leaving a little space between each. Bake for about 20–25 minutes, until the treats feel firm and the edges look lightly golden—this gives them that satisfying crunch most dogs love. Let the Green Bean Dog Treats cool completely on a wire rack before serving; cooling helps them crisp up and makes them safer on sensitive dog tummies.
Time, Prep, and Storage Plan for These Green Bean Dog Treats
You can have these Green Bean Dog Treats ready in about 45 minutes from start to tail-wag finish: around 15 minutes of prep and 25 minutes of baking. I like to cook and shred the chicken ahead of time, so when I’m ready to bake, I’m really just chopping green beans, mixing, and shaping. If you’re having a busy evening, mix and shape the dough in the morning, then keep it covered in the fridge for up to 24 hours and bake when you get home. Aim to bake all 24 treats in one batch so they dry out evenly and keep better. Just remember that oven temperatures vary, so start checking at about the 20-minute mark—the treats should feel firm and slightly golden on the edges.
Once the Green Bean Dog Treats are fully cooled, store them in an airtight container at room temperature for up to 3–4 days. For longer storage, keep them in the fridge for about 7–10 days, or freeze them for up to 2 months; I like to freeze them flat on a baking sheet, then transfer to a labeled freezer bag so I can grab just a few at a time. Because these use chicken and eggs, always refrigerate or freeze if your kitchen runs warm or humid. If you make other homemade dog treats, like pumpkin dog biscuits or banana oat chews, you can store them in separate jars but keep notes on what you baked and when. A simple piece of masking tape with the bake date can be the difference between a fresh, crunchy reward and a treat that’s past its prime.
Flexible Options and Serving Notes for Green Bean Dog Treats
These Green Bean Dog Treats are easy to adapt to your pup’s tastes and dietary needs. For dogs who can’t have chicken, you can swap in cooked turkey or very lean ground beef (well-drained) in the same amount, just keep the pieces finely shredded so the dough holds together. If your dog is sensitive to grains, try a 50/50 mix of oat flour and chickpea flour and watch the consistency closely, adding broth a tablespoon at a time. You can also finely chop the green beans smaller for tiny dogs or puppies so each bite is easier to chew. Never add onions, garlic, seasoning blends, or salty stock cubes, even if you’re tempted to “boost flavor” the human way.
How you serve these Green Bean Dog Treats depends a lot on your dog’s size, age, and daily diet. For bigger dogs like my Lab, Max, I’ll break one full biscuit into 2–3 pieces and use them throughout the day as training rewards or post-walk snacks. For small breeds, senior dogs, or pups watching their calories, cut or shape the dough into pea-sized nuggets and count 1–2 pieces as a full treat. Always factor these into your dog’s daily calorie limit—at about 35 calories each, a few can add up fast if your pup already gets a full bowl of [healthy dog food recipes] every day. Start with a small amount when you introduce any new treat, watch for tummy upset, and pull back or pause if you notice loose stools or extra gas.
These store well and that gives you more serving flexibility. Once baked, let the Green Bean Dog Treats cool completely, then store them in an airtight container at room temperature for up to 4 days, or in the fridge for about a week. For longer storage, freeze in a single layer on a tray, then transfer to a freezer bag; you can take out a few at a time and thaw in the fridge or on the counter. I like to keep a “training jar” in the fridge and a backup stash in the freezer so we’re never out before a big walk or a practice session with homemade dog treats. If you live somewhere humid, refrigeration helps keep these from softening too much, which is extra helpful if your dog loves that slightly crunchy edge.
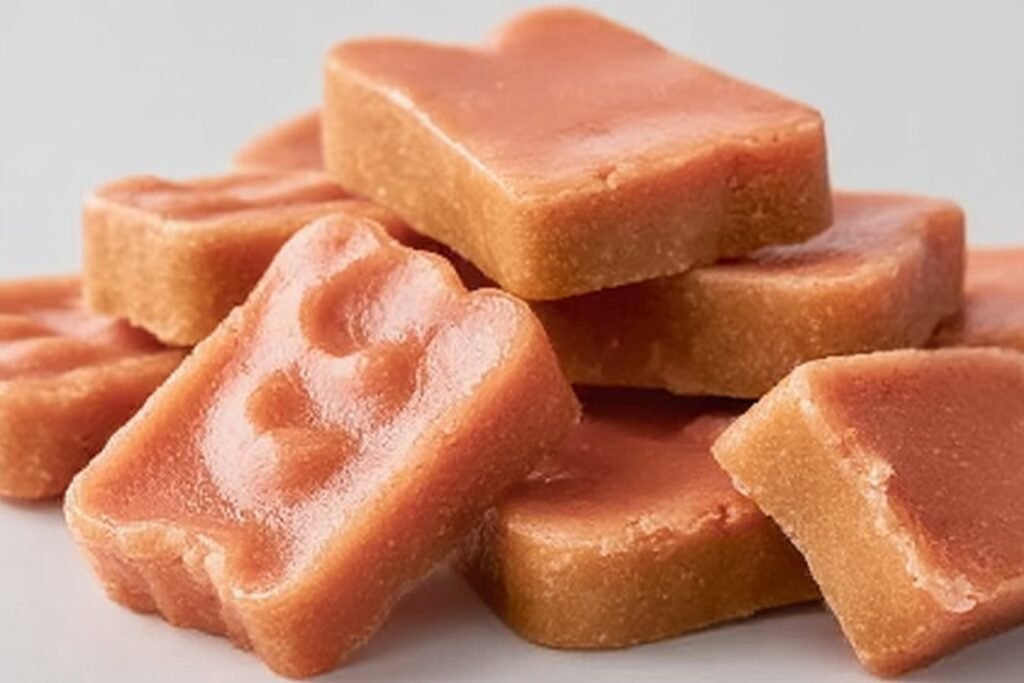
Serving of Green Bean Dog Treats
Conclusion
As you pull these warm little snacks from the oven and hear those excited paws trotting into the kitchen, it’s hard not to smile. There’s something incredibly simple and pure about taking a few fresh ingredients, a quiet afternoon, and turning them into homemade love for your dog. These moments—sharing a crunchy bite on the porch, rewarding a perfect “sit,” or spoiling your senior pup with something gentle and wholesome—are what turn an ordinary day into a memory.
I always say it’s not just about the treat, it’s about the time you spend together. Maybe your kids help snap the beans, or your partner is on “official taster” duty while your dog supervises from the floor. However your kitchen looks, you’ve just created a small tradition you can come back to again and again with these Green Bean Dog Treats.
I’d love for you to give this recipe a try and see your pup’s tail-wagging approval for yourself. For more delicious recipes like this, follow us on social media!
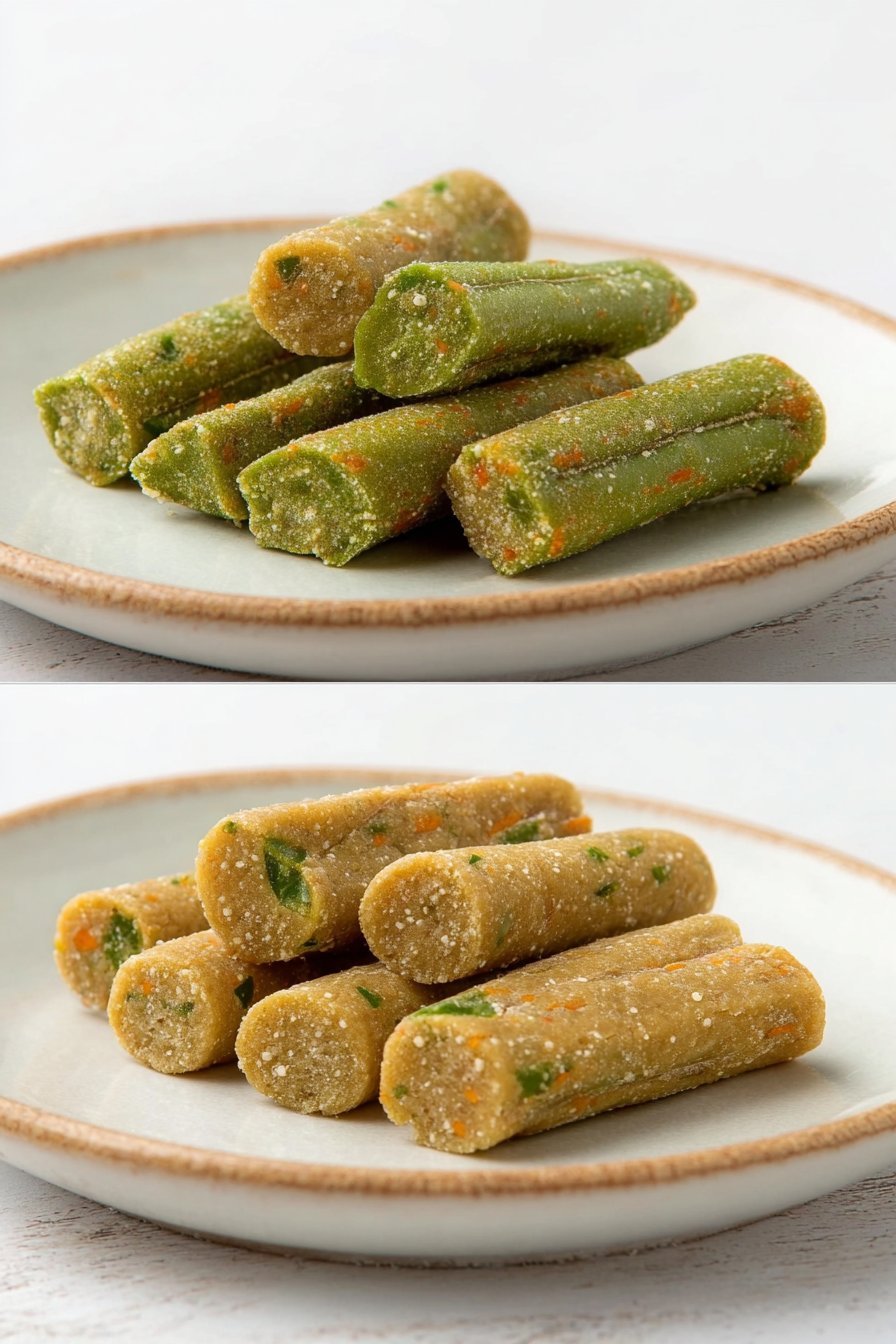
Instructions Process of Green Bean Dog Treats
Are green bean dog treats safe for most dogs?
Green bean dog treats like these are generally safe for healthy adult dogs when you use dog-friendly ingredients and no seasonings. Green beans are low in calories and high in fiber, which makes them a great option for pups watching their weight. However, every dog is different, and some may be sensitive to chicken, eggs, or grains like oats. If your dog has known food allergies, digestive issues, or is on a special diet, check with your vet before introducing this recipe. Start with a small piece the first time and watch for any signs of tummy upset, itching, or changes in stool.
Can I use frozen or canned green beans in these treats?
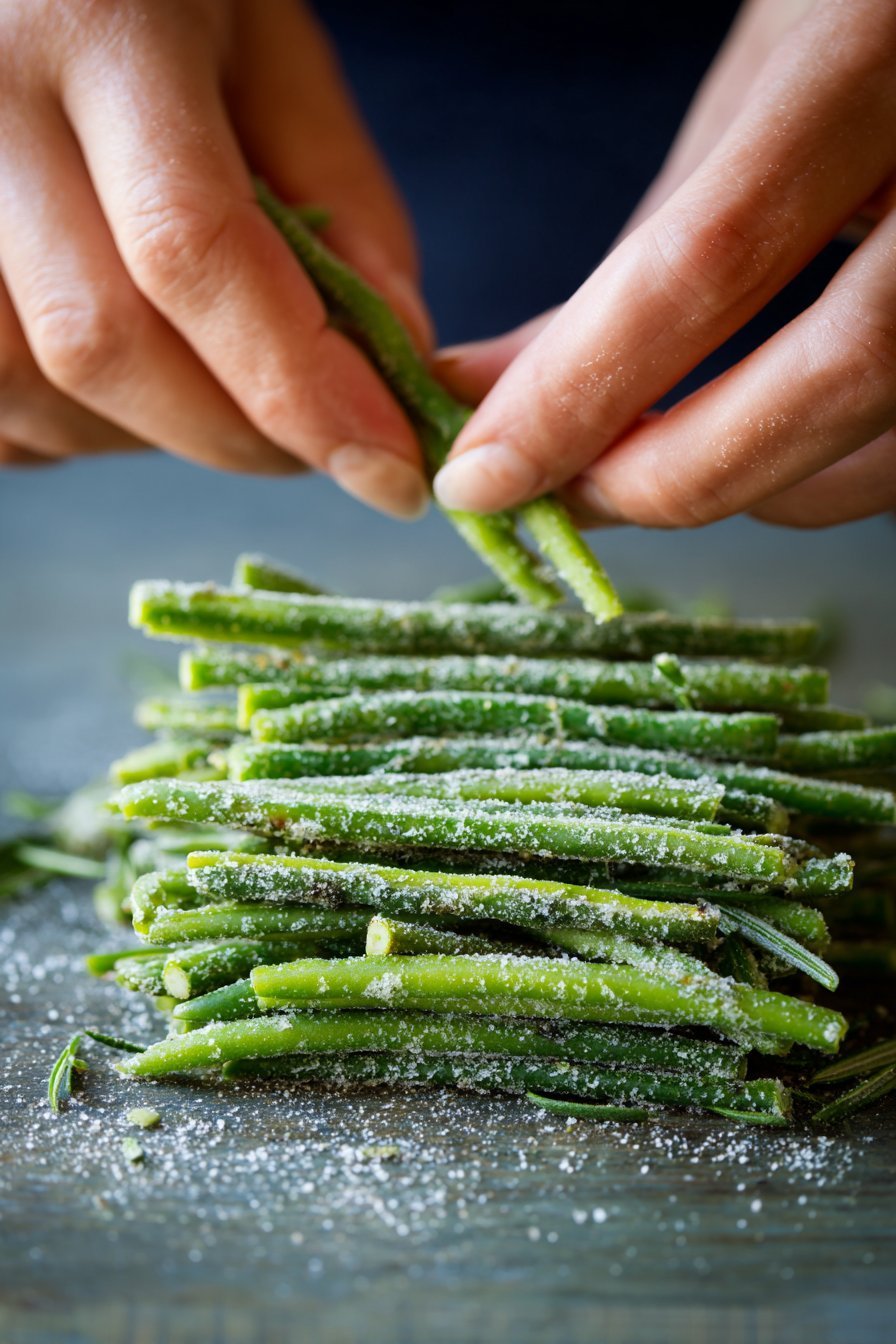
You can use frozen green beans as long as you thaw and lightly steam or blanch them, then chop them finely. This keeps the treats tender and easier for your dog to digest. Canned green beans are only safe if they are plain and low-sodium, with no added seasonings, onions, or garlic. Always rinse canned beans well to remove excess salt before using. **Avoid any green beans that come in sauces, with spices, or mixed with other questionable ingredients.**
How should I store these green bean dog treats and how long do they last?
Store cooled treats in an airtight container in the fridge for up to 5–7 days. Because they contain chicken and eggs, refrigeration helps keep them fresh and safe. For longer storage, you can freeze them in a single layer, then transfer to a freezer-safe bag or container for up to 3 months. Thaw individual treats in the fridge or at room temperature before serving so they’re easy for your dog to chew. If you ever notice an off smell, mold, or a slimy texture, discard the treats right away.
Recipe
Green Bean Dog Treats
Ingredients
Method
- Preheat the oven to 350°F and line a baking sheet with parchment paper.
- In a medium bowl, combine the shredded chicken and chopped green beans and set aside.
- In a large mixing bowl, whisk together the eggs, chicken broth, and melted coconut oil or olive oil until smooth.
- Stir the chicken and green bean mixture into the wet ingredients until evenly distributed.
- Gradually add the oat flour to the bowl, stirring until a soft, workable dough forms.
- If using, mix in the parsley and ground flaxseed until fully incorporated.
- Check the dough consistency: if it is crumbly, add 1 tablespoon of extra chicken broth at a time; if it is too sticky, sprinkle in additional oat flour until it holds together like cookie dough.
- Lightly dust a clean work surface with oat flour and turn the dough out onto it.
- Roll the dough to about 1/4-inch thickness with a rolling pin.
- Cut out shapes with small cookie cutters or slice into bite-sized squares with a knife.
- Arrange the pieces on the prepared baking sheet, leaving a little space between each treat.
- Bake for 20–25 minutes, until the treats are firm and the edges are lightly golden.
- Remove the baking sheet from the oven and let the treats cool on the pan for 5 minutes.
- Transfer the treats to a wire rack and cool completely before serving or storing.
Notes
- Never use xylitol or any artificial sweeteners, as they are toxic to dogs.
- Store cooled treats in an airtight container at room temperature for up to 4 days, in the fridge for up to 10 days, or freeze for up to 2 months.
- For smaller dogs, cut the dough into very small pieces so the treats are easy to chew and portion.