The Practical Why Behind It
When I first started looking into “better than store-bought” Greenies for Dogs, I kept coming back to one word: control. Making a vet-inspired version at home means you decide exactly what goes into your pup’s mouth—lean proteins like chicken or turkey, real fiber, and safe, healthy fats—without mystery fillers or confusing ingredient lists. If your dog has a recipes\-for-sensitive-stomachs/” target=”_blank” rel=”nofollow noopener”>sensitive stomach, allergies, or needs to watch their weight, this control becomes more than a bonus; it becomes a real tool, just like choosing the right harness or food bowl. You can keep calories around that 60-per-treat mark, avoid overdoing the fat, and choose ingredients that match your dog’s age, size, and activity level.
There’s also the simple, practical reality of day-to-day dog parenting: you need treats that actually do something for your dog, not just taste good. These homemade Greenies for Dogs let you focus on textures that gently scrub teeth, plus ingredients that support skin, coat, and digestion at the same time. You can tweak the recipe after talking with your vet—maybe a bit more fiber for a pup who needs help staying regular, or slightly higher protein if you’ve got a high-energy fetch fanatic. And because you’re already in your own kitchen, you can batch-bake enough for the week, portion them by size, and store them safely so you always have a reliable “good mouth” treat ready after brushing or an evening walk.
Finally, there’s the bonding piece we don’t always talk about, but feel every day. When you set aside 40 minutes to prep and bake these Greenies for Dogs, you turn an ordinary chore—buying treats—into a small ritual of care. You’ll notice how your dog reacts: the way they hover near the oven, sniffing that warm, savory smell, and the calmer, happier tummy afterward when you’ve chosen ingredients that truly agree with them. It’s practical and a little bit magical: you support dental health, nutrition, and your dog’s trust in you with one pan of homemade, vet-inspired treats.
Step-by-Step Method for Homemade Greenies for Dogs
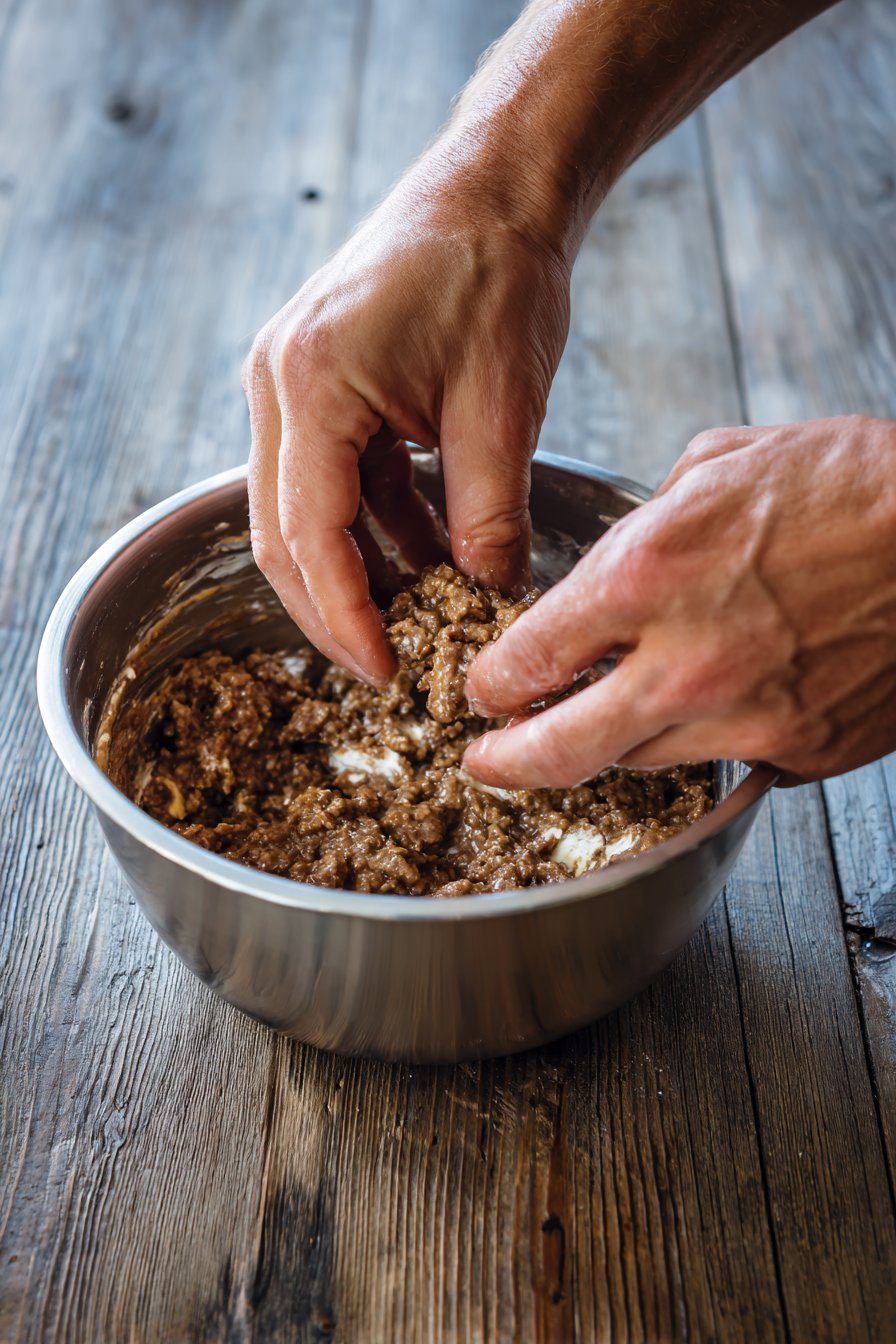
Start by preheating your oven to 175 °C (350 °F) and lining a baking sheet with parchment paper so your homemade Greenies for Dogs don’t stick. In a mixing bowl, combine your lean protein (finely shredded chicken, turkey, or lean beef) with a small amount of mashed dog-safe greens like steamed spinach or kale to add that classic “greenie” color and boost nutrients. Stir in a teaspoon or two of healthy fat such as fish oil or a tiny amount of mashed avocado, then add just enough whole-grain flour or oat flour to create a soft, pliable dough—similar to sugar cookie dough, but a bit stickier. If the dough feels too wet and clings heavily to your hands, sprinkle in more flour a tablespoon at a time; if it feels dry and cracks, add a few drops of water or low-sodium chicken broth. Remember, you’re not baking for a pastry judge—your pup cares more about flavor and texture than how perfect the shapes look.
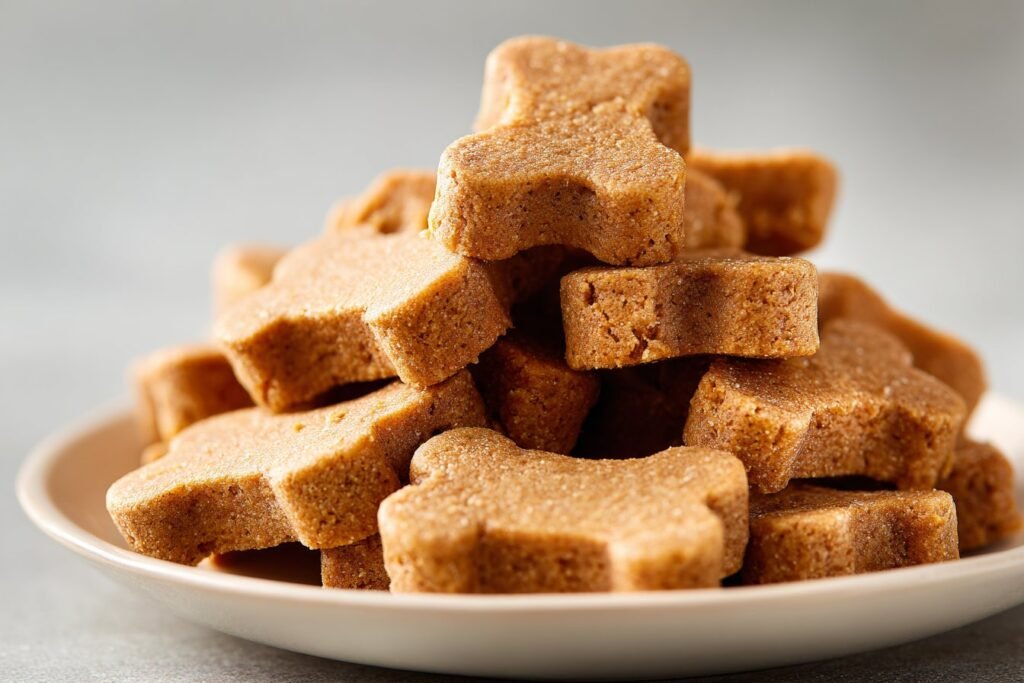
Once the dough comes together, lightly flour your work surface and roll it out to about 0.5–0.75 cm thickness so the treats bake through but still feel chewy, like store-bought dental chews. Use a knife or small cookie cutter to cut long, narrow bone or stick shapes that your dog can comfortably chew—aim for pieces about the length of your dog’s muzzle. Arrange them on the prepared tray with a little space between each one, then bake for 18–25 minutes until the edges turn lightly golden and the centers feel firm to the touch. For a crunchier texture that lasts longer, you can turn off the oven and let the Greenies for Dogs dry inside for another 15–20 minutes with the door slightly cracked. Let the treats cool completely on a rack before offering one to your dog, and store the rest in an airtight container; when in doubt about ingredients or portion sizes, check with your vet or a trusted guide for healthy dog food recipes to keep everything balanced and safe.
Make-Ahead and Storage Notes for These Greenies for Dogs
These homemade Greenies for Dogs are perfect for making ahead, especially if you like to batch-prep treats on the weekend. After baking and cooling completely, store them in an airtight container at room temperature for up to 5 days if your kitchen is cool and dry. If your home runs warmer or more humid, I recommend keeping them in the fridge instead, where they’ll stay fresh for about 10–12 days. I like to line the container with a paper towel to absorb extra moisture so the chews don’t get soft or soggy. Always write the date on the lid so you remember when you made that batch for your pup.
For longer storage, you can absolutely freeze these Greenies for Dogs. Arrange the cooled treats in a single layer on a baking sheet, freeze until solid, then transfer them to a freezer bag, pressing out as much air as you can. They’ll keep well for about 2–3 months in the freezer. To serve, thaw a few in the fridge overnight or let one sit on the counter for 10–15 minutes; the texture will soften slightly but still give your dog a satisfying chew. If you already enjoy baking other healthy dog food recipes, like veggie-packed biscuits or soft sweet potato bites, you can store them in the freezer the exact same way for an easy mixed-treat stash.
Because these use lean proteins and healthy fats, always check for signs of spoilage before offering one to your dog. If a treat smells “off,” feels slimy, or shows any mold, it’s safer to toss it. Avoid storing them in direct sunlight or on top of a warm appliance, which can cause the fats to go rancid faster. And as always with easy dog meals, stick to your vet’s guidance on treat portions, especially if your pup needs to watch their weight or has any medical restrictions.
Variations and How to Serve It
One of my favorite things about these homemade Greenies for Dogs is how easy they are to customize while still keeping them vet-friendly. If your pup loves poultry, use shredded chicken or turkey as the main lean protein; for beef fans, lean ground beef works well as long as you drain off any extra fat. You can also adjust the fat source slightly—swap fish oil for a drizzle of flaxseed oil if your vet approves, especially for pups that need a softer coat and happy skin. For dogs with sensitive stomachs, bake the treats a bit longer at a slightly lower temperature so they dry out more, making them easier to digest and store. Just remember: this is a treat, not a complete meal, so keep portions modest and talk to your vet if you plan to serve them regularly.
When it comes to serving these chewy, homemade Greenies for Dogs, think of them as a reward with a little dental boost, not a magic toothbrush. I like to offer Max one treat after a walk or as an evening “good boy” snack, and I always make sure he has plenty of fresh water nearby. For smaller dogs, you can shape the dough into mini sticks or break larger treats into pieces so they’re easier to chew and safer to swallow. Senior pups or dogs with dental issues might do better if you bake the treats a bit less so they stay softer, or crumble one over their regular food as a flavorful topper. However you serve them, stay close the first time to watch how your dog chews and digests them—our goal is happy tails and clean-ish teeth, not tummy troubles.

Serving of Greenies for Dogs
Conclusion
As I watched Max crunch his first homemade “greeny,” he paused, licked his lips, and then trotted back for another with that hopeful Lab stare I can never resist. Moments like that are why I love stepping into the kitchen and turning simple ingredients into something special just for him. These DIY chews don’t just freshen breath or support dental health—they turn an ordinary afternoon into a tiny celebration between you and your pup.
When you mix, roll, and bake these treats, you’re not just recreating Greenies for Dogs—you’re creating a ritual: kids pushing cookie cutters into dough, your dog waiting (impatiently) by the oven, and everyone gathering to offer that first taste-test. Homemade dog treats have a fun way of slowing us down and reminding us what matters most: time together, wagging tails, and the comfort of knowing exactly what’s in your pup’s snacks.
I hope you feel inspired to try this recipe, tweak it to fit your dog’s tastes, and make it part of your own cozy kitchen tradition.
For more delicious recipes like this, follow us on social media!
Instructions Process of Greenies for Dogs
Recipe

Homemade Greenies for Dogs
Ingredients
Method
- Preheat the oven to 350 °F and line a baking sheet with parchment paper.
- In a mixing bowl, combine the shredded lean meat and finely chopped spinach or kale.
- Stir in the fish oil until the mixture is evenly coated.
- Add the whole wheat flour and water or low-sodium chicken broth and mix until a soft, slightly sticky dough forms.
- If the dough is too wet, add more flour 1 tablespoon at a time; if too dry, add a few drops of water or broth and knead briefly to combine.
- Lightly flour a work surface, turn the dough out, and roll it to 1/4 inch thickness.
- Cut the dough into long, narrow bone or stick shapes about the length of your dog’s muzzle.
- Arrange the pieces on the prepared baking sheet, leaving a little space between each treat.
- Bake for 18–25 minutes, until the edges are lightly golden and the centers are firm to the touch.
- For a crunchier texture, turn off the oven and let the treats dry inside for 15–20 minutes with the door slightly open.
- Transfer the treats to a rack and cool completely before serving to your dog.
- Store cooled treats in an airtight container at room temperature for several days or refrigerate for longer storage.
Notes
- Avoid ingredients harmful to dogs such as onions, garlic, grapes, raisins, xylitol, and chocolate.
- Use only plain cooked meat without seasoning, bones, or skin.
- If your dog is sensitive to wheat, substitute oat flour in place of whole wheat flour.
- Introduce any new treat gradually to watch for digestive upset.