The Memory Behind This Treat
The first time I whipped up these Peanut Butter & Applesauce Dog Biscuits, it was a chilly fall afternoon. Max, my lovable Labrador, had just come in from a romp through the crunchy autumn leaves. He had that mischievous sparkle in his eyes, the one that says, “What’s next, Mom?” I decided it was the perfect time to try something new in the kitchen—a treat that would fill the house with warm, inviting aromas and keep Max’s tail wagging.
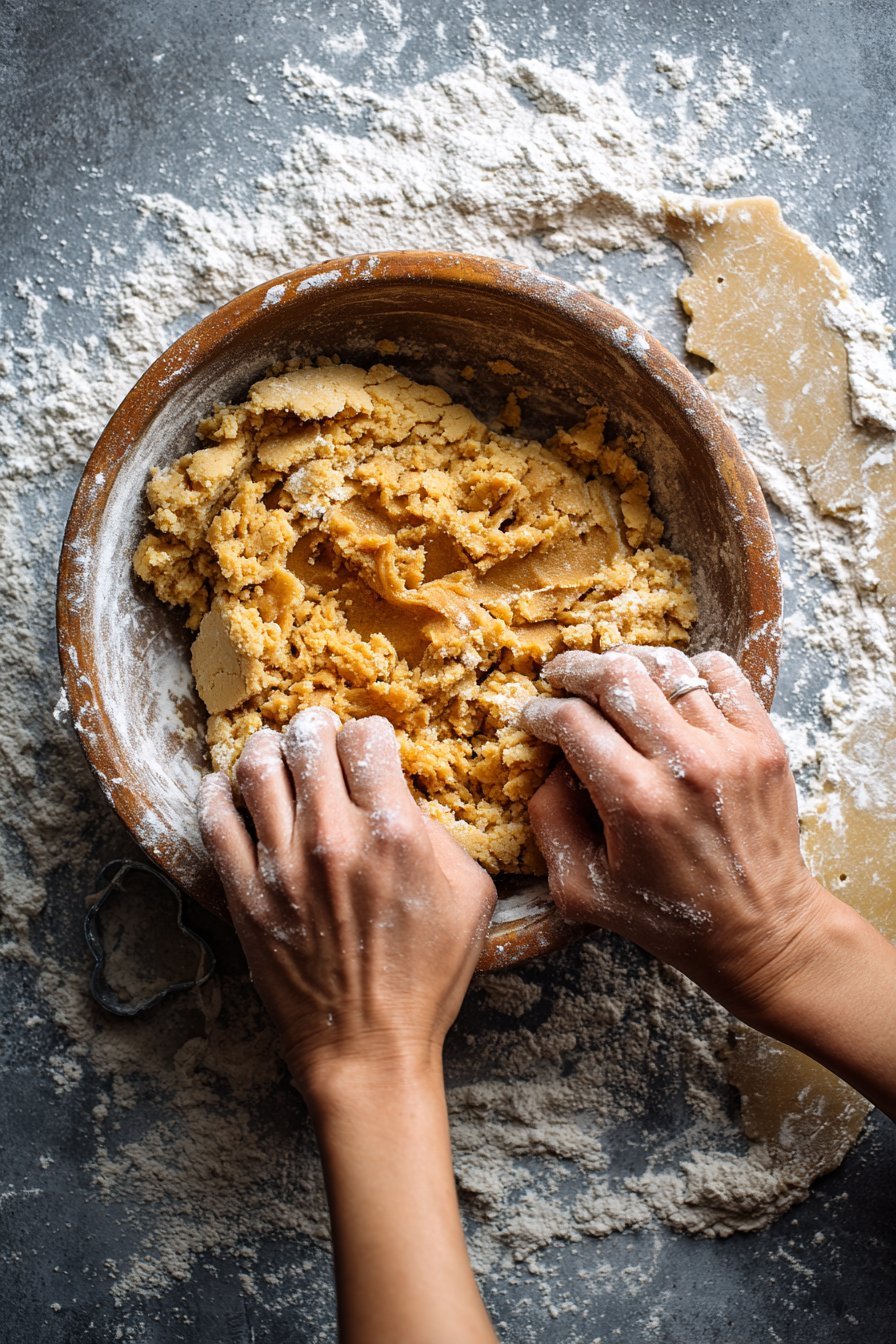
As I mixed the unsweetened peanut butter with applesauce, Max watched intently, nose twitching at the nutty, sweet scent drifting through the air. I remember laughing at how he cocked his head to the side every time I reached for another ingredient. Once everything was combined, the dough was wonderfully sticky and slightly messy, much like cooking with a toddler—except this toddler was more interested in licking the spoon!
After cutting out adorable bone shapes and sliding the biscuits into the oven, Max and I settled by the kitchen window. Watching the leaves dance outside, I could feel his anticipation as the biscuits turned golden brown. When they were finally cool enough, the crunch was music to Max’s ears. Ever since that day, these biscuits have become a staple in our kitchen. They’re not just a treat; they’re a reminder of cozy afternoons and the joy of baking with love for our furry companions.
How To Make It (Mix & Ingredients)
Whipping up these Peanut Butter & Applesauce Dog Biscuits is as easy as a walk in the park with Max. Start by gathering all your ingredients. You’ll need 1 cup of unsweetened and unsalted peanut butter—the kind Max would happily lick from the spoon. Combine this with 1/2 cup of unsweetened applesauce. This fruity addition not only adds flavor but also keeps the biscuits moist and delicious.
Instructions Process of Peanut Butter & Applesauce Dog Biscuits
In a large mixing bowl, combine the peanut butter and applesauce. If you decide to use an egg for extra binding, now’s the time to crack it in. Mix these together until smooth. Gradually incorporate 2 cups of whole wheat flour and 1/4 cup of rolled oats. This blend creates a hearty texture your dog will love. If the dough feels a bit dry, add the 1/4 cup of water, but do so gradually—a tablespoon at a time—until you achieve a workable dough.Once mixed, roll the dough out on a floured surface to about 1/4 inch thickness. Feel free to get creative with cookie cutters or simply slice into squares if you’re in a rush (I’ve definitely been there!). Lay your cutouts onto a lined baking sheet and pop them into a preheated oven at 350°F. In just 20-25 minutes, your kitchen will be filled with an aroma that’ll have your pup wagging with anticipation. Remember, let them cool completely before serving to avoid any burnt tongues!
Make-Ahead & Storage
Keeping your Peanut Butter & Applesauce Dog Biscuits fresh and tasty is just as important as making them. After baking, let those golden beauties cool completely. This prevents any moisture from sneaking into your storage container, which could make the biscuits go bad faster. Once cool, store them in an airtight container, and they’ll stay crunchy and delightful for up to a week on your counter. If you’ve got a big batch, consider dividing them into smaller portions to keep them extra fresh.
For longer storage, freezing is your best friend! Pop the biscuits into a freezer-safe bag or container, and they’ll last for up to 3 months. Just be sure to label them with the date, so you know when it’s time to bake another batch. When Max or your pup craves a treat, simply take a biscuit out and let it thaw for a few minutes. You might also want to try these Sweet Potato Dog Chews for another freezer-friendly option.
Remember, homemade treats lack preservatives, so regular checks for signs of spoilage, like mold or a strange smell, are essential. This way, you’ll ensure that every nibble is as good as the first. Whether enjoyed fresh or thawed, these biscuits make every tail wag with joy!
Best Ingredients & Party Variations
When crafting these Peanut Butter & Applesauce Dog Biscuits, choosing the right ingredients is essential. For the peanut butter, always opt for unsweetened and unsalted varieties. Check the label to ensure it’s free from xylitol, which is highly toxic to dogs. The applesauce should also be unsweetened; dogs don’t need the extra sugar, and their taste buds will appreciate the natural apple flavor. Whole wheat flour provides a hearty texture and is a better option than white flour due to its higher fiber content. If your dog has grain sensitivities, you might substitute with oat flour or chickpea flour for a gluten-free twist.
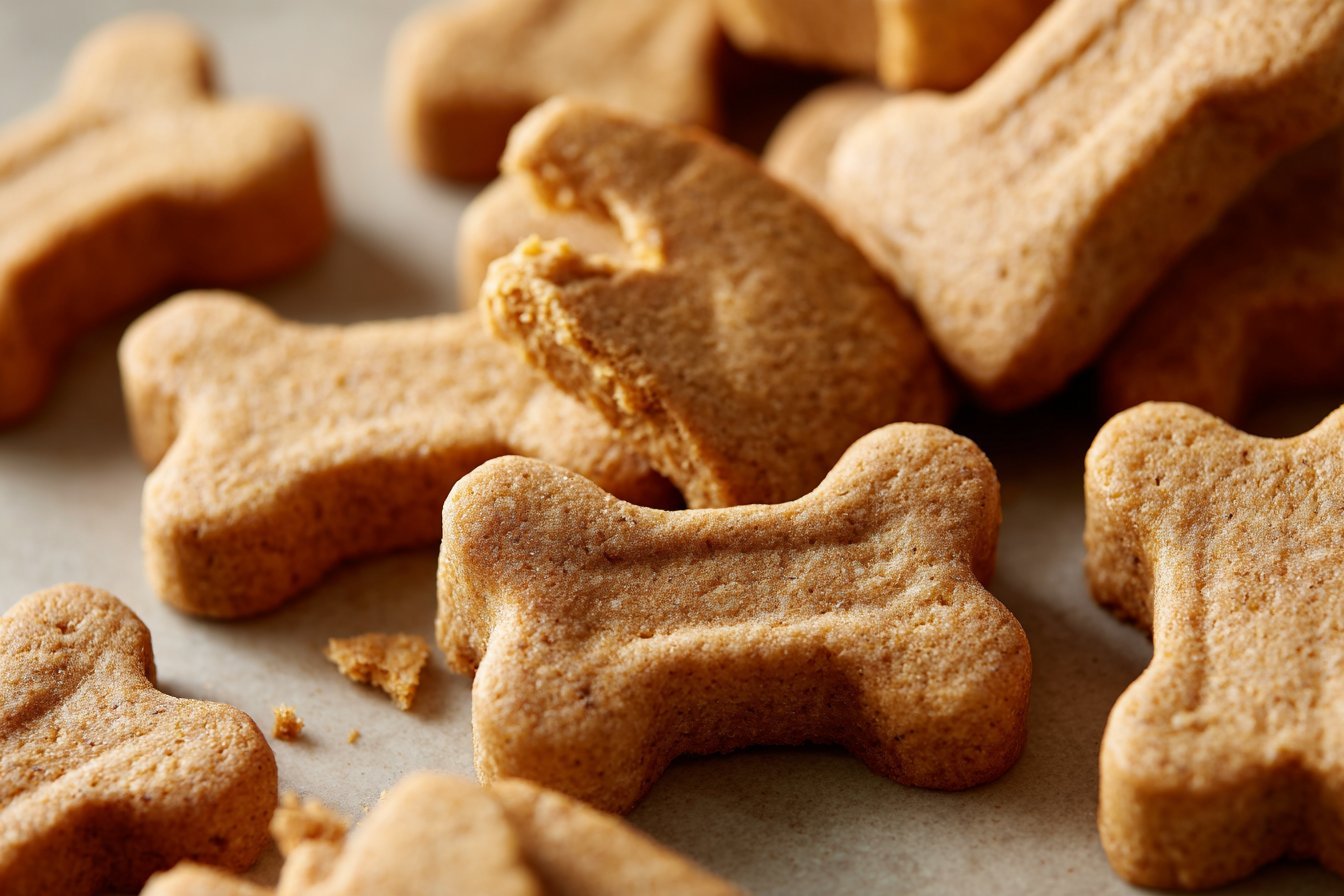
Now, if you’re feeling festive, these biscuits can easily be transformed into delightful party treats. Adding some shredded carrots or pumpkin puree can give a nutritional boost and a pop of color. For special occasions, use fun-shaped cookie cutters like bones or paws to make them visually appealing. You can even add a dash of cinnamon or turmeric for an extra health kick—just remember, moderation is key. Avoid any add-ons like chocolate or raisins, which are harmful to dogs. For more inspiration, you might enjoy checking out our Pumpkin & Oat Dog Cookies, another safe and delightful choice.
Finally, for pups who love variety, consider adding a bit of natural bacon flavoring or a sprinkle of dried parsley. These subtle changes can make these biscuits even more irresistible to your furry friend, turning snack time into a special occasion. Whether you’re treating your dog to a cozy afternoon snack or celebrating a birthday, these variations ensure every bite is tail-waggingly good!
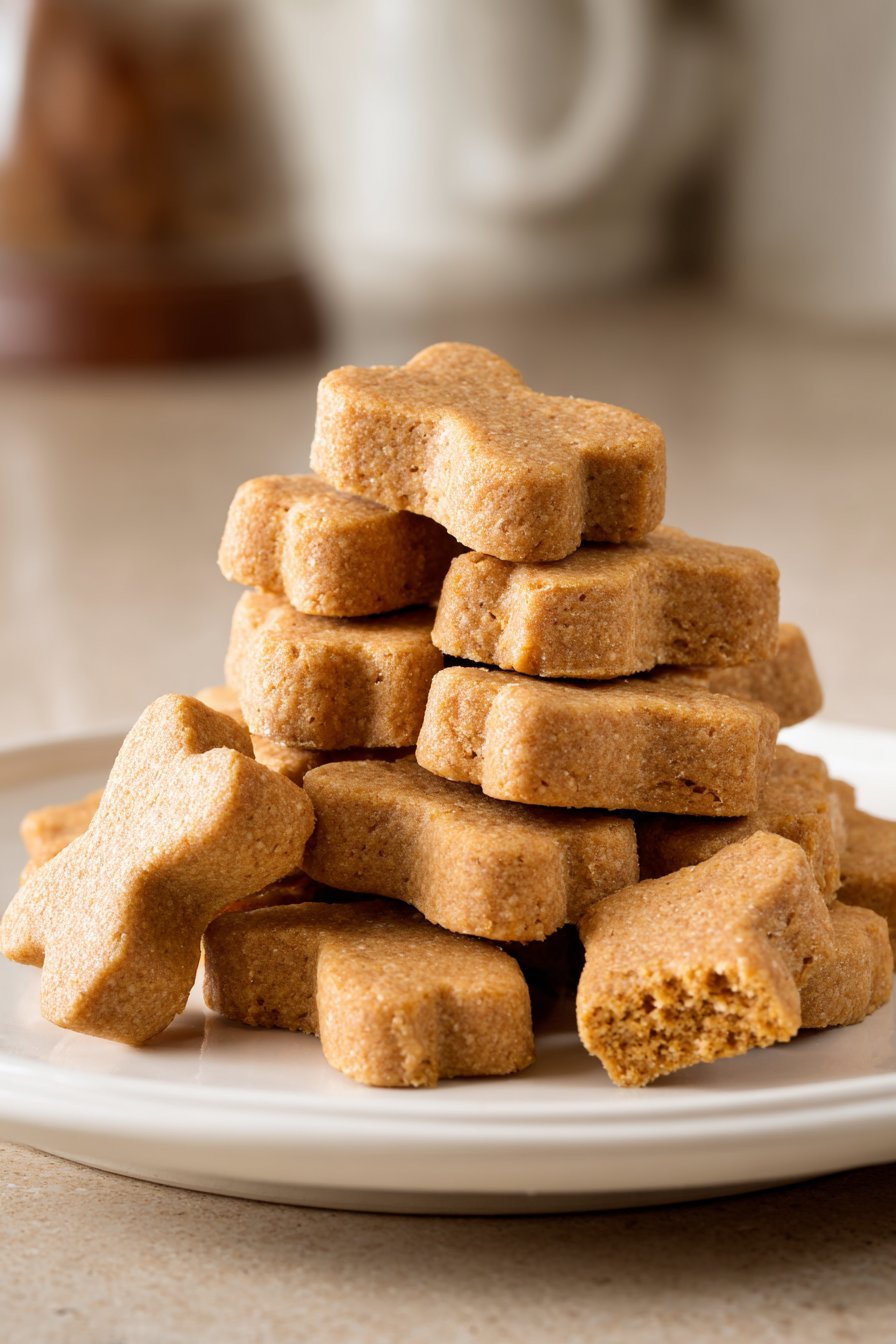
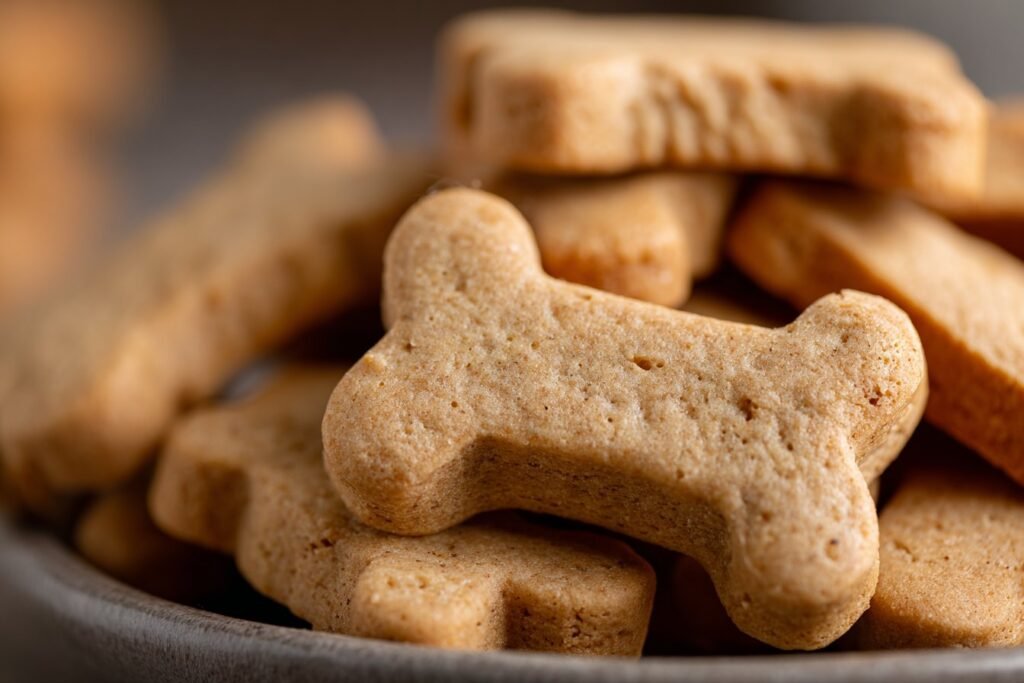
Serving of Peanut Butter & Applesauce Dog Biscuits
Conclusion
Making these Peanut Butter & Applesauce Dog Biscuits is more than just whipping up a treat—it’s about creating joyful moments with your furry friend. I remember the first time Max and I shared these biscuits; the kitchen was filled with laughter and eager tail wags. It’s incredible how a simple recipe can bring so much happiness.
Whether you’re baking on a rainy afternoon or whipping up a batch for a special occasion, these biscuits are sure to become a beloved staple in your dog’s treat jar. The joy of seeing your pup’s eyes light up with delight is truly priceless.
I encourage you to try this recipe and experience the magic yourself. Share the love, and let these biscuits become part of your cherished memories with your dog.
For more delicious recipes like this, follow us on social media! Your pup will thank you for it!
**Can I use regular peanut butter for the Peanut Butter & Applesauce Dog Biscuits?
** It’s best to choose unsweetened and unsalted peanut butter for these biscuits to keep them safe and healthy for your pup. **Avoid peanut butter containing xylitol** or added sugars, as these can be harmful to dogs. If you’re unsure, always check the label before using.
**Is the egg necessary in the Peanut Butter & Applesauce Dog Biscuits recipe?
** The egg acts as a binding agent, but it’s not essential. If your dog has an egg allergy or you prefer to skip it, you can still make the recipe work. Simply add a little more water if needed to achieve a workable dough consistency. The biscuits will still come out deliciously crunchy!
**How should I store the Peanut Butter & Applesauce Dog Biscuits after baking?
** Let the biscuits cool completely before storing them. Place them in an airtight container at room temperature where they’ll stay fresh for up to a week. For longer storage, you can freeze the biscuits for up to three months. Just make sure to thaw them before serving to your pup.
Recipe
Easy Peanut Butter & Applesauce Dog Biscuits
Ingredients
Method
- Preheat your oven to 350°F (175°C).
- In a large bowl, combine peanut butter, applesauce, and egg (if using). Mix until well combined.
- Gradually add the whole wheat flour and rolled oats. Stir until dough forms. If dry, add water a tablespoon at a time.
- On a floured surface, roll out the dough to about 1/4 inch thickness. Cut into shapes.
- Place on a lined baking sheet and bake for 20-25 minutes, until golden brown.
- Cool completely before serving. Store in an airtight container.
Notes
- Ensure biscuits cool completely to avoid burns.