The Memory Behind This Treat
The first time I made these Peanut Butter Dog Treats, Max, my lovable Labrador, was just a young pup with an insatiable curiosity and an even bigger appetite. I remember the day vividly. The kitchen was filled with the warm, nutty scent of peanut butter as I mixed the ingredients. Max was practically glued to my side, his nose twitching with excitement. It was as if he knew this was a special treat just for him.
As I rolled out the dough on the kitchen counter, Max watched intently, tail wagging in anticipation. I used a simple bone-shaped cookie cutter to slice through the dough, and each cut seemed to increase his excitement. When they finally hit the oven, Max sat by it, mesmerized by the baking magic. The golden edges and delightful aroma soon filled the air, and I knew I had found a winner.
Those first treats were a hit—not just with Max, but with every dog at the park the next day. Sharing these homemade delights became a community event, with wagging tails and happy barks all around. Baking these Peanut Butter Dog Treats has become a cherished ritual for us, one that I am thrilled to share with you and your furry friends. After all, there’s nothing quite like seeing your dog’s eyes light up over a wholesome, homemade treat!
How To Make It (Mix & Ingredients)
Making these Peanut Butter Dog Treats is a straightforward and rewarding process. Start by gathering your ingredients: 2½ cups of whole wheat flour, 1 cup of water, ½ cup of peanut butter, ⅓ cup of coconut oil at room temperature, and 1 tablespoon of baking powder. Never use peanut butter containing xylitol—it’s toxic to dogs! Ensure your coconut oil is soft enough to mix easily, making your dough smooth and pliable.
Instructions Process of Peanut Butter Dog Treats
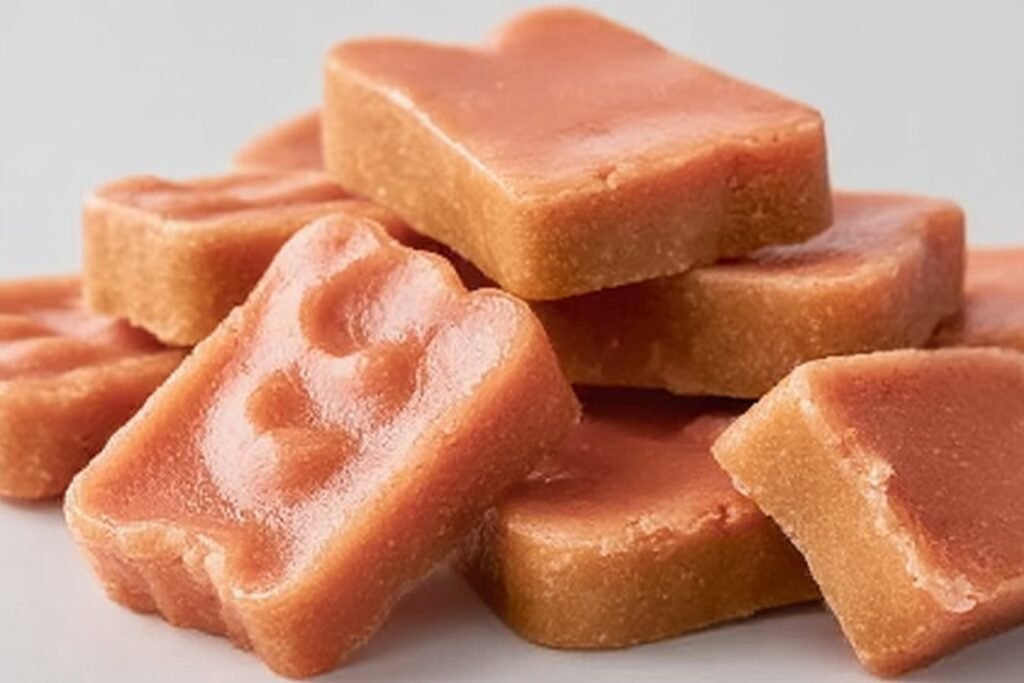
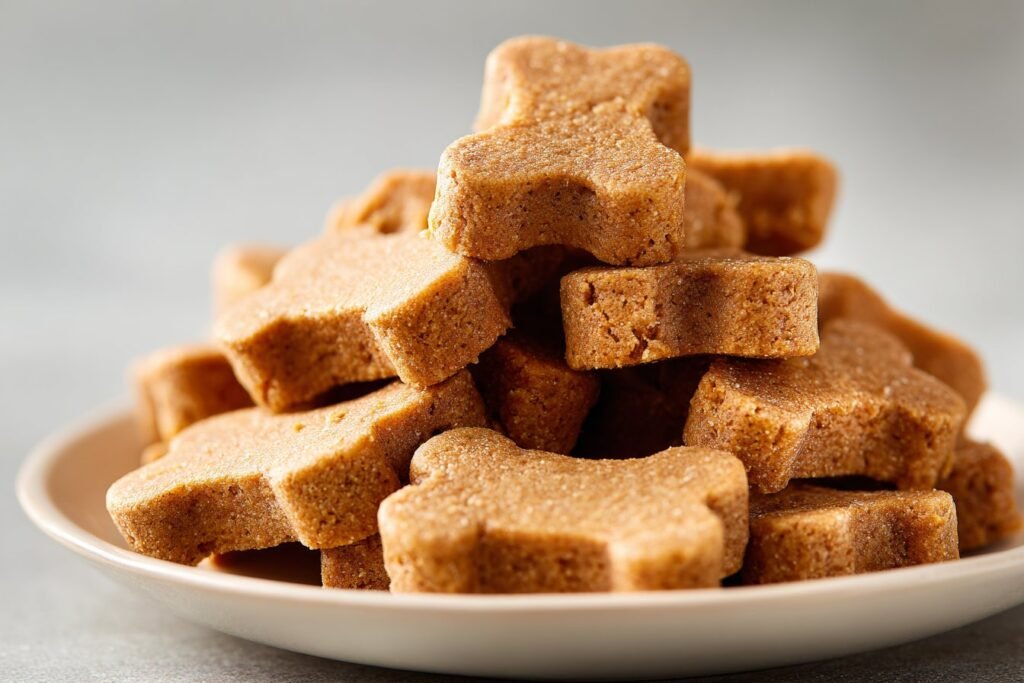
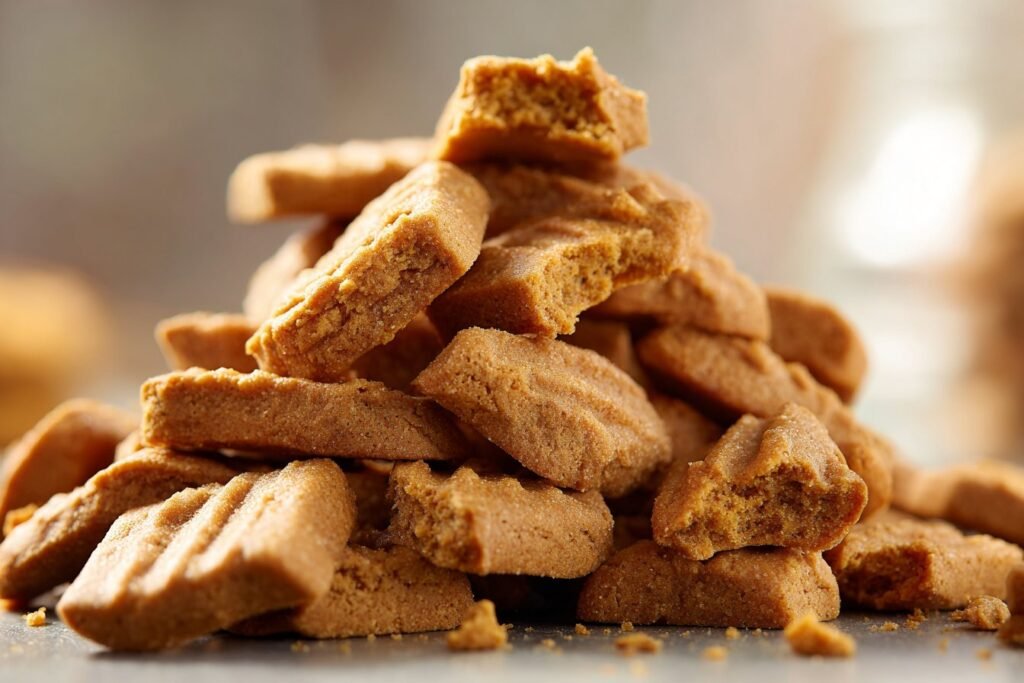
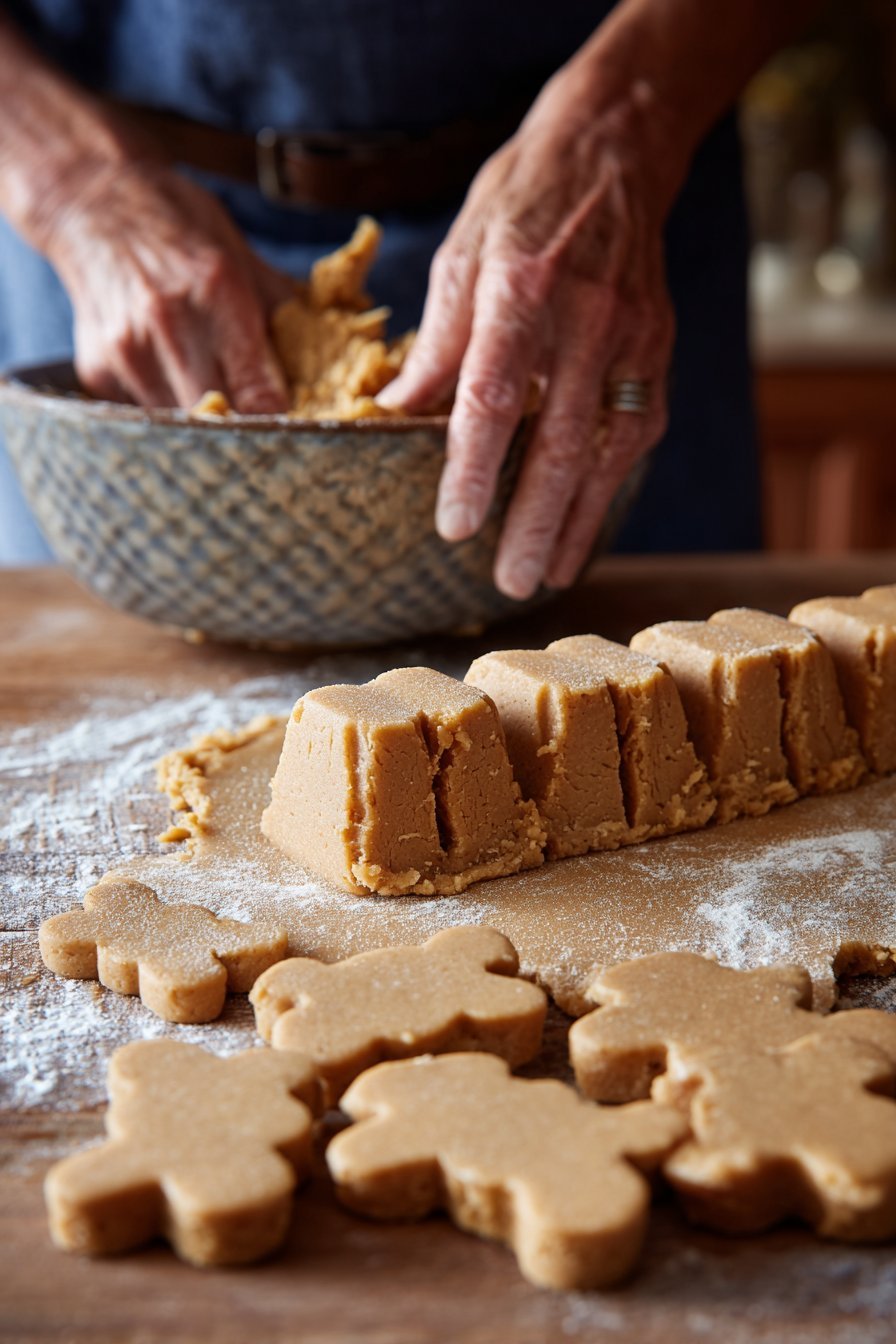
In a large bowl, combine all the ingredients. You can use a sturdy spoon or your hands to mix until everything is well-blended. The dough should be firm but not dry; if it feels too sticky, sprinkle a bit more flour. Max often finds his place right by my feet during this step, eagerly sniffing the air as the nutty aroma fills the kitchen. For those cozy baking days, involving your pup by letting them be close can make the process even more delightful.Once your dough is ready, transfer it to a lightly floured surface. Roll it out to about ½-inch thickness. Use your favorite cookie cutters or simply a knife to shape the treats into bite-sized pieces. Remember, these will expand slightly, so space them out on your parchment-lined baking sheet. Bake in your preheated oven at 375°F for about 15 minutes, or until they turn a lovely golden brown. Allow them to cool completely before serving. If you’re looking for more homemade dog treat ideas, check out our favorite collection of dog biscuit recipes.
Make-Ahead & Storage
Max and I always love having a stash of these Peanut Butter Dog Treats on hand, especially for those spontaneous park adventures. The great thing about this recipe is how well these treats store. Once baked and cooled, keep them in an airtight container on your counter. They’ll stay fresh for up to a week—perfect for rewarding your pup with a delicious crunch each day.
If you prefer to make a larger batch, you can easily freeze them. Place your baked treats in a zip-top freezer bag, and they’ll last for up to 3 months. Just make sure to thaw them at room temperature before serving to your eager pup. This way, you’ll always have a supply ready to go, no matter what exciting plans you have in store for your furry friend.
When storing, remember to keep them away from moisture to ensure they maintain their delightful crispness. Avoid storing them near heat sources like the oven or stovetop, as this can lead to undesirable sogginess. For more tips on preserving homemade treats, check out our article on dog treat storage solutions. With these strategies, you’ll have happy doggie tails wagging every time you reach for a treat!
Best Ingredients & Party Variations
When it comes to crafting peanut butter dog treats that your furry friend will adore, choosing the right ingredients is key. Start with whole wheat flour, which provides fiber and helps create the perfect crunchy texture. If your pup has a wheat sensitivity, you can easily substitute with oat or almond flour. Always opt for natural peanut butter without added sugars or xylitol—it’s a delicious and safe choice for your dog. Coconut oil is another fantastic ingredient that not only binds the treats but also offers a natural shine to your dog’s coat. Its subtle sweetness complements the peanut flavor wonderfully.
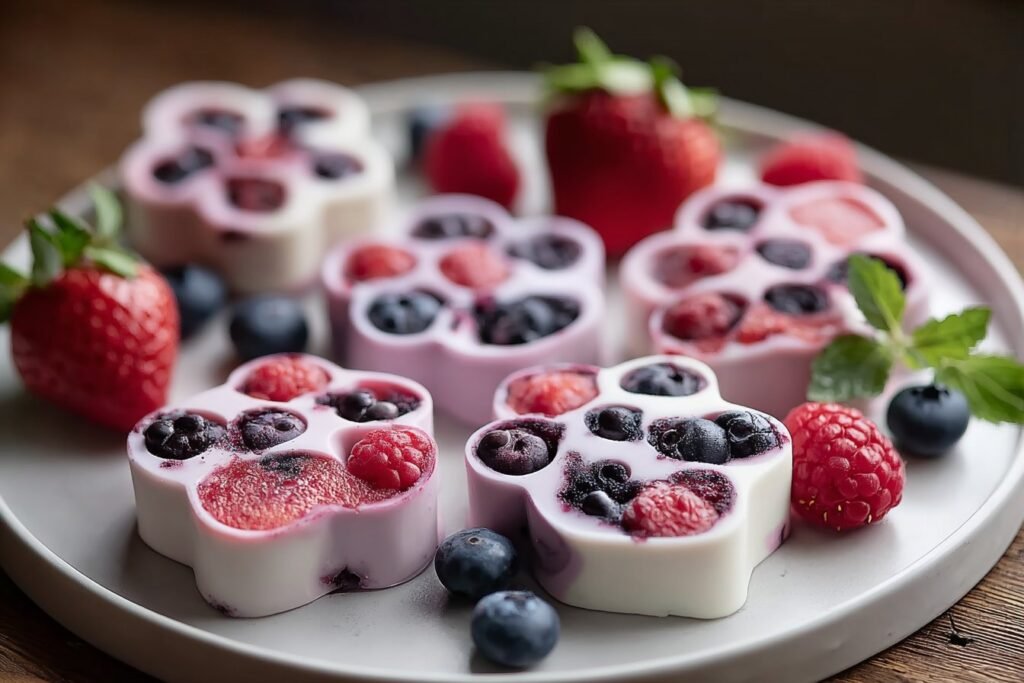
Looking to add a little excitement to these treats for special occasions? Consider incorporating some dog-safe fruits or veggies like grated carrots or apples for a nutrient boost. These additions can make your treats a bit more festive and even healthier! You can also experiment with different shapes using fun cookie cutters. Whether it’s a birthday paw-ty or a playdate, these variations will make your peanut butter dog treats a hit among the canine crowd.
Remember, these treats are designed with simplicity and health in mind, so keep an eye on ingredient quality and portion sizes. For more inspiration on homemade dog meals and treats, try exploring recipes like pumpkin dog biscuits or cheesy dog snacks. Your pup’s taste buds will thank you!
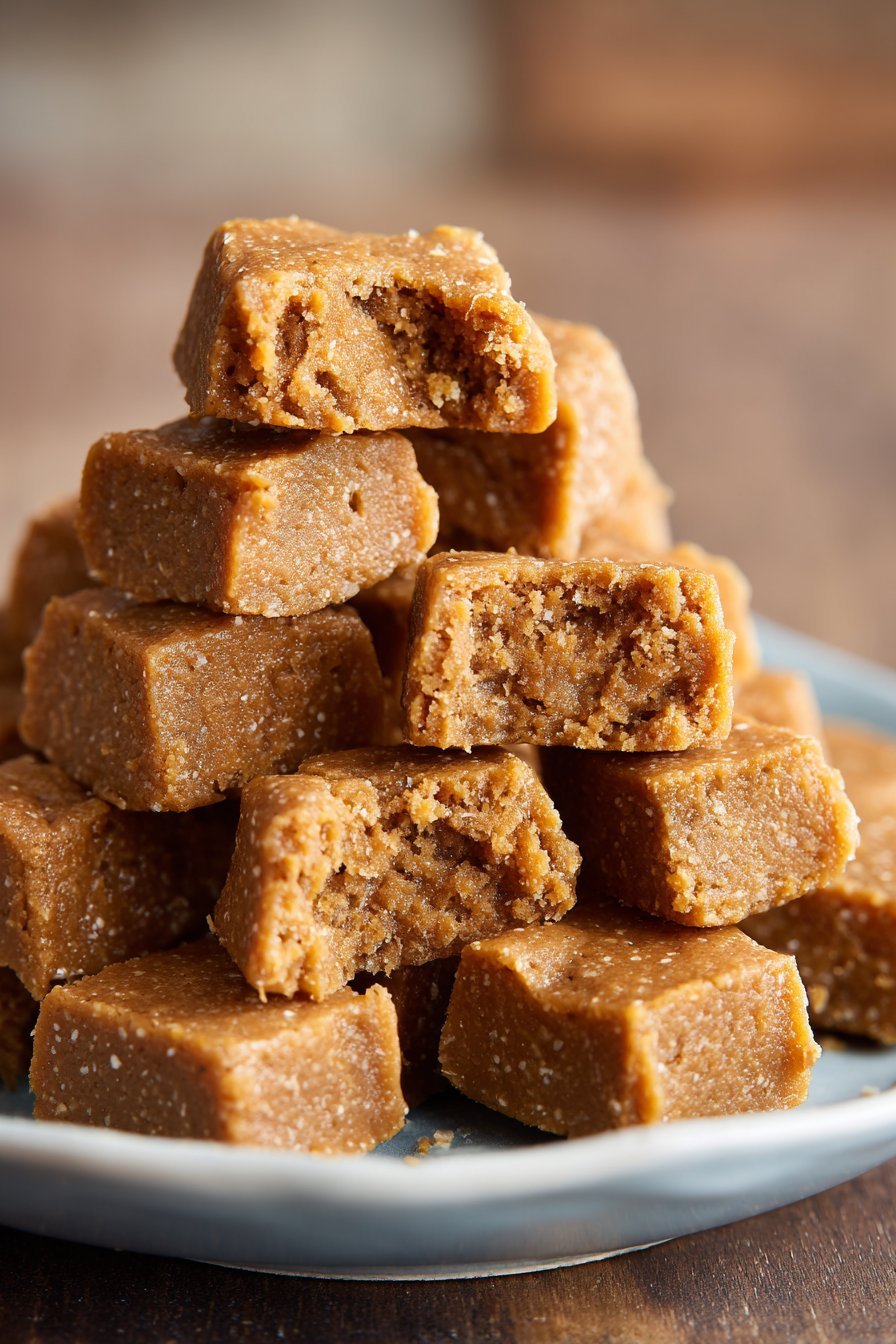
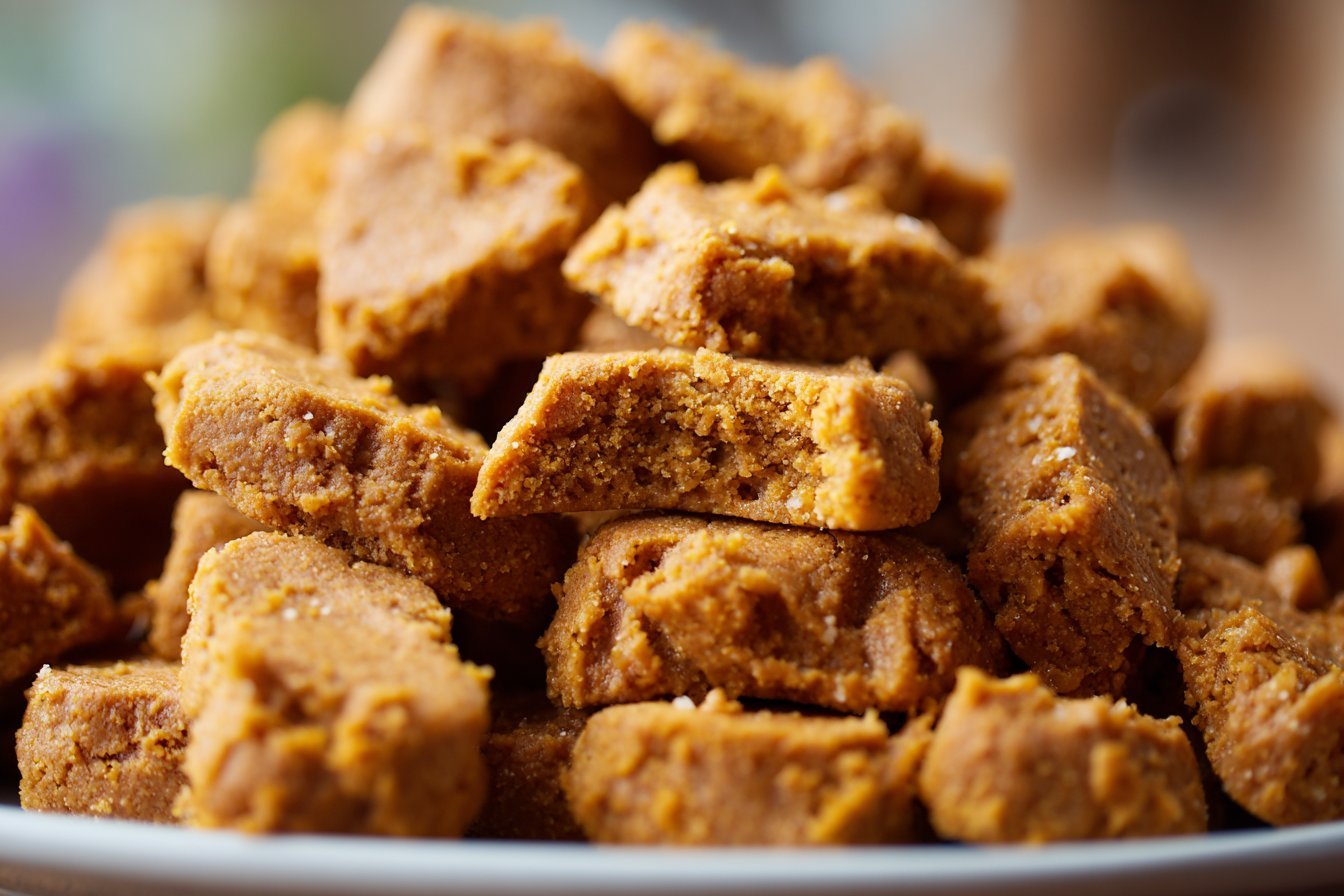
Serving of Peanut Butter Dog Treats
Conclusion
Making these Peanut Butter Dog Treats is more than just whipping up a snack—it’s about creating joyful moments with your furry best friend. As Max eagerly waits by the oven, tail wagging in anticipation, I’m reminded of the simple pleasures these treats bring. Sharing this experience in the kitchen makes for special memories that both you and your pup will cherish.
I hope you feel inspired to try this recipe. It’s a wonderful way to show your dog some extra love and bring a little more wag to their day. Plus, there’s nothing like seeing that happy, expectant face when you reach for the treat jar!
For more delicious recipes like this, follow us on social media! Let’s keep the tail-wagging going with more fun and healthy homemade treats.
Can I use regular flour instead of whole wheat flour for these Peanut Butter Dog Treats?
Whole wheat flour is the preferred choice because it offers more nutrients and fiber, which are beneficial for your dog’s health. However, if your dog has a wheat allergy, you can substitute with oat flour or a gluten-free option. **Avoid using white flour** as it’s less nutritious for dogs. Always introduce new flours gradually to ensure your dog tolerates them well.
Is any type of peanut butter safe for dogs?
Not all peanut butters are safe for dogs. **Always check that your peanut butter does not contain xylitol,** an artificial sweetener that is extremely toxic to dogs. Opt for unsweetened, unsalted peanut butter to keep it healthy. Checking the ingredients label is crucial to ensure your pup’s safety.
How should I store these Peanut Butter Dog Treats?
You can store these treats in an airtight container at room temperature for up to one week. For extended freshness, keep them in the refrigerator for up to three weeks. If you’d like to store them even longer, freeze the treats for up to three months and thaw as needed.
Recipe
Peanut Butter Dog Treats
Ingredients
Method
- Preheat the oven to 375°F. Line a baking sheet with parchment paper.
- Combine all ingredients in a large bowl until well-blended.
- On a lightly floured surface, roll the dough out until it is about ½-inch thick. Cut into small pieces.
- Place the treats on the prepared baking sheet.
- Bake for about 15 minutes or until golden brown. Allow to cool.
Notes
- Store treats in an airtight container for up to a week or freeze for up to 3 months.