What Makes These Pupcakes a Trustworthy Choice
These Peanut Butter Pupcakes for Dogs give you something every dog parent wants: a treat that feels special but still fits into a sane, everyday routine. You get a short, familiar ingredient list, quick prep, and a texture that works for everything from puppy teeth to senior smiles.
I test every batch of these Peanut Butter Pupcakes for Dogs the same way I test recipes for my own family: multiple trials, careful measuring, and honest taste-testing from my Labrador, Max. I keep the ingredient list intentionally short and recognizable so you always know exactly what goes into your dog’s treat—no mystery powders or hard-to-pronounce additives. The baking temperature and timing are chosen to fully set the pupcakes while keeping them tender enough for older dogs or smaller pups to enjoy. When I say the prep takes about 10 minutes and the bake 15 minutes, that comes from standing at my own counter with a timer running and muffin tin in hand.
This recipe also builds on techniques I use in many of my other easy dog meals, like starting with a moderate oven temperature to avoid over-browning and checking doneness with a simple toothpick test. I include different reheating options—microwave, oven, or room temperature—because real life with dogs is busy and you won’t always have time to fuss. You can gently warm leftover pupcakes without drying them out, which keeps the texture soft and kind to sensitive teeth. I also keep portion sizes clear (6 servings, about 120 calories each) so you can work these pupcakes into your dog’s regular feeding routine without guessing.
Most importantly, everything in these Peanut Butter Pupcakes for Dogs follows the same basic canine safety guidelines I live by with Max. I always choose xylitol-free peanut butter and avoid added salt, sugar, and artificial sweeteners—non-negotiables in all my healthy dog food recipes. I’ve tested these in both mini and regular muffin tins so you can scale them for a Chihuahua or a Great Dane with confidence. You’re not just getting a cute idea; you’re getting a dialed-in, repeatable recipe that behaves the same way in a busy Tuesday kitchen as it does for a special birthday treat.
The Method (Step-by-Step)
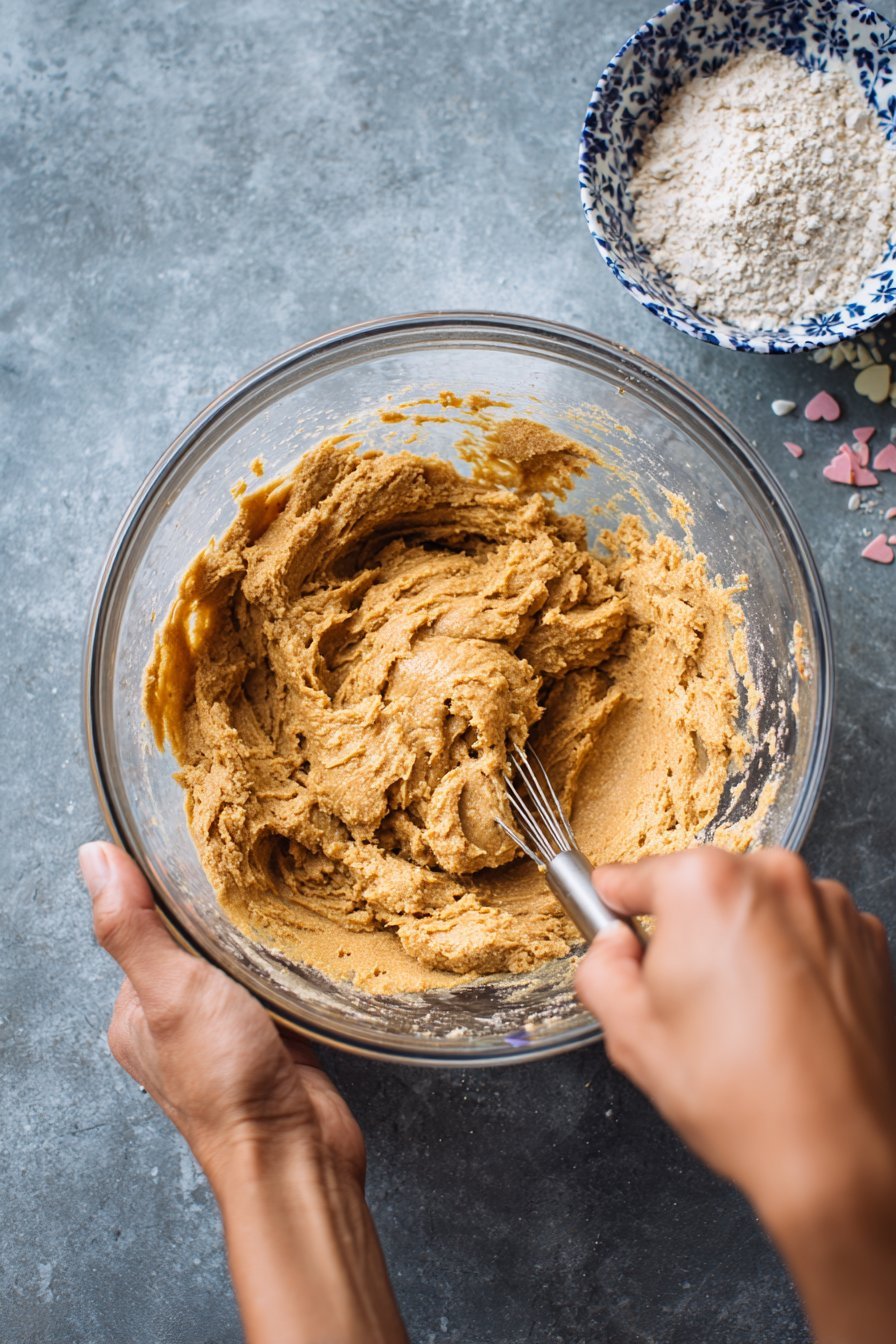
Start by preheating your oven to 350°F (175°C) so it’s fully hot when your Peanut Butter Pupcakes for Dogs go in. Line a mini muffin tin or regular muffin tin with cupcake liners for easy cleanup, or lightly grease the cups with a bit of dog-safe oil if you prefer to skip liners. In a medium mixing bowl, whisk together your wet ingredients (like peanut butter, egg, and any dog-safe add-ins) until smooth and creamy. If your peanut butter is very thick, microwave it for 10–15 seconds to loosen it before mixing so it blends without clumps.
Add your dry ingredients and gently fold everything together with a spatula. The batter should be thicker than pancake batter but looser than cookie dough—soft enough to scoop, not pour. If it feels too stiff or dry, add a teaspoon of water or unsweetened applesauce at a time until it scoops easily and mounds on the spoon.
Use a spoon to portion the batter into your muffin tin, filling each cup about two-thirds full so the Peanut Butter Pupcakes for Dogs have room to rise without overflowing. Tap the pan lightly on the counter to knock out any big air bubbles, then slide it into the oven and bake for about 12–15 minutes for mini pupcakes, or a little longer for regular-size ones, until the tops are set and a toothpick inserted in the center comes out clean. Remove the pan from the oven and let the pupcakes cool in the tin for 5 minutes before transferring them to a rack. Let them cool completely—no cheating here—so your dog doesn’t burn their mouth on a warm center. Once cooled, you can serve them plain or top with a small dollop of dog-safe “frosting” like mashed banana or plain Greek yogurt. Save any extras in an airtight container; for longer storage ideas, pair these with other easy dog meals like soft veggie mash or homemade dog treats you already keep in your freezer.
Keep It Fresh: Timing and Storage
Once you’ve pulled your warm Peanut Butter Pupcakes for Dogs from the oven and your pup has done the official “taste test,” it’s all about keeping them fresh and safe. Let the pupcakes cool completely on a rack first; if you trap warmth in a container, you’ll get excess moisture and quicker spoilage. After they’re cool, store them in an airtight container at room temperature for up to 3 days—think cookie jar on the counter, away from direct sunlight or the stove. If your kitchen runs warm, move them to the fridge instead, where they’ll keep well for about 5–7 days. I like to label the container with the baking date so I don’t have to rely on my memory between walks, work, and all the belly rubs.
For longer storage, these Peanut Butter Pupcakes for Dogs freeze beautifully. Place them on a baking sheet in a single layer, freeze until firm, then transfer them to a freezer-safe bag or container, pressing out as much air as you can. They’ll stay tasty for about 2–3 months this way, which is perfect if you like to bake in batches or rotate treats with your other homemade dog treats. When you’re ready to serve, thaw a pupcake in the fridge overnight or on the counter for 30–60 minutes, then use your preferred warming method: microwave 10–15 seconds, oven at 300°F (150°C) for 5 minutes, or just let it come to room temperature. Always check the center with your fingers to be sure it’s cool before handing it over—if it feels warmer than your skin, give it another minute, no matter how persuasive those puppy eyes are.
Swaps, Variations, and Serving Ideas for Peanut Butter Pupcakes
You can keep these Peanut Butter Pupcakes for Dogs simple, or dress them up a bit depending on your pup’s taste and tummy. For a gentle flavor swap, replace part of the peanut butter with plain unsweetened applesauce or mashed ripe banana to lighten the fat while keeping moisture and sweetness. If your dog can’t have wheat, try an oat flour base (just grind plain rolled oats in a blender) and see how your batter looks—it should be thick but spoonable, like muffin batter. You can also fold in a spoonful of finely grated carrot or zucchini for a veggie boost; just pat the grated veggies dry first so your pupcakes don’t turn soggy. For a bit of “frosting,” use a small dollop of plain Greek yogurt or mashed banana on top right before serving, especially for birthdays or “gotcha day” celebrations.
When serving these Peanut Butter Pupcakes for Dogs, think about size and timing more than decoration. For larger dogs, you can offer a whole cooled pupcake as an occasional treat, while smaller pups may only need half or even a quarter. I like to crumble one over Max’s regular dinner sometimes as a special topper, especially after a long hike or a big training win. You can also turn them into training bites by baking the batter in a mini muffin tin and cutting each mini pupcake into smaller wedges—perfect for practicing “sit” and “stay” without overfeeding. However you serve them, keep these as treats, not a daily meal replacement, and always introduce any variation slowly so your dog’s tummy has time to adjust.
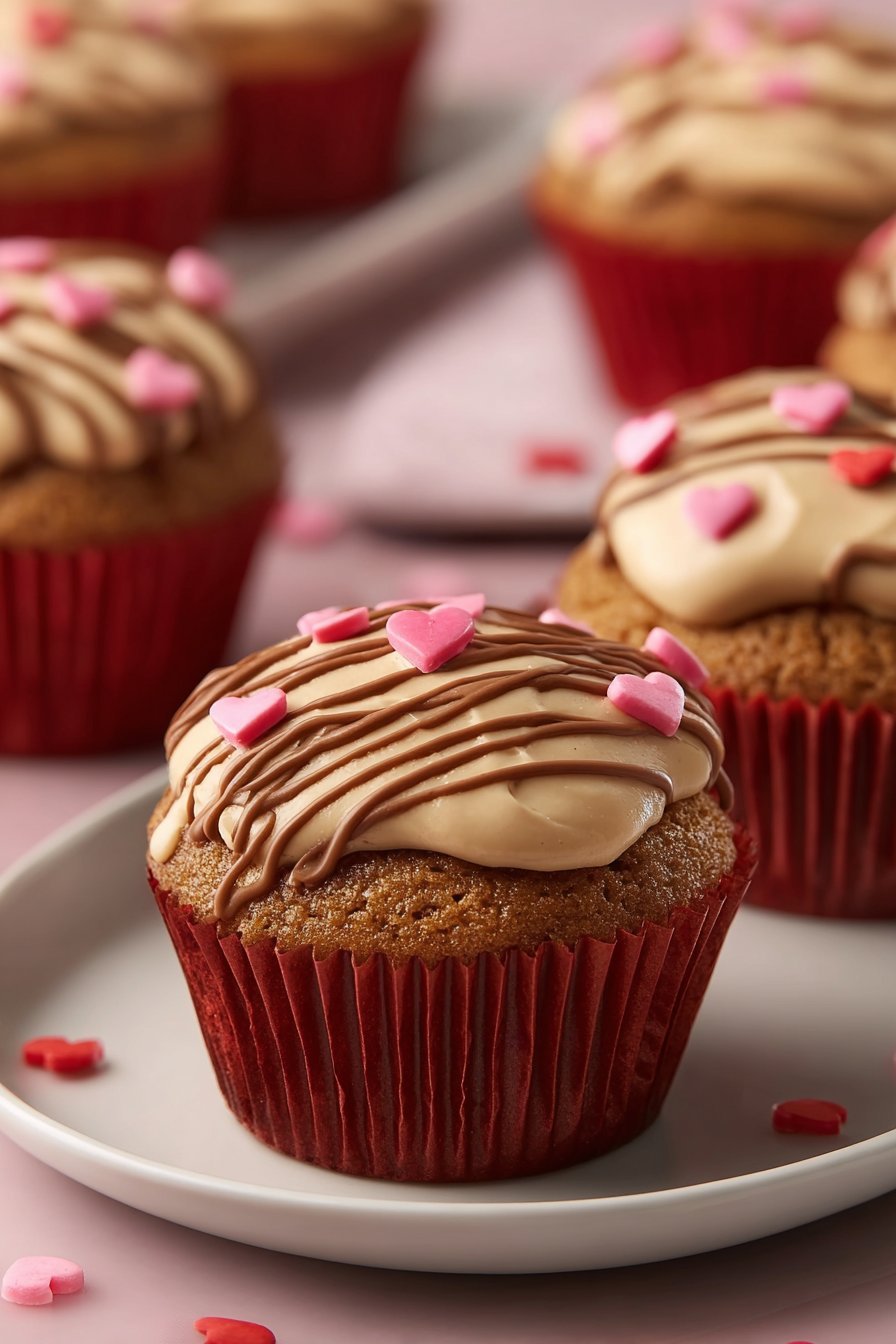
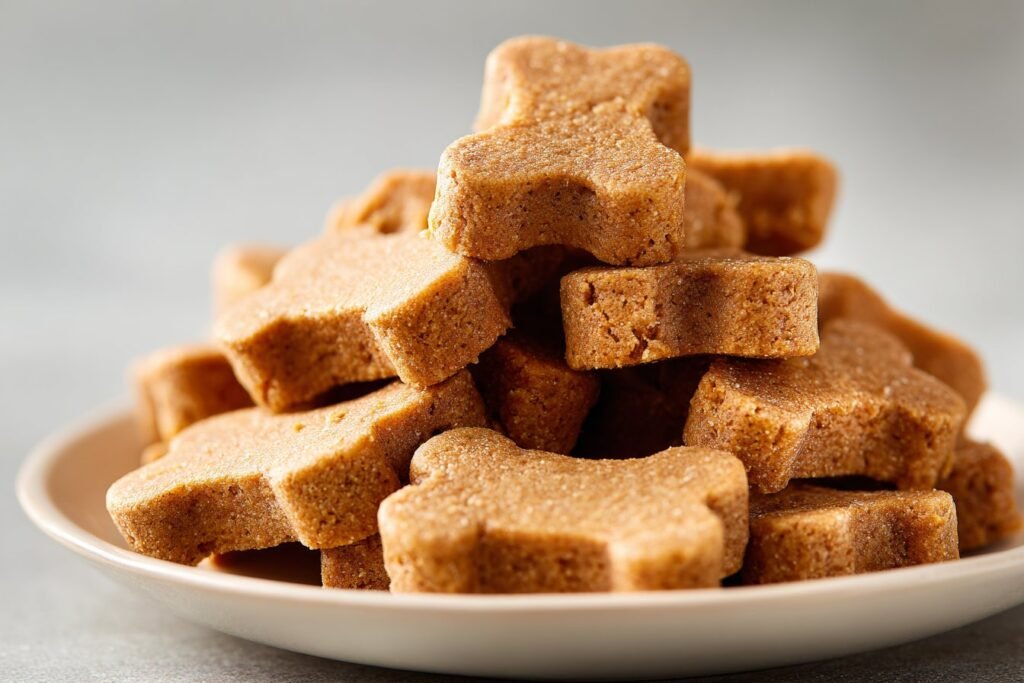
Serving of Peanut Butter Pupcakes for Dogs
Conclusion
Every time I pull a fresh batch of Peanut Butter Pupcakes for Dogs out of the oven, Max trots into the kitchen like he’s arriving at his own surprise party. That’s the real magic of homemade dog treats: it’s not just about the ingredients, it’s about the shared moments—the happy tail thumps, the excited spins, the quiet cuddle on the couch after that first taste. These little bakes have a way of turning ordinary afternoons into something worth remembering.
I hope this recipe inspires you to slow down, preheat the oven, and make a mini celebration out of your next walk, training win, or rainy-day snuggle. Even if your piping isn’t perfect or your pupcakes lean a little to one side, your dog will only notice the love (and the peanut butter). Give this recipe a try, snap a photo of your pup enjoying their treat, and celebrate that beautiful bond you share—one pupcake at a time.
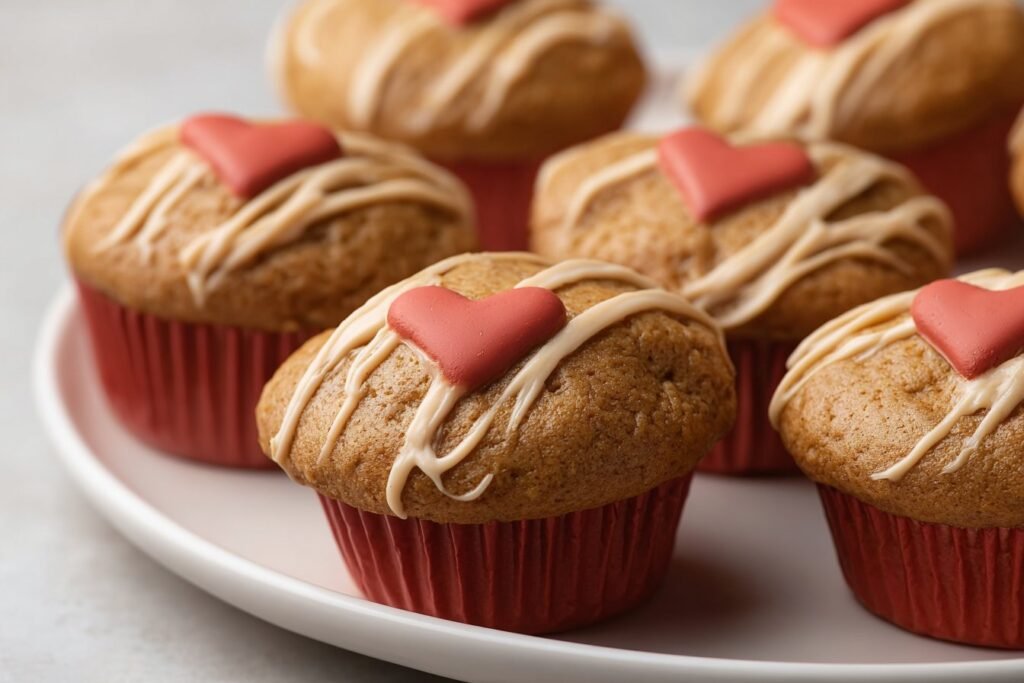
Instructions Process of Peanut Butter Pupcakes for Dogs
Recipe

Peanut Butter Pupcakes for Dogs
Ingredients
Method
- Preheat the oven to 350°F. Line a mini or regular muffin tin with cupcake liners or lightly grease with a dog-safe oil.
- In a medium mixing bowl, whisk the egg, peanut butter, applesauce, and water until smooth and creamy.
- Add the whole wheat flour and baking powder to the bowl and fold together with a spatula until just combined and no dry streaks remain.
- If the batter seems very thick, add a small splash of water and stir until it is soft enough to scoop but not pourable.
- Spoon the batter into the prepared muffin cups, filling each about two-thirds full.
- Tap the muffin tin lightly on the counter to release any large air bubbles.
- Bake for 12–15 minutes, or until the tops are set and a toothpick inserted into the center comes out clean.
- Remove the muffin tin from the oven and let the pupcakes cool in the pan for 5 minutes.
- Transfer the pupcakes to a wire rack and let them cool completely before serving to your dog.
Notes
- Store cooled pupcakes in an airtight container at room temperature for up to 3 days or in the refrigerator for up to 7 days.
- For longer storage, freeze pupcakes in a single layer, then transfer to a freezer bag and freeze for up to 2 months.
- To soften or gently warm a pupcake, microwave it for 10–15 seconds, or warm in a 300°F oven for 5 minutes, or let it come to room temperature.