The Memory Behind This Treat
The first batch of these Strawberry & Oat Dog Treats started on a hot June afternoon, right after Max and I got back from a long walk around the neighborhood pond. I had a big carton of strawberries on the counter that were just a little too soft for my morning yogurt, and Max was parked under my feet, doing that hopeful “accidentally drop something” stare. I remember slicing into those berries and realizing how sweet they smelled, and I thought, “Why shouldn’t Max get to enjoy this too—just in a way that’s safe for dogs?” So I rinsed a handful extra, chopped them finely, and started playing around with oat flour, applesauce, and a bit of coconut oil until the dough came together. The kitchen smelled like a strawberry patch, and Max stationed himself directly in front of the oven like he was on duty.
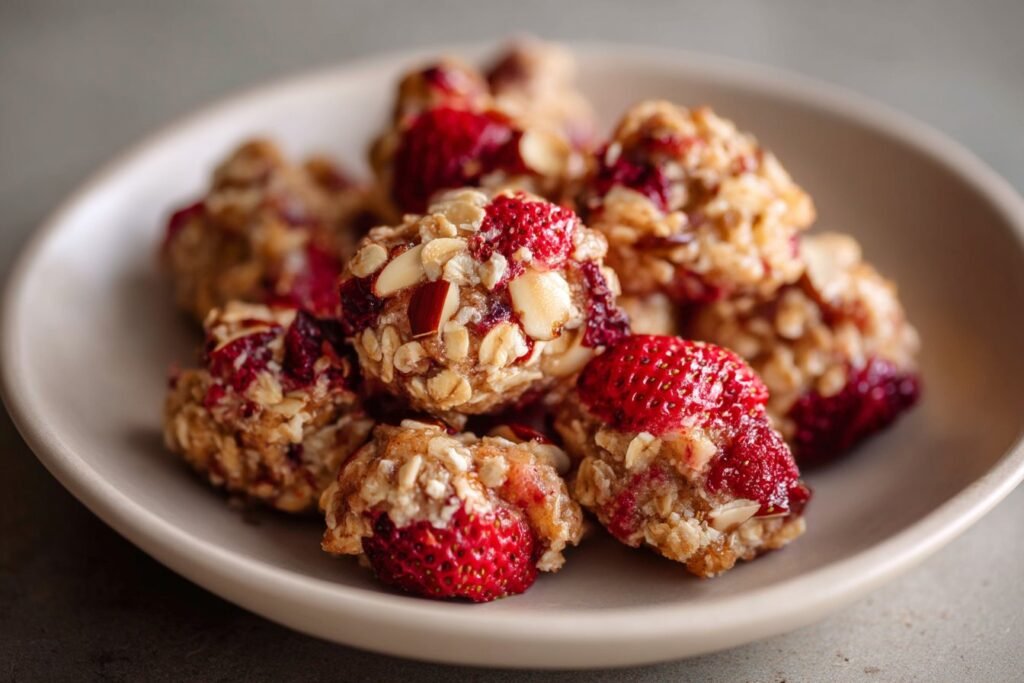
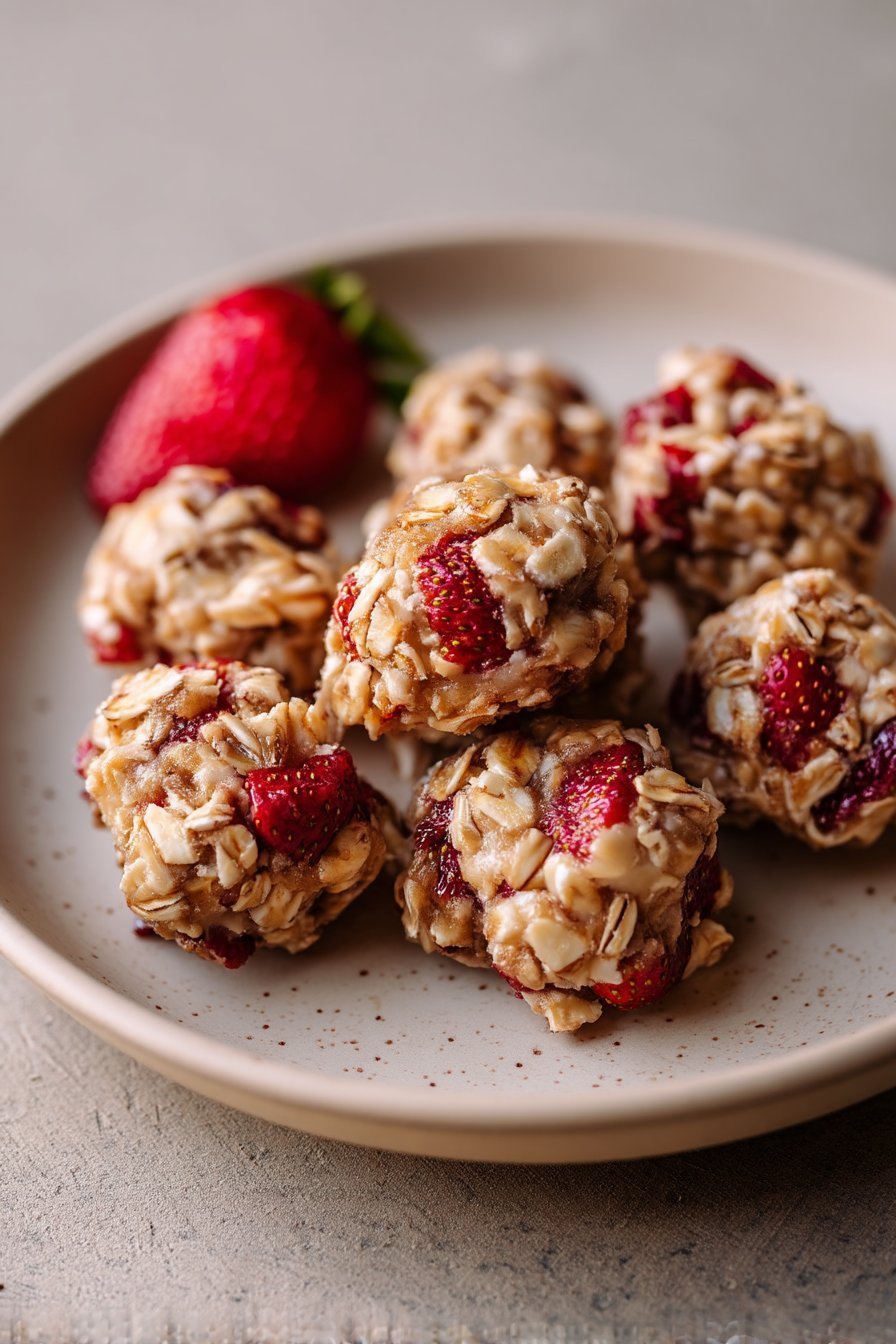
I knew I was onto something when the first tray of Strawberry & Oat Dog Treats came out with lightly golden edges and Max actually broke his “stay” to inch closer. The dough had been a little sticky, I’d dusted more oat flour than I meant to on the counter, and there were pink smudges on my cutting board, but that felt like real-life baking with a dog waiting nearby. When the treats cooled, I tested one myself—just to be sure—and it tasted like a simple, gently sweet oat biscuit, exactly the kind of easy dog meal accent I love for training rewards. On our evening walk, I slipped a handful into my pocket, and for the first time in weeks Max nailed every single recall, mostly because he could smell the strawberries every time my hand dipped into the pouch. That was the moment these simple little nibbles turned from a “let’s not waste fruit” experiment into one of our go-to homemade dog treats for walks, snuffle mats, and rainy-day games in the living room.
How To Make It (Mix & Ingredients)
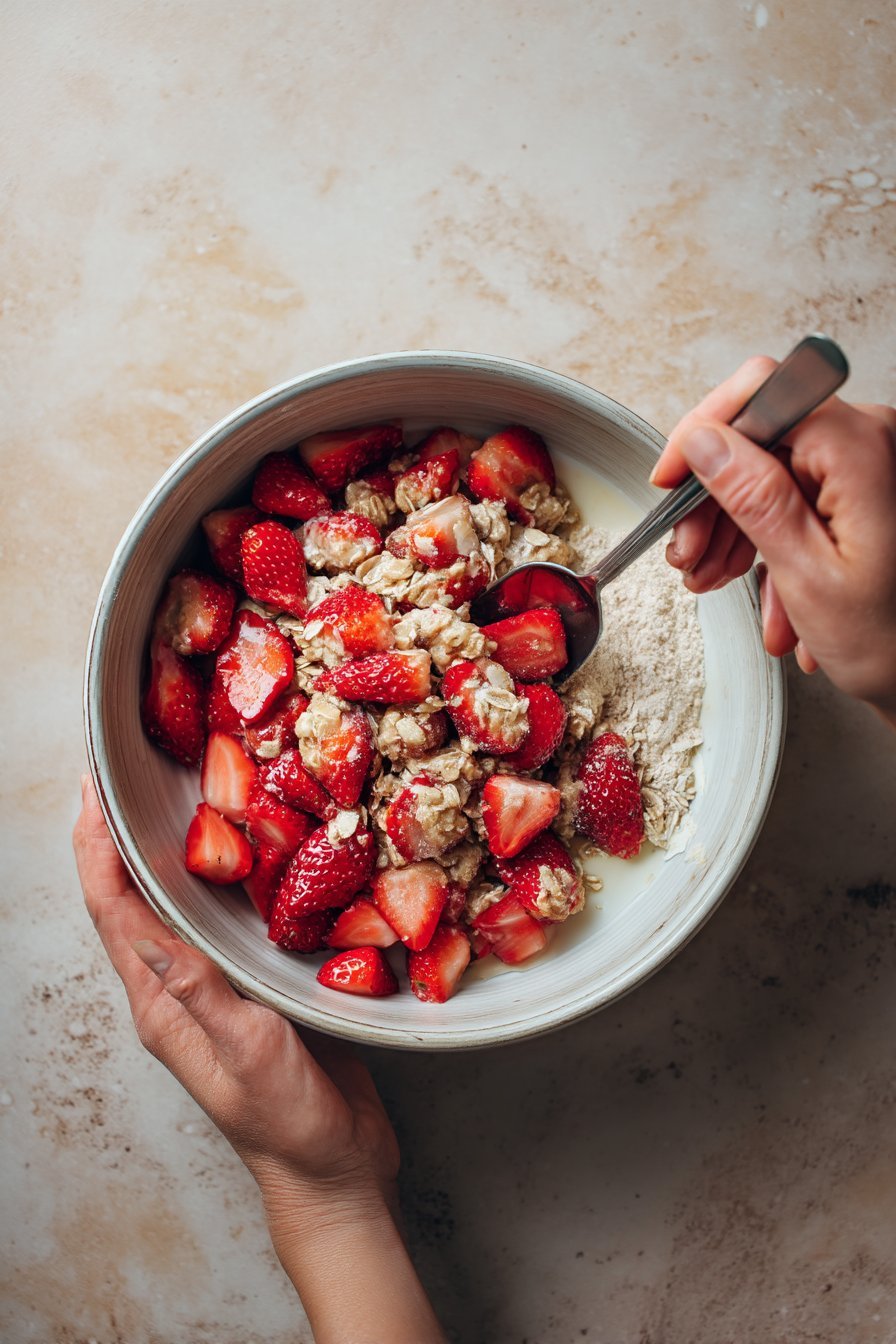
To make these Strawberry & Oat Dog Treats, you’ll start with a simple, dog-safe base. In a medium bowl, combine the finely chopped or mashed strawberries, oat flour, unsweetened applesauce, and melted coconut oil. The strawberries add natural sweetness and vitamin C, while the oats keep the treats gentle on most tummies. Stir with a spoon or spatula until the mix starts to come together into a soft dough. If the dough feels too sticky to handle, add a tablespoon of oat flour at a time until it’s workable but still slightly tacky. You want it soft enough to press together easily, not dry and crumbly.
Instructions Process of Strawberry & Oat Dog Treats
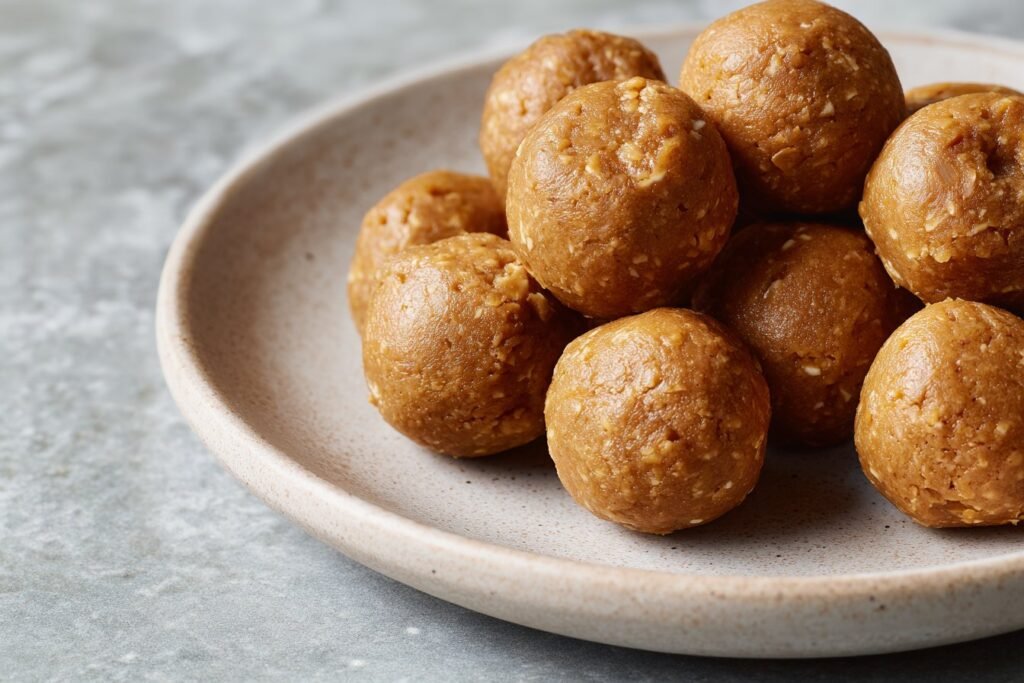
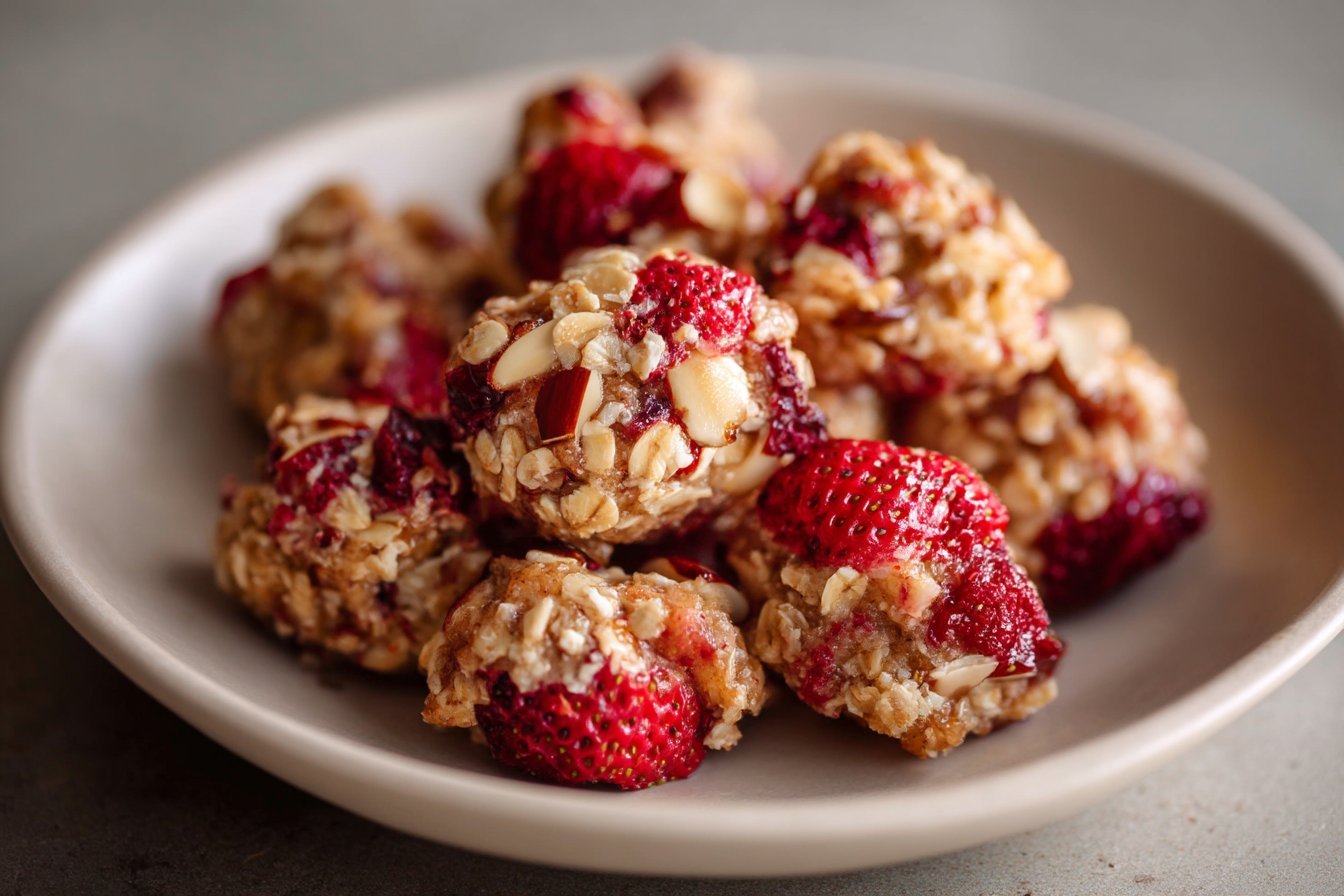
Once your base dough is ready, you can add extra nutrition with the optional mix-ins. Sprinkle in ground chia seeds or flaxseed for a boost of omega-3s and fiber, and add xylitol-free peanut butter for extra flavor and healthy fats. Never use peanut butter that contains xylitol—it’s toxic to dogs. Mix everything until evenly combined, then lightly dust your counter or a sheet of parchment with oat flour. Turn the dough out and gently knead it 3–4 times, just enough to pull it together into a smooth ball. From here you can roll it out and cut into small nibbles or simply pinch off pea-sized pieces and roll by hand for easy, bite-size rewards your pup can enjoy during training or snuffle mat games.
Make-Ahead & Storage
These Strawberry & Oat Dog Treats are perfect for meal-preppers in dog parent form. You can mix and bake them on a lazy Sunday, then reward your pup all week long. Once the treats are completely cool, store them in an airtight container at room temperature for up to 5 days. I like using a glass jar or a metal cookie tin tucked in a cool, dry cabinet. If your kitchen runs warm or humid, play it extra safe and move them to the fridge after 2–3 days.
For longer storage, freeze your Strawberry & Oat Dog Treats in a zip-top freezer bag or freezer-safe container for up to 2 months. Separate layers with parchment so they don’t stick together, and press out as much air as possible before sealing. When you’re ready to use them, take out only what you need and let them thaw on the counter for about 10–15 minutes, or serve them slightly chilled for a refreshing summer reward. I often portion them into small bags so I can grab a pack for walks or training sessions without thawing the whole batch. Never refreeze treats that have already fully thawed; the texture and quality drop fast.
Because these treats use fresh strawberries and applesauce, they’re more like a soft biscuit than a rock-hard shelf-stable cookie. That’s great for sensitive teeth, but it also means you should do a quick “sniff and sight check” before serving older treats—no sour smell, mushy spots, or visible mold. If you’re packing them in a treat pouch for training, only take what your dog will eat in a day, especially on hot days. And as always, adjust portion sizes and storage based on your dog’s size, activity level, and how quickly they go through homemade treats.
Best Ingredients & Party Variations
The heart of these Strawberry & Oat Dog Treats is simple, wholesome ingredients you probably already have on hand. Fresh strawberries bring natural sweetness plus vitamin C and fiber, while oat flour keeps the treats gentle on doggie tummies and naturally gluten-free (perfect for pups who get itchy from wheat). I like to mash the strawberries very finely so even small dogs can nibble safely, and I always use unsweetened applesauce to avoid hidden sugars. A little melted coconut oil helps the treats bake up tender, but you can swap it for olive oil if that’s what you have. Ground chia or flaxseed adds a nice omega-3 boost, and a spoonful of xylitol-free peanut butter turns the kitchen into a full-on “Is it ready yet, Mom?” chorus.
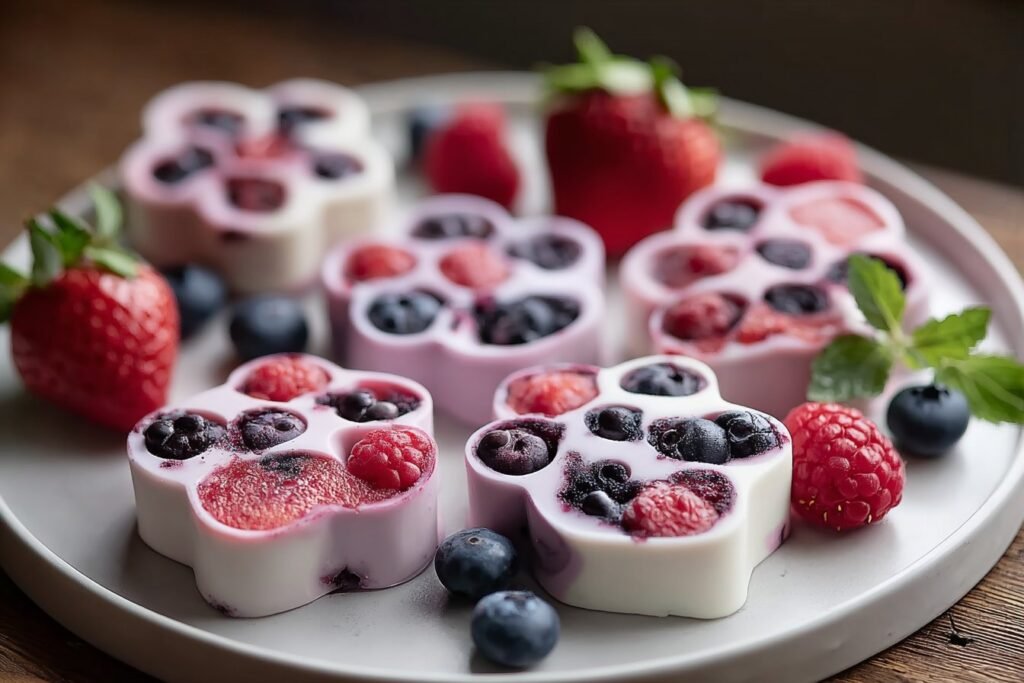
For doggie birthdays or playdates, you can easily turn these Strawberry & Oat Dog Treats into party stars. Use tiny bone, heart, or paw-shaped cutters for “tasting platter” vibes, or make them mini-sized for small dogs and training sessions. For a “pup bakery” look, bake the nibbles as usual, then once cool, briefly dip the top in plain Greek yogurt and chill to set for a frosted effect—just keep the yogurt layer thin and skip any food coloring or sprinkles. In summer, crumble a few nibbles over a small bowl of frozen banana slices for a DIY pup sundae, similar to how you might top other homemade dog treats like banana bites or yogurt drops. No matter how you dress them up, keep portions small, watch for any tummy upset, and let the guest of honor be the first official taste tester.
Serving of Strawberry & Oat Dog Treats
Conclusion
Every time I pull a batch of these from the oven, I’m reminded that the best memories with our dogs are often the simplest ones—sticky strawberry hands, oat flour on the counter, and a pup spinning in happy circles at our feet. Baking together turns an ordinary afternoon into a tiny celebration, and these Strawberry & Oat Dog Treats have become one of those little rituals Max and I both look forward to.
I hope this recipe inspires you to slow down, preheat the oven, and create a special moment with your dog—whether it’s a rainy-day baking session, a birthday snack, or just a “you’re a good dog” surprise. Don’t worry about making them perfect; your dog will only care that they came from your kitchen and your heart. Give this recipe a try, see how your pup likes them, and tweak it to fit your dog’s tastes and sensitivities.
For more delicious recipes like this, follow us on social media!
Are Strawberry & Oat Dog Treats safe for all dogs?
Strawberry & Oat Dog Treats are generally safe for most healthy adult dogs because they use simple, dog-friendly ingredients like strawberries, oats, coconut oil, and applesauce. That said, every pup is different, and some dogs may be sensitive to grains, coconut, or fruit fiber. If your dog has a history of allergies, pancreatitis, or a sensitive stomach, check with your vet before introducing a new treat. Start with a small piece and watch for any signs of itching, vomiting, or loose stools. **Never use xylitol, artificial sweeteners, chocolate, or raisins in any homemade dog treats—they’re toxic to dogs.**
Can I use frozen or different types of strawberries in these treats?
You can absolutely use frozen strawberries when fresh ones are out of season. Thaw them fully, then drain off extra liquid and gently pat them dry so your dough does not turn soggy. Mash or finely chop them to spread the flavor and help the treats hold together. You can also mix in a few blueberries or a little mashed banana, but keep the total fruit amount about the same so the texture stays right. Always skip sweetened or syrup-packed fruit, which adds unnecessary sugar for your dog.
How should I store homemade Strawberry & Oat Dog Treats?
Let the Strawberry & Oat Dog Treats cool completely on a rack before you store them; even a little warmth can trap moisture and cause mold. Keep them in an airtight container at room temperature for up to 4–5 days if your kitchen is cool and dry. For longer storage, refrigerate them for up to 2 weeks, or freeze them in a single layer, then move to a freezer bag for up to 3 months. I like to freeze in small portions so I can grab just a few at a time. If serving frozen, let them soften slightly for small or senior dogs with sensitive teeth.
Recipe
DIY Strawberry and Oat Nibbles for Dogs
Ingredients
Method
- Preheat the oven to 350°F and line a baking sheet with parchment paper.
- In a medium bowl, combine the chopped or mashed strawberries, applesauce, and melted coconut oil and stir until well blended.
- Add the oat flour to the bowl and stir until a soft dough forms, adding a little extra oat flour if the dough is very sticky.
- Stir in the ground chia seeds or flaxseed and the xylitol-free peanut butter until evenly combined.
- Lightly dust a clean work surface or sheet of parchment with oat flour, then turn the dough out onto the surface.
- Gently knead the dough 3 to 4 times until smooth and cohesive.
- Roll the dough to about 1/4 inch thickness or pinch off small pieces and roll them into pea-size balls.
- Place the shaped dough pieces on the prepared baking sheet, spacing them slightly apart.
- Bake for 18 to 20 minutes, or until the treats are set and the bottoms are lightly golden.
- Remove the baking sheet from the oven and let the treats cool completely on a wire rack before serving or storing.
Notes
- Store cooled treats in an airtight container at room temperature for up to 5 days or in the refrigerator if your kitchen is warm.
- For longer storage, freeze in a freezer-safe container or bag for up to 2 months and thaw a small portion as needed.
- These small, soft nibbles work well as training rewards, snuffle mat fillers, or kibble toppers.