
The Memory Behind This Treat
The first time I whipped up these Homemade Carrot and Pumpkin Snack Sticks for Dogs, it was a crisp fall afternoon. The leaves were dancing their way to the ground, and Max and I had just returned from a long walk in the park. As I stood in the kitchen, he sat patiently by my feet, his eyes full of curiosity and that signature Labrador excitement. I wanted to create something special that captured the season’s flavors—something both nutritious and delightful.
I remember Max wagging his tail wildly as the aroma of pumpkin and carrot filled the air. It was like he knew these snack sticks were made with love just for him. The moment I pulled them out of the oven, he gave me the most adorable head tilt, clearly intrigued by the golden hue and earthy scent. Each bite was met with a satisfied crunch, his approval evident in the joyful wag of his tail.
Since then, these snack sticks have become a staple in our treat rotation. They’re not only a delicious reward after our adventures but also a way to ensure Max gets a healthy dose of vitamins and fiber. These treats bring us closer together, turning simple moments into cherished memories. If you’re looking for more healthy dog treat ideas, you might also enjoy my recipes for Peanut Butter Oat Bites or Banana Berry Crunchies.
How To Make It (Mix & Ingredients)
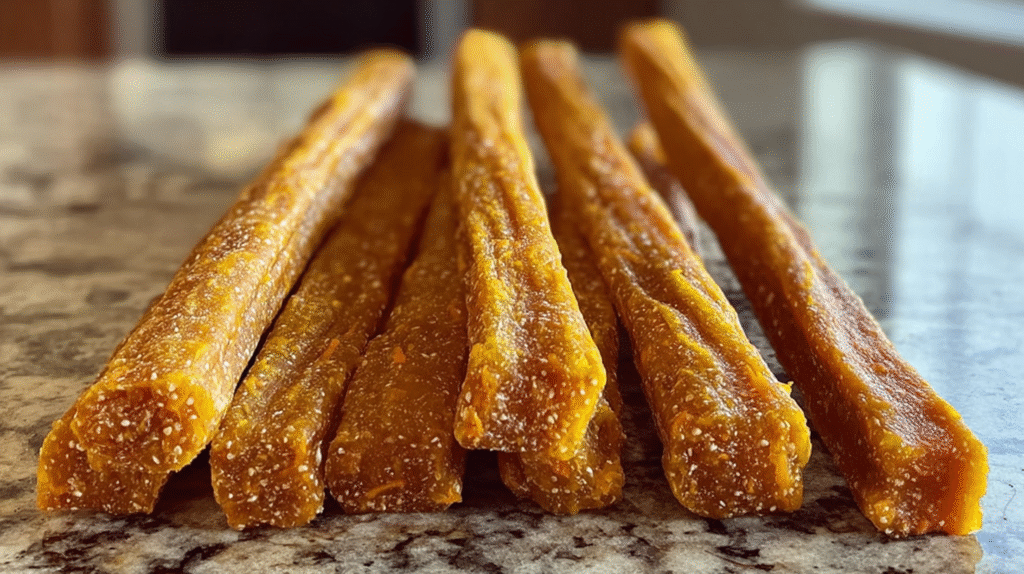
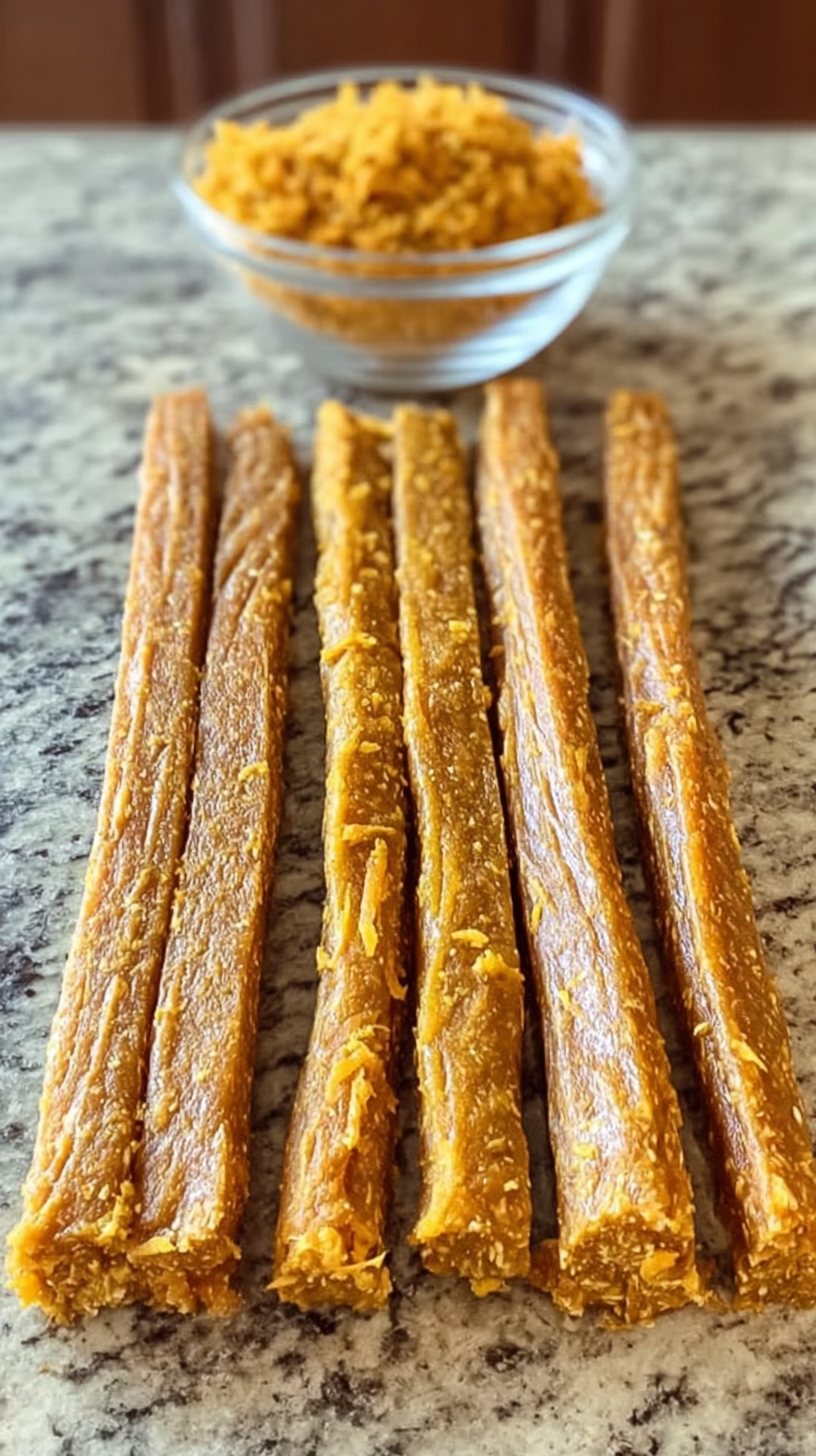
Creating these Homemade Carrot and Pumpkin Snack Sticks for Dogs is as easy as a wag of the tail! Start by gathering your ingredients. You’ll need 1 cup of pumpkin puree—make sure it’s pure pumpkin, as pumpkin pie filling can contain spices that aren’t dog-friendly. Add 1 cup of freshly grated carrots, which provide a boost of vitamins and fiber. For the dry ingredient, use 2 cups of oat flour; it’s a great gluten-free option that’s gentle on your pup’s tummy. If you prefer, mix in an egg to help bind everything together, though it’s optional. Finally, a tablespoon of coconut oil or water will add needed moisture to the mix.
Once your ingredients are ready, preheat your oven to 350°F (175°C). In a large bowl, combine the pumpkin puree, grated carrots, and egg (if using). Gradually stir in the oat flour until you have a firm yet slightly sticky dough. If needed, adjust the texture with a bit more water or coconut oil. On a lightly floured surface, roll the dough into stick shapes, aiming for uniform thickness so they bake evenly. Place them on a prepared baking sheet, leaving space between each stick.
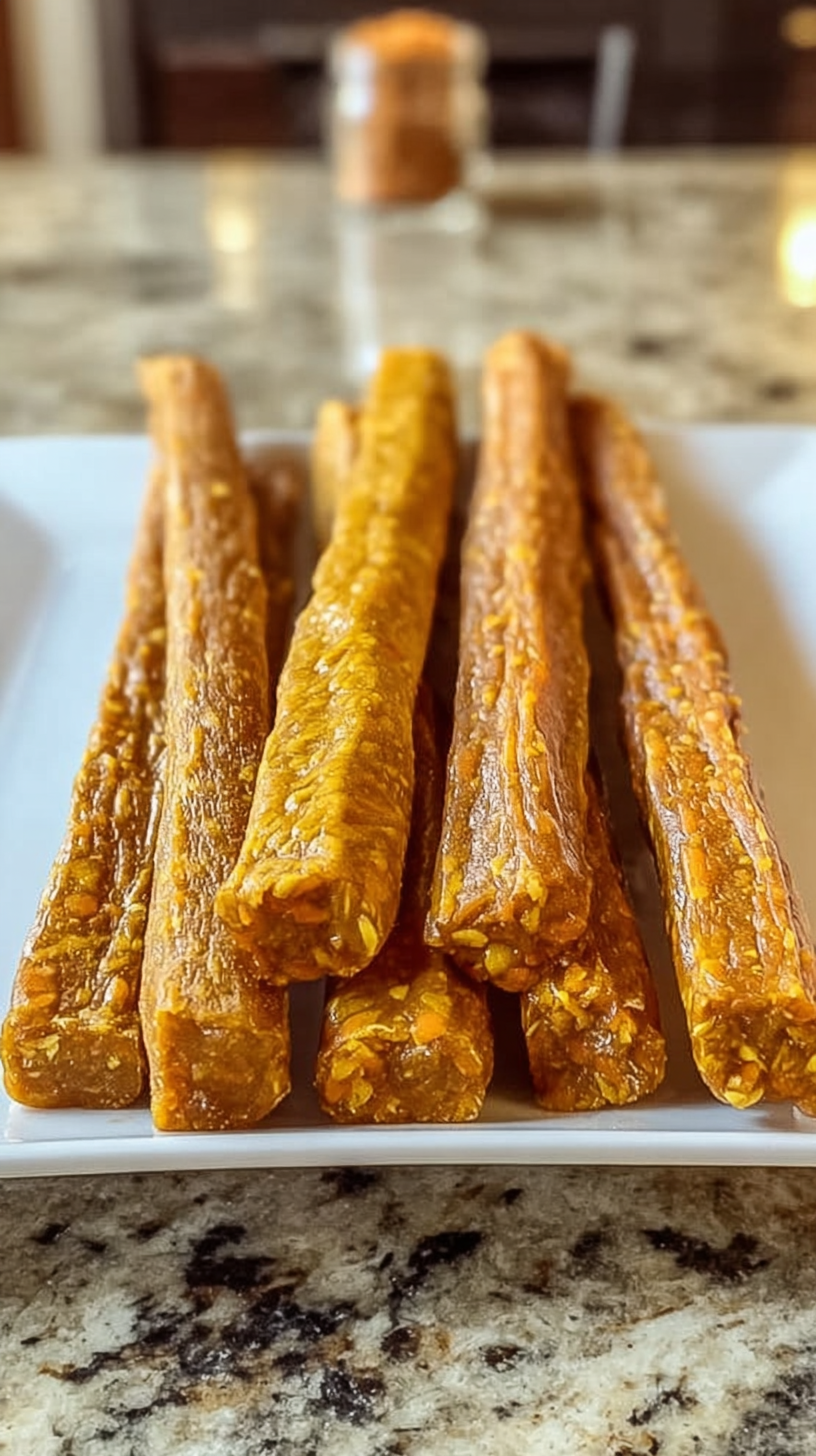
Bake these delightful snack sticks for 25-30 minutes until they’re golden and firm. For a crunchier finish, let them cool in the oven with the heat turned off. Once cooled, they’re ready to serve. Remember, these treats can be stored in an airtight container in the fridge for up to a week or frozen for longer enjoyment! If you’re feeling adventurous, try substituting the carrots with sweet potatoes or adding a bit of dog-safe peanut butter for extra flavor.
Make-Ahead & Storage
When it comes to Homemade Carrot and Pumpkin Snack Sticks for Dogs, planning ahead can save you time and ensure your pup always has a healthy treat on hand. These snack sticks are perfect for batch cooking, as they store beautifully without losing their delightful texture or flavor. Once you’ve baked your batch, let the sticks cool completely before storage. This helps maintain their crunch and freshness.
For short-term storage, place the cooled snack sticks in an airtight container and pop them in the refrigerator. They’ll stay fresh and tasty for up to one week. This is ideal if you’re treating your dog regularly and want them available at a moment’s notice. Remember to keep the container tightly sealed to prevent moisture from creeping in.
If you’ve made a larger batch or want to spread out the treats over a longer period, freezing is your best option. Simply transfer the snack sticks to a zip-top bag or a freezer-safe container. These can be stored in the freezer for up to three months. Just be sure to thaw them at room temperature before serving. This way, your dog can enjoy the joy of a freshly-thawed snack as often as you’d like! For other freezer-friendly recipes, check out my collection of Easy Dog Meals.
Also Read: Wholesome Carrot & Pumpkin Chews For Dogs: Treat Your Pup Right!
Best Ingredients & Party Variations
When crafting these Homemade Carrot and Pumpkin Snack Sticks for Dogs, it’s key to choose ingredients that are both nutritious and dog-friendly. Pumpkin puree is a fantastic base, packed with fiber and vitamins that support digestive health. Always ensure you’re using pure pumpkin puree, not the sugary pie filling. Grated carrots add a natural sweetness and a boost of beta-carotene, which is great for your pup’s eyes and immune system. For binding, an optional egg can be incorporated, adding a bit of protein. If your pup has an egg sensitivity, a tablespoon of water can help achieve the right texture without the extra ingredient.
These snack sticks are versatile, making them perfect for any doggy gathering. For a flavor twist, try substituting carrots with sweet potatoes or zucchini, which are equally loved by most dogs. A small dollop of dog-friendly peanut butter can also be added for an extra treat, turning these sticks into a party favorite! If you’re planning a larger gathering, double or triple the batch—just adjust the baking time slightly if needed. As always, keep portion sizes in mind to ensure that even the most enthusiastic tail-waggers enjoy these treats safely.
With these ingredients and variations, you’ll have a batch of snack sticks that not only delight but also nourish your furry friend. Whether it’s a cozy night in or a special occasion, these treats are bound to get tails wagging.
FAQ’s About Homemade Carrot and Pumpkin Snack Sticks for Dogs
How do I make homemade carrot and pumpkin snack sticks for my dog?
To make these delicious snack sticks, start by mixing pumpkin puree, grated carrots, and an optional egg in a bowl. Gradually add oat flour while stirring to form a firm dough, adjusting with coconut oil or water if needed. Shape the dough into sticks and bake them at 350°F for 25-30 minutes until golden. Cool completely before serving to ensure they’re firm and safe for your pup.
Are carrot sticks safe for dogs?
Yes, carrot sticks are safe and nutritious for dogs. They’re low in calories and high in fiber and vitamins. However, always cut carrots into bite-sized pieces to prevent choking, especially for smaller dogs. Carrots make a crunchy, healthy snack that can also help clean your dog’s teeth.
Can I substitute carrots in these snack sticks for dogs?
Absolutely! While carrots are a great choice, you can use dog-safe veggies like sweet potatoes or zucchini as alternatives. Each option provides different nutrients and flavors that dogs love. Just be sure to grate or finely chop them before adding to ensure the dough mixes evenly.
How should I store homemade carrot and pumpkin snack sticks for dogs?
Store these treats in an airtight container in the refrigerator for up to one week to keep them fresh. If you want to store them longer, place them in a freezer-safe bag and freeze for up to three months. Just remember to thaw the sticks before serving them to your pup to ensure they’re easy to chew.
Conclusion
Baking these homemade carrot and pumpkin snack sticks for dogs is more than just crafting a treat—it’s creating memories. Whether you’re in the kitchen with family or friends—or even just you and your furry companion—it’s a heartwarming experience. Watching Max’s tail wag in anticipation always reminds me that these simple moments are the ones that truly matter.
The joy of seeing your pup devour something you’ve made with love is unparalleled. These snack sticks aren’t just healthy; they strengthen the bond between you and your best friend. Give this recipe a try, and let it bring a little extra happiness to your home.
For more delicious recipes like this, follow us on Facebook and Pinterest!

Ingredients
Method
- 1. Preheat the oven to 350°F (175°C) and prepare a baking sheet.
- 2. Mix pumpkin puree, grated carrots, and egg in a large bowl.
- 3. Gradually add oat flour, mixing to form a firm, slightly sticky dough.
- 4. Roll dough into sticks on a floured surface.
- 5. Arrange sticks on the baking sheet.
- 6. Bake for 25-30 minutes until golden and firm.
- 7. Cool on a wire rack before serving.


