
The Memory Behind This Treat
The journey to crafting these delightful dog biscuits started quite unexpectedly. I was in the middle of a puppy training class with Luna, my new fur baby, when I realized I had forgotten the store-bought treats. A minor panic set in until I remembered the homemade biscuits I’d tossed into my bag at the last minute. Made with just whole wheat flour, peanut butter, and an egg, they were an experiment from the weekend—simple, yet made with love. As I handed one to Luna, her eyes lit up, and suddenly, her focus was laser-sharp. She trained harder than ever, proving that these homemade gems were better than anything from the store.
From that day forward, baking dog biscuits became a cherished weekend ritual. The kitchen would fill with the warm, nutty aroma of baking, a comforting scent that even Max, my older Labrador, couldn’t resist. These homemade dog biscuits were more than just treats; they were personalized expressions of care. Whether it’s adding a dash of glucosamine for Max’s joints or a hint of mint for Luna’s fresh breath, each batch could be tailored to meet their unique needs.
I never looked back, never bought another pre-packaged treat. Each time I bake, it’s a reminder of that training class and the joy of creating something special for my dogs. It’s more than just food—it’s an act of love that fills our home with warmth and happiness.
How To Make It (Mix & Ingredients)
Creating these dog biscuits is as simple as a wag of the tail. With just a few wholesome ingredients, you’ll have a batch of treats that will have your pup sitting pretty for more. Let’s dive into the heart of this recipe and whip up something special.
Ingredients You’ll Need:
- 2 cups whole wheat flour: This keeps the biscuits hearty and nutritious. If your dog has a wheat allergy, you can substitute with oat or almond flour.
- 1/2 cup peanut butter: Choose unsweetened and unsalted. Never use peanut butter containing xylitol—it’s toxic to dogs!
- 1 egg: It adds structure and protein. If your dog is allergic to eggs, you can use a flaxseed meal and water mixture as a substitute.
- 1/4 cup water: Adjust the amount to get the perfect dough consistency. Add more if the dough is too crumbly.
- Optional add-ins: A sprinkle of cinnamon for flavor or a teaspoon of honey for a natural sweetener. Avoid artificial sweeteners, especially xylitol.

Step-by-step preparation of homemade dog biscuits.
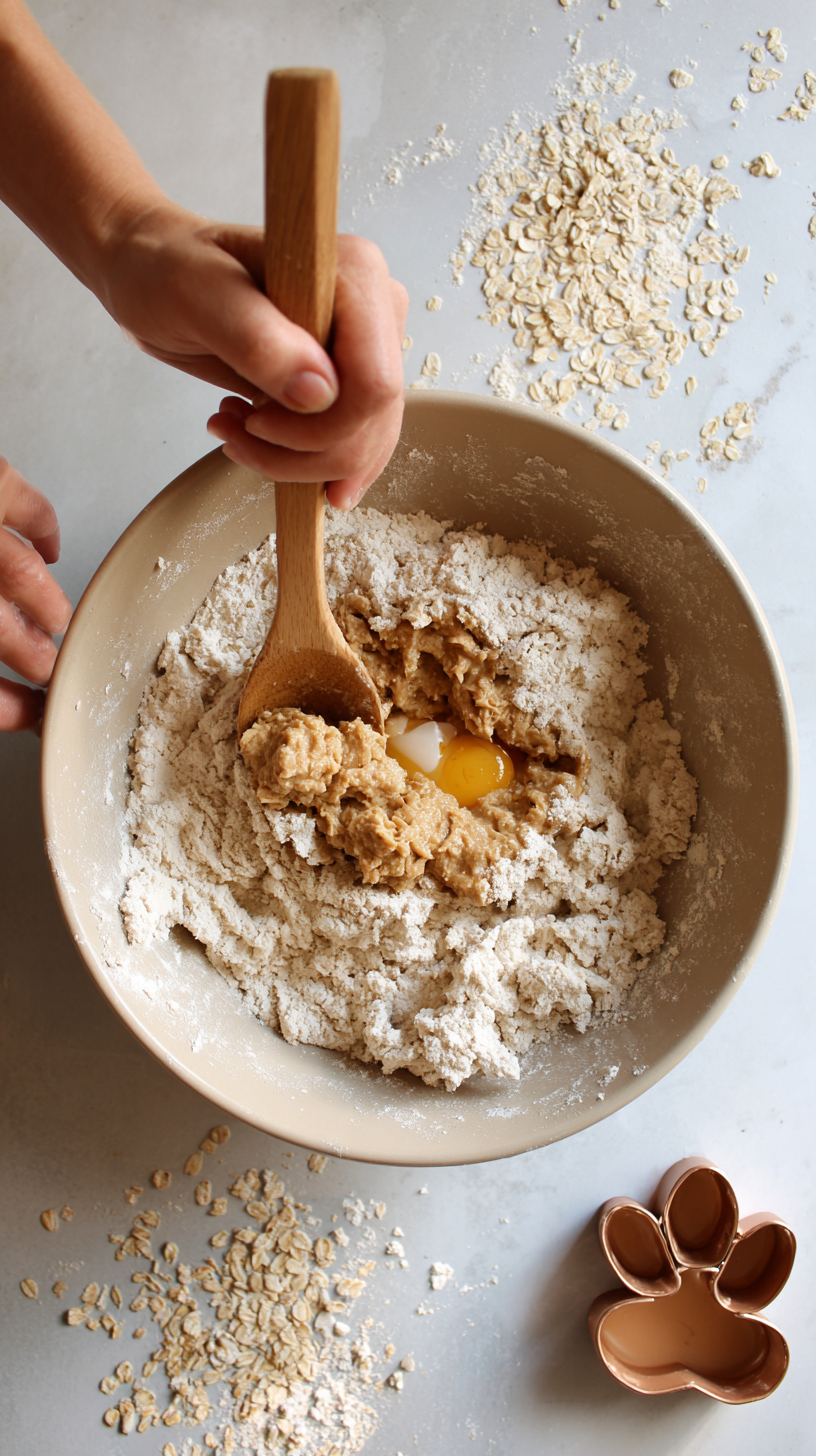
Mixing It Up:
Start by preheating your oven to 350°F (about 175°C) and lining a baking sheet with parchment paper. In a large mixing bowl, combine the whole wheat flour and peanut butter. Crack in the egg and mix until blended. Gradually add water until you achieve a smooth, rollable dough.
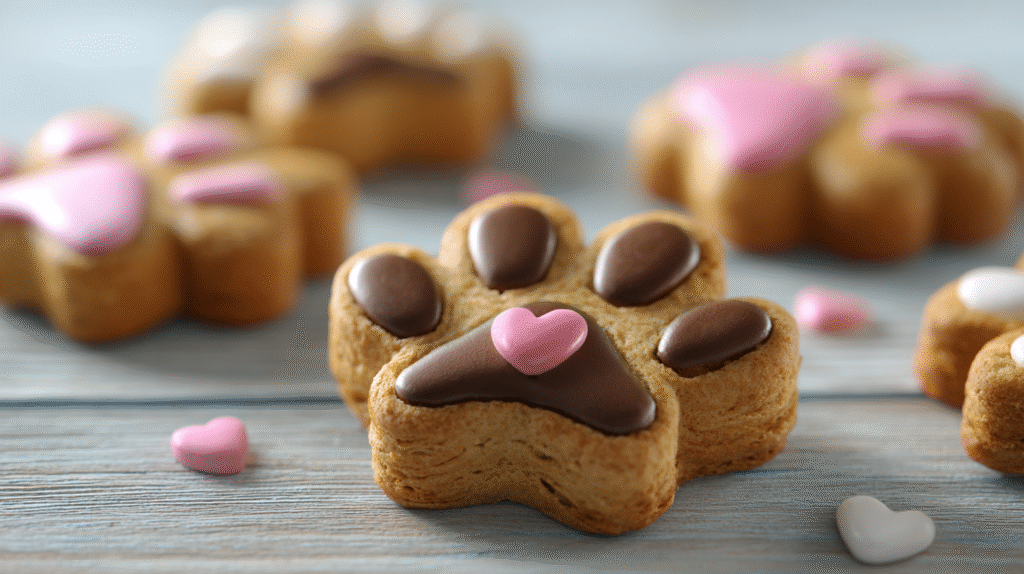
Once your dough is ready, dust a surface with some flour and roll it out to about 1/4 inch thick. Use a cookie cutter to shape the biscuits into fun designs—bones, paws, or maybe a heart for a little extra love. Arrange them on the prepared baking sheet, leaving a bit of space between each one.
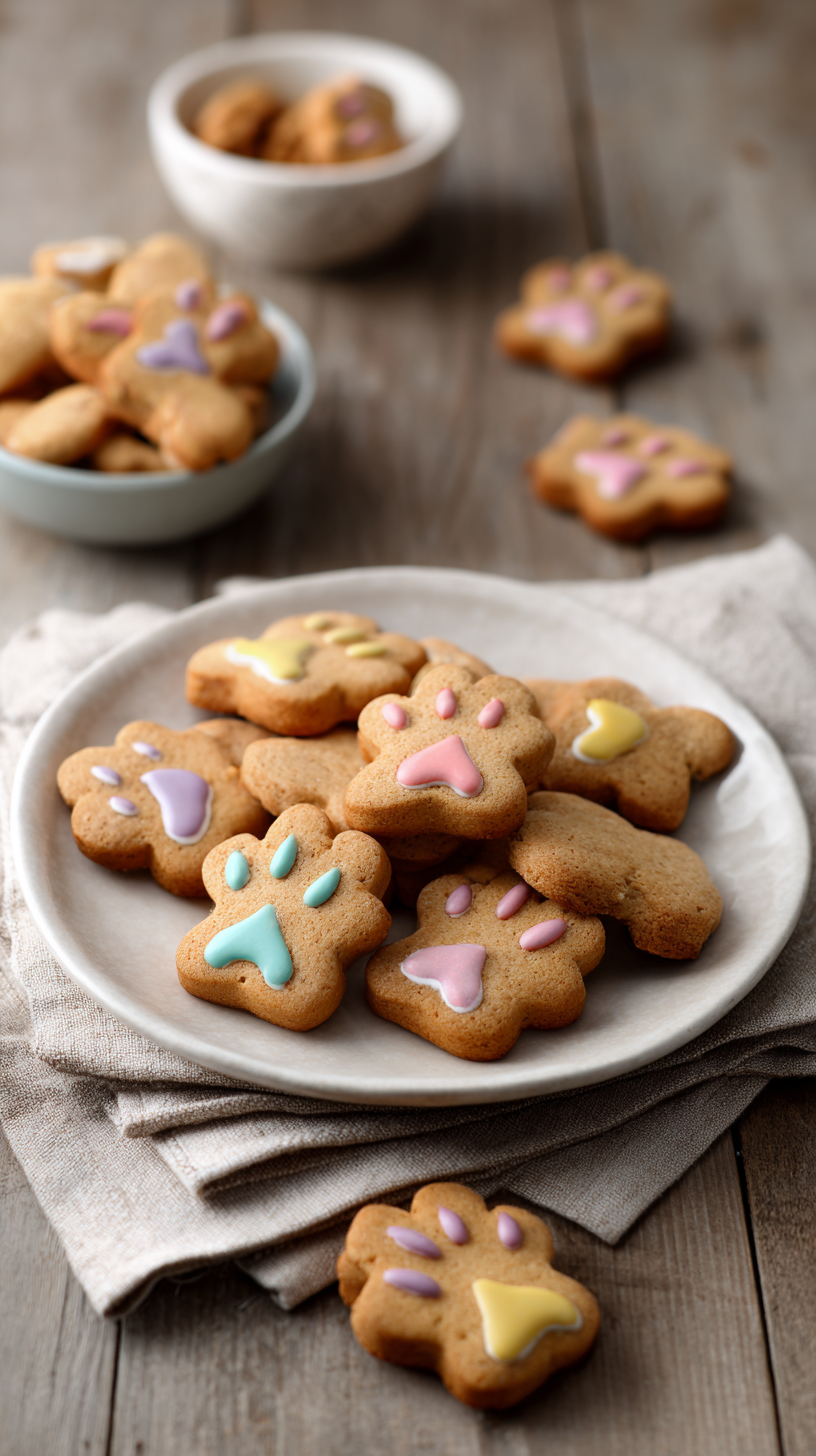
Baking these treats fills your home with a toasty, nutty aroma that might even make you drool! In about 20 minutes, your oven will transform simple ingredients into golden, crunchy dog biscuits that your furry friend will adore.
Related recipes: You might also enjoy our Peanut Butter Pumpkin Treats or Minty Fresh Breath Biscuits for your pup’s next snack time!
Make-Ahead & Storage
Whipping up a batch of homemade dog biscuits not only fills your house with a delightful aroma but also provides a sense of satisfaction knowing exactly what your pup is munching on. Preparing these dog biscuits in advance is a fantastic idea, especially if you have a busy schedule or multiple dogs like I do. Batch baking can save you time and ensure you always have a tasty reward on hand.
To store your dog biscuits, keep them in an airtight container at room temperature. They’ll stay fresh for about a week. If you have a larger batch or want to keep them longer, freezing is your best bet. Simply place the cooled biscuits in a freezer-safe bag and pop them in the freezer. They’ll keep well for up to 3 months. Just make sure to allow them to thaw before serving; Max often gives me that “hurry up” look while they defrost!
For those of you with limited pantry space, consider storing them in a cool, dry place like a pantry or cupboard. Avoid areas prone to moisture to prevent them from getting soggy. Homemade dog biscuits are the ultimate flexible treat, allowing you to cater to your dog’s preferences and nutritional needs while being easy on your schedule. Remember, a little planning goes a long way in keeping your furry friend happy and healthy!
Best Ingredients & Party Variations
Choosing the best ingredients for your homemade dog biscuits is like picking out the finest toys for your pup—only the best will do! Start with whole wheat flour as a sturdy base; it’s easy to work with and offers a nice, chewy texture. If your dog has a gluten sensitivity, you can substitute with oat flour or brown rice flour. Next, go for natural peanut butter—make sure it’s xylitol-free, as xylitol is toxic to dogs. Add an egg for binding and a bit of baking powder to give the biscuits a slight rise.
To make these treats even more special, consider adding extras like shredded carrots or pumpkin puree for a vitamin boost. For a twist, try sprinkling in some parsley for fresh breath or turmeric for its anti-inflammatory properties. Remember, the goal is to keep it simple and safe; always avoid ingredients like chocolate or raisins that are harmful to dogs.
When it comes to party variations, think themed shapes! Use bone-shaped cutters for a classic look or get creative with paw prints and stars. You can even drizzle a little yogurt on top for a festive flair. The beauty of homemade dog biscuits is in their adaptability, allowing you to celebrate any occasion with a personal touch. Don’t forget to check out my other dog-friendly recipes for more inspiration on how to pamper your pooch!
FAQ’s About Dog Biscuits
Are dog biscuits healthy for dogs?
Absolutely, when made with the right ingredients, dog biscuits can be a healthy treat. Homemade biscuits allow you to control what goes into them, avoiding additives and preservatives found in many store-bought options. Using wholesome ingredients like whole wheat flour and peanut butter provides nutritional benefits. Always ensure no toxic ingredients, like xylitol or chocolate, are included. Tailor them to your dog’s specific dietary needs for the best results.
How do I make a biscuit for a dog?
Making dog biscuits is surprisingly simple and enjoyable. Start with a basic recipe using whole wheat flour, natural peanut butter, and an egg. Mix the ingredients until a dough forms, then roll it out and cut into shapes. Bake until golden brown, ensuring a crunchy texture that dogs adore. Don’t worry if they aren’t perfectly shaped—your dog will love them regardless!
What are dog biscuits used for?
Dog biscuits are versatile treats used for training, rewarding, or just showing your pup some love. They can serve as a motivational tool during training sessions, keeping your dog focused and eager to learn. Additionally, biscuits can be a part of a balanced diet, offering a healthy snack between meals. They also provide an excellent opportunity to bond with your furry friend.
Can I give my dog a biscuit every day?
Yes, but moderation is key to maintaining a balanced diet. Consider your dog’s size, age, and activity level before setting a daily treat limit. While biscuits can be a tasty reward, they should not make up more than 10% of your dog’s daily caloric intake. Always monitor your dog for any signs of allergies or digestive issues, adjusting treat quantities as needed.
Conclusion
Making these homemade dog biscuits is more than just baking—it’s about creating special moments with your furry friend. When Max tasted his first batch, his joyful leaps and wagging tail were enough to fill our home with laughter and love. Sharing these treats with him became a cherished ritual, one that I hope you and your pup will enjoy as well.
Every time you mix the dough and cut out those little biscuits, you’re doing something special. You’re not just making a snack; you’re creating an experience that brings people and pets together. It’s a simple act that fills the heart—both yours and your pup’s.
So why not roll up your sleeves and give this recipe a try? I’d love to hear how it goes and see photos of your happy dogs enjoying their treats. For more delightful recipes and stories, follow us on social media!

Homemade Dog Biscuits: A Tail-Wagging Treat Recipe
Ingredients
Method
- 1. Preheat the oven to 350°F.
- 2. In a large bowl, mix together flour and peanut butter.
- 3. Add the egg and blend well.
- 4. Gradually add water or broth until a dough forms.
- 5. Roll out dough to 1/4 inch thick on a floured surface.
- 6. Cut into shapes using cookie cutters.
- 7. Place on a baking sheet lined with parchment paper.
- 8. Bake for 20 minutes or until golden brown.
- 9. Cool completely before serving to your dog.


