

The Memory Behind This Treat
The first time I decided to bake these delightful baked dog treats, it was after a long day of sniffing skepticism from Max, my lovable Labrador. Max, much like your own furry friend, had grown tired of the bland, store-bought snacks that barely sparked a tail wag. I remember his expression—a mix of hope and doubt—as I pulled out the silicone molds and started mixing up something new.
With just pure pumpkin puree, natural peanut butter, a couple of eggs, and oat flour, I felt like a kitchen wizard conjuring up magic. As the treats baked, a comforting nutty aroma filled the house, drawing Max closer to the oven with every sniff. The anticipation was palpable, and when I finally presented him with these homemade delights, his eyes lit up with joy. It was a moment of connection, a simple yet profound reminder of the love and care we pour into our pets.
These treats weren’t just snacks; they were a testament to choosing quality over convenience. Baking them became a ritual, a special time for Max and me to bond. Watching him enjoy each crunchy bite was rewarding in itself, knowing I was giving him something wholesome and safe. So, grab your silicone molds and let the aroma of these baked dog treats fill your home with joy. You won’t look back!
How To Make It (Mix & Ingredients)
Creating these delightful baked dog treats is as simple as wagging a tail! Start by gathering your ingredients: ½ cup of pure pumpkin puree, 3 tablespoons of natural peanut butter, 2 medium eggs, and 1⅔ cups of oat flour. A friendly reminder—always ensure your peanut butter is xylitol-free, as this sweetener is harmful to dogs.
Begin by preheating your oven to 350°F (175°C). In a large mixing bowl, combine the pumpkin puree and peanut butter until smooth. Add the eggs, mixing well to incorporate. Gradually stir in the oat flour until the mixture forms a cohesive dough. It might get a little sticky, but that means you’re on the right track!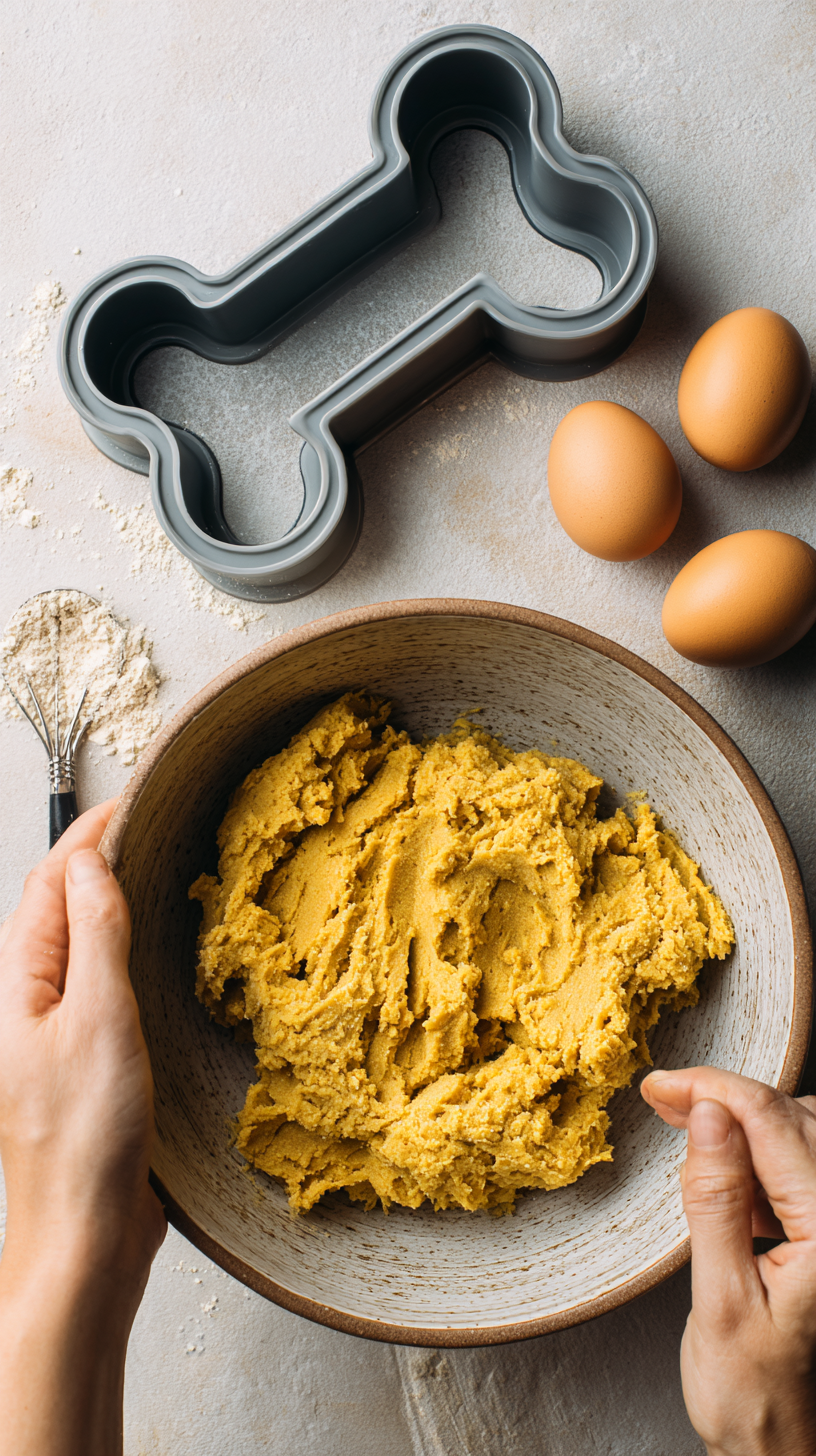
Step-by-step preparation of the baked dog treats.
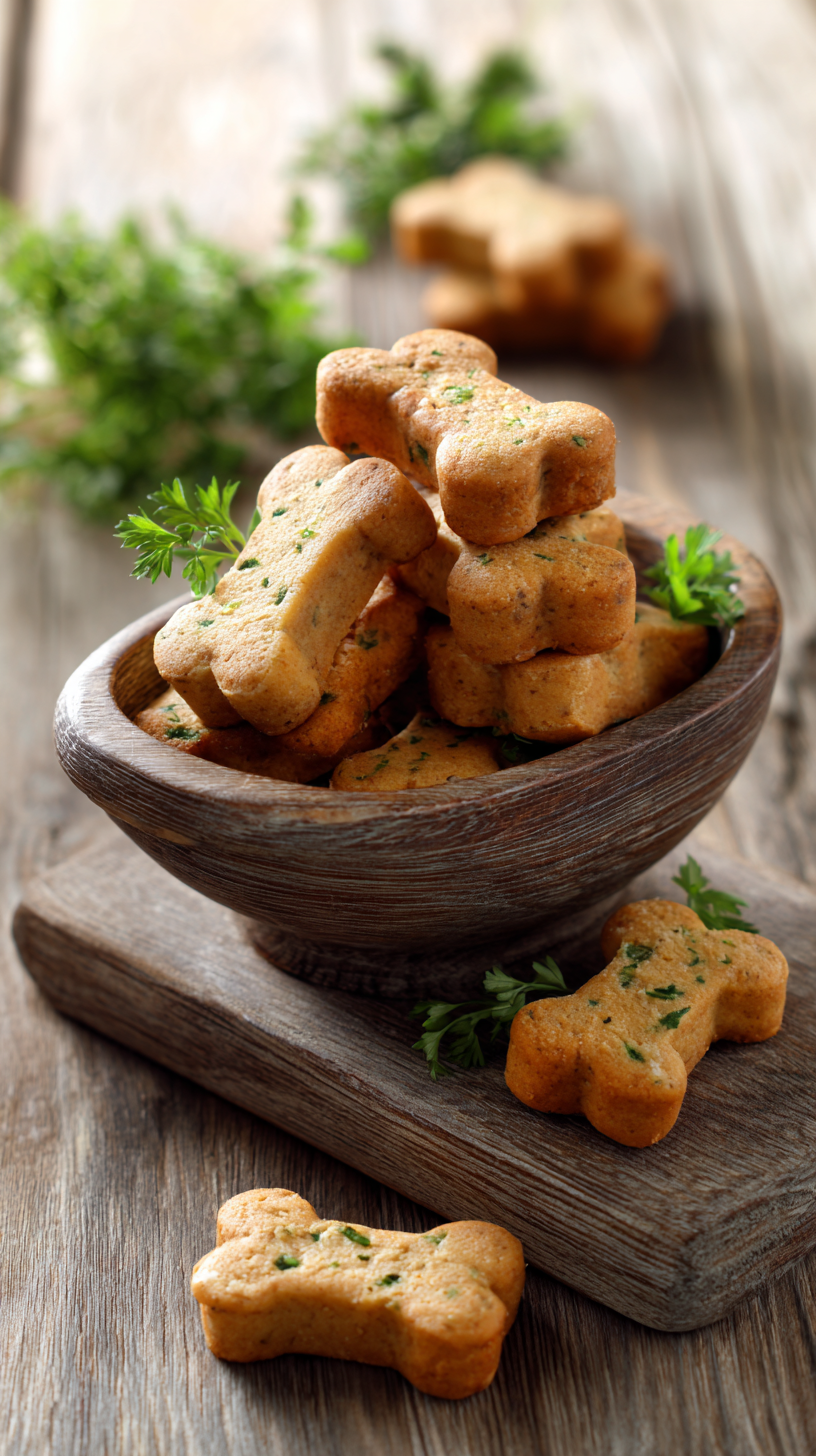
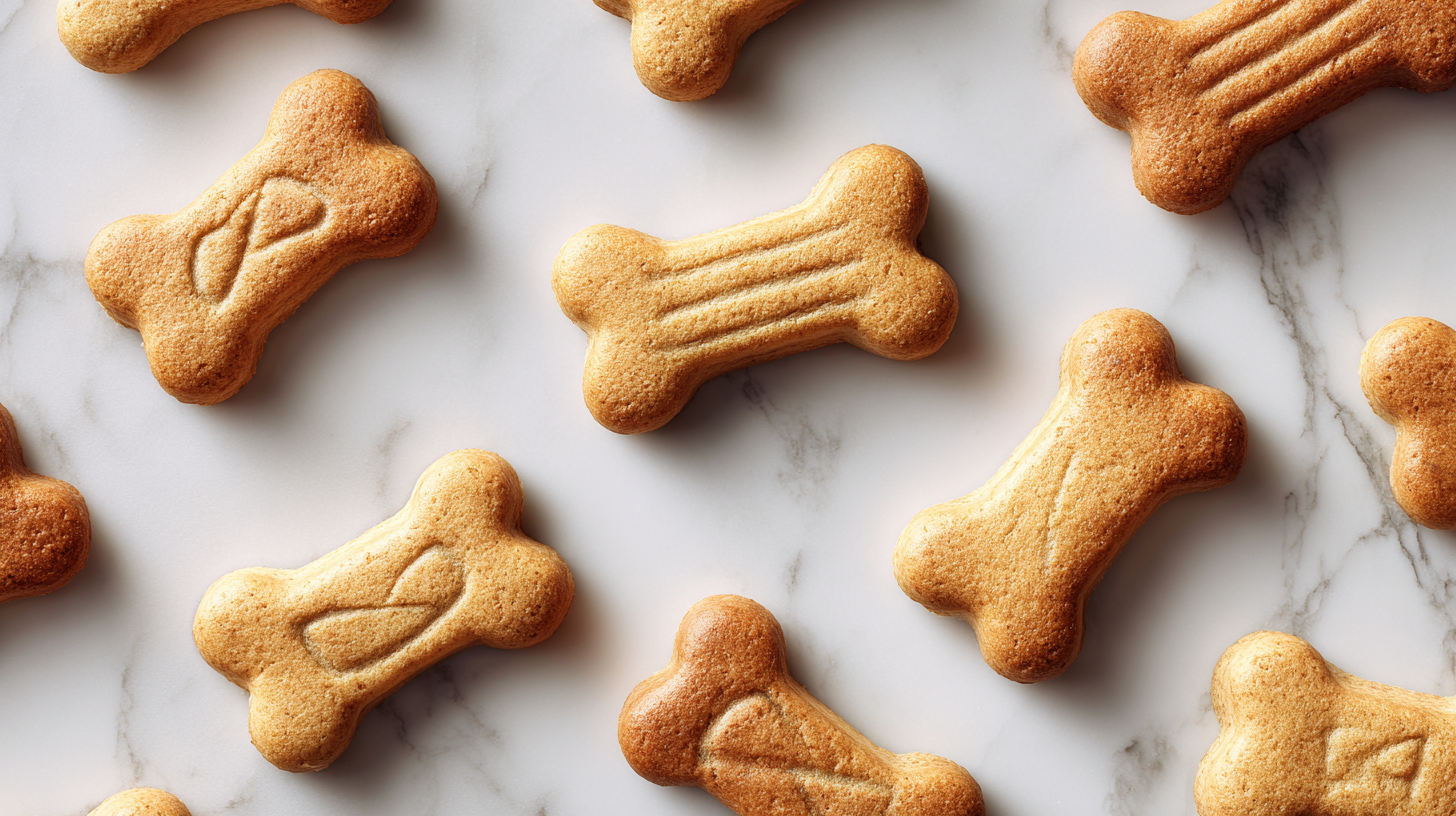
Once your dough is ready, press it into your favorite silicone molds. Why silicone? Not only do they come in fun shapes, but they also make releasing the treats a breeze. Bake for 20-25 minutes or until the treats are golden and firm to the touch. The aroma will have your pup eagerly circling your feet! Let them cool completely before serving.
For more dog-friendly recipes, you might enjoy trying our Pumpkin Apple Dog Biscuits or Oatmeal Peanut Butter Bites. Both are sure to be a hit with your furry friend!
Make-Ahead & Storage
When it comes to baked dog treats, planning ahead can make snack time a breeze. You can easily prepare a large batch of these crunchy delights and store them for those moments when your furry friend gives you that irresistible “treat please” look. After baking, allow the treats to cool completely before storing—this helps maintain their perfect, crunchy texture.
For short-term storage, place the cooled treats in an airtight container and keep them at room temperature. They’ll stay fresh and crunchy for up to 1 week. If you want to extend their shelf life, you can store the treats in the refrigerator, which will keep them good for about 2 weeks. Just remember to bring them to room temperature before serving to your pup, as some dogs prefer their snacks a little warmer.
For longer-term storage, these baked dog treats freeze beautifully. Simply place them in a freezer-safe bag or container, and they’ll last for up to 3 months. When you’re ready to serve, take out the desired amount and allow them to thaw at room temperature. This way, you’ll always have a stash of homemade dog happiness ready for any occasion. For more treat ideas, check out our recipes for homemade peanut butter biscuits and crunchy cheese bites.
Best Ingredients & Party Variations
When it comes to crafting these baked dog treats, picking the right ingredients makes all the difference. Let’s explore why these choices matter and how you can have some fun with variations!
Key Ingredients
Pure Pumpkin Puree: Besides being a great source of fiber, pumpkin adds natural sweetness, making it a hit with most pups. Plus, it’s gentle on their tummies.
Natural Peanut Butter: Dogs go nuts for peanut butter! Always make sure to choose one without xylitol—remember, that’s a big no-no for dogs. The creamy texture also binds the treats nicely.
Eggs: These provide protein and help hold everything together. They also add a lovely golden color to the treats.
Oat Flour: A wonderful gluten-free option, oat flour is gentle on digestion and adds a wholesome texture. You can even make it at home by grinding rolled oats in a blender.
Party Variations
Want to add a bit of flair to your baked dog treats? Try these fun variations:
Apple Cinnamon Delight: Add some finely chopped apples and a pinch of cinnamon. Apples are a great source of vitamins A and C, and dogs love the extra sweetness.
Cheesy Bites: Mix in a bit of grated cheddar cheese. Cheese is rich in calcium and makes for an irresistible treat.
Berry Bonanza: Include some crushed blueberries or strawberries. They’re packed with antioxidants and add a burst of flavor
Mix and match these suggestions to create a treat tailored to your furry friend’s taste. And remember, these variations make snack time a festive occasion, perfect for birthdays or just because!
FAQ’s About Baked Dog Treats
What are the healthiest baked dog treats for my pet?
Healthy baked dog treats are those made with natural, whole ingredients. Look for recipes that include items like pumpkin, oat flour, and natural peanut butter without additives. These ingredients provide essential nutrients and flavors dogs love. Homemade options allow you to control what goes into your dog’s snacks, ensuring there are no harmful preservatives or artificial colors.
Can dogs safely enjoy baked treats?
Yes, dogs can safely enjoy baked treats as long as the ingredients are suitable for them. Always ensure that any treat you offer is free from toxic ingredients, like xylitol in peanut butter or excess salt. Baked treats can even help clean your dog’s teeth due to their crunchy texture. Just remember to break them into appropriate sizes for your dog to prevent choking.
Are homemade baked dog treats healthier than store-bought ones?
Homemade baked dog treats are often healthier because you have control over every ingredient. Many store-bought treats contain fillers, artificial preservatives, and colors that aren’t necessary or healthy for your dog. By making treats at home, you can ensure they are fresh and made from wholesome ingredients. Plus, they’re tailored to your dog’s specific dietary needs.
What is the 90/10 rule for feeding dogs?
The 90/10 rule for dogs means that 90% of your dog’s daily caloric intake should come from their regular nutritionally complete meals, while only 10% should come from treats. This guideline helps maintain a balanced diet and prevents overfeeding. Use it to ensure treats are an occasional delight rather than a staple in their diet. Always adjust treat sizes based on your dog’s daily activity and health needs.
Conclusion
Baking these easy baked dog treats is more than just whipping up a snack—it’s about creating joyful moments with your furry friend. Watching Max’s eyes light up as he taste-tests a fresh batch reminds me why I started this journey in the first place. The bond we share over these homemade goodies is truly special.
I hope this recipe brings you and your pup as much happiness as it does for us. Whether you’re baking for a special occasion or just because, these treats can turn an ordinary day into a tail-wagging celebration. So, roll up your sleeves and give it a try—your dog will thank you with endless love and slobbery kisses!
For more delicious recipes like this, follow us on social media! Let’s continue creating tasty memories together with our four-legged family members.
Easy Baked Dog Treats: A Tail-Wagging Snack Recipe
Ingredients
Method
- 1. Preheat oven to 350°F. Place silicone molds on a baking sheet.
- 2. In a medium bowl, mix pumpkin puree, peanut butter, and eggs until smooth.
- 3. Gradually add oat flour, mixing until a tacky dough forms.
- 4. Press dough into silicone molds, filling just to the top.
- 5. Bake for 30 minutes until treats are firm and golden.
- 6. Cool completely on a wire rack before serving.


