
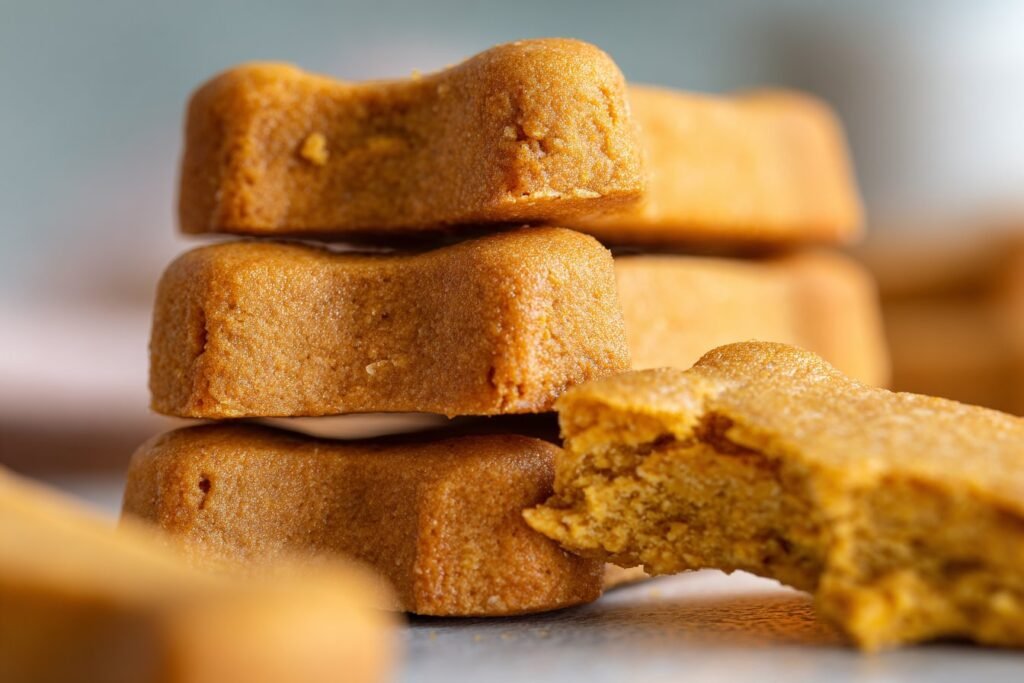
The Memory Behind This Treat
The first time I baked these food\/” target=”_blank” rel=”nofollow noopener”>sweet potato dog biscuits, it was a rainy Sunday afternoon. Max, my ever-curious Labrador, was restless from being cooped up inside. As I gathered the ingredients, he followed me around the kitchen, his nose eagerly sniffing the air. I knew I had to whip up something special to lift his spirits, and these sweet potato dog biscuits were just the ticket. The moment the sweet, earthy aroma filled the kitchen, Max parked himself by the oven, his tail thumping a steady beat on the floor.
I remember rolling out the dough on my countertop, using a bone-shaped cutter to make the biscuits extra fun. Of course, Max supervised closely, occasionally casting hopeful glances at me, just in case I dropped a piece. When the timer finally beeped, and I pulled those golden biscuits out of the oven, his excitement was palpable. I let them cool just a bit, and when I handed him that first crunchy piece, his wagging tail told me everything I needed to know.
Making these sweet potato dog biscuits has now become a cherished tradition in our home. Not only are they a wholesome treat that makes Max jump for joy, but they also remind me of those cozy afternoons spent together. Whether it’s a rainy day or a sunny one, I love knowing I’m giving him something healthy and homemade, crafted with love. If you’re looking for other delicious options, be sure to check out our Pumpkin Dog Treats or Banana Pupcakes for more tail-wagging recipes!
How To Make It (Mix & Ingredients)
Let’s dive into creating these Sweet Potato Dog Biscuits that are sure to get your pup’s tail wagging! First, gather your ingredients: you’ll need 1 cup of cooked and mashed sweet potatoes. If you’ve ever made mashed potatoes, you’re already ahead of the game. For a quick prep, pierce a sweet potato with a fork and microwave it for about 7 to 10 minutes until soft. Once cooled, scoop out the flesh and mash it thoroughly.
Next, grab 2 large eggs and ¼ cup of unsweetened applesauce—these ingredients help bind the dough and add a touch of sweetness without any added sugar. Mix these with the mashed sweet potatoes in a large bowl, making sure everything is well combined. At this point, your mixture should be smooth and slightly runny.
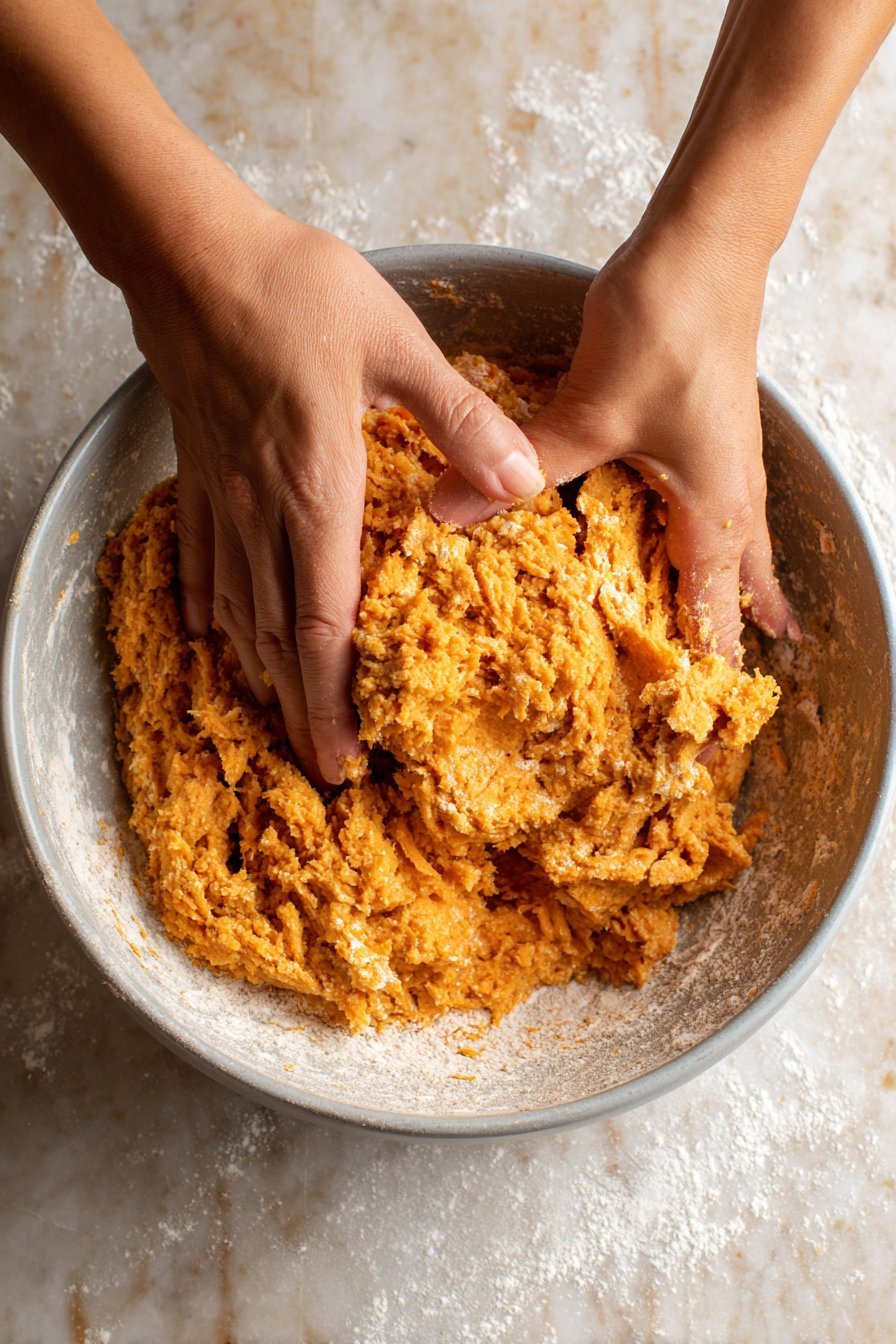
Instructions Process of Sweet Potato Dog Biscuits
Now, it’s time to bring in the 2½ cups of whole wheat flour. Gradually stir it into the wet mixture. The dough will become thick and firm—don’t hesitate to roll up your sleeves and use your hands to knead it together. If it feels too sticky, sprinkle in a bit more flour until it’s manageable. Once your dough is ready, lightly flour your work surface and roll out the dough to about ¼-inch thick. Use a bone-shaped cookie cutter (or whatever shape your pup prefers!) to cut out the biscuits.
For another fun baking adventure, you might want to try our delightful Pumpkin Peanut Butter Dog Treats. These are equally simple and add a seasonal twist to your dog’s snack routine.
Make-Ahead & Storage
When you whip up a batch of these Sweet Potato Dog Biscuits, it’s a lifesaver to know they can be made ahead and stored for future tail-wagging moments. Once baked and completely cooled, these biscuits can be stored in an airtight container at room temperature for up to 1 week. This keeps them fresh and crunchy, just the way dogs like them. If your pup prefers a softer treat, you can store them in a slightly open container so they absorb some moisture from the air—perfect for sensitive teeth!
For longer storage, I recommend freezing them. Simply place the cooled sweet potato dog biscuits in a freezer-safe bag, and they’ll keep their flavor and crunch for up to 3 months. Just be sure to thaw them completely before serving. This makes it easy to always have a healthy snack on hand, especially for those spontaneous trips to the park or a cozy night in.
If you’re planning to share these delightful biscuits with other dog-loving friends, consider making a double batch. They’re a thoughtful homemade gift, and you can add a little note with storage instructions to ensure every pup enjoys them at their best. With these make-ahead tips, keeping your furry friend’s snack jar filled with love and nutrition has never been easier. For more homemade options, check out our Pumpkin Peanut Butter Treats and Banana Oatmeal Bites.
Best Ingredients & Party Variations
When it comes to crafting these Sweet Potato Dog Biscuits, selecting the right ingredients is key to ensuring both flavor and nutrition. The star of the show, sweet potatoes, are packed with vitamins A and C, supporting your dog’s immune system and keeping their coat shiny. I always recommend using fresh, cooked, and mashed sweet potatoes—they add a natural sweetness that dogs love. The unsweetened applesauce not only enhances the flavor but also keeps the biscuits moist without adding unnecessary sugars.
Don’t forget the whole wheat flour, which provides fiber and a satisfying crunch. However, if your pup has a wheat sensitivity, you can easily substitute with oat flour or rice flour. This swap keeps the biscuits gentle on the tummy while maintaining their delightful texture. Always double-check ingredient labels to ensure there are no added sweeteners or harmful additives.
For party variations, consider shaping the biscuits into fun, festive forms. Think hearts for Valentine’s Day or pumpkins for Halloween! You can even add a teaspoon of ground cinnamon for a cozy, warming aroma. Just be mindful not to overdo it, as too much spice can upset a dog’s stomach. If you’re feeling adventurous, throw in some finely grated carrots for extra texture and nutrients. These tweaks not only personalize the treats but also make them a hit at any doggy gathering!

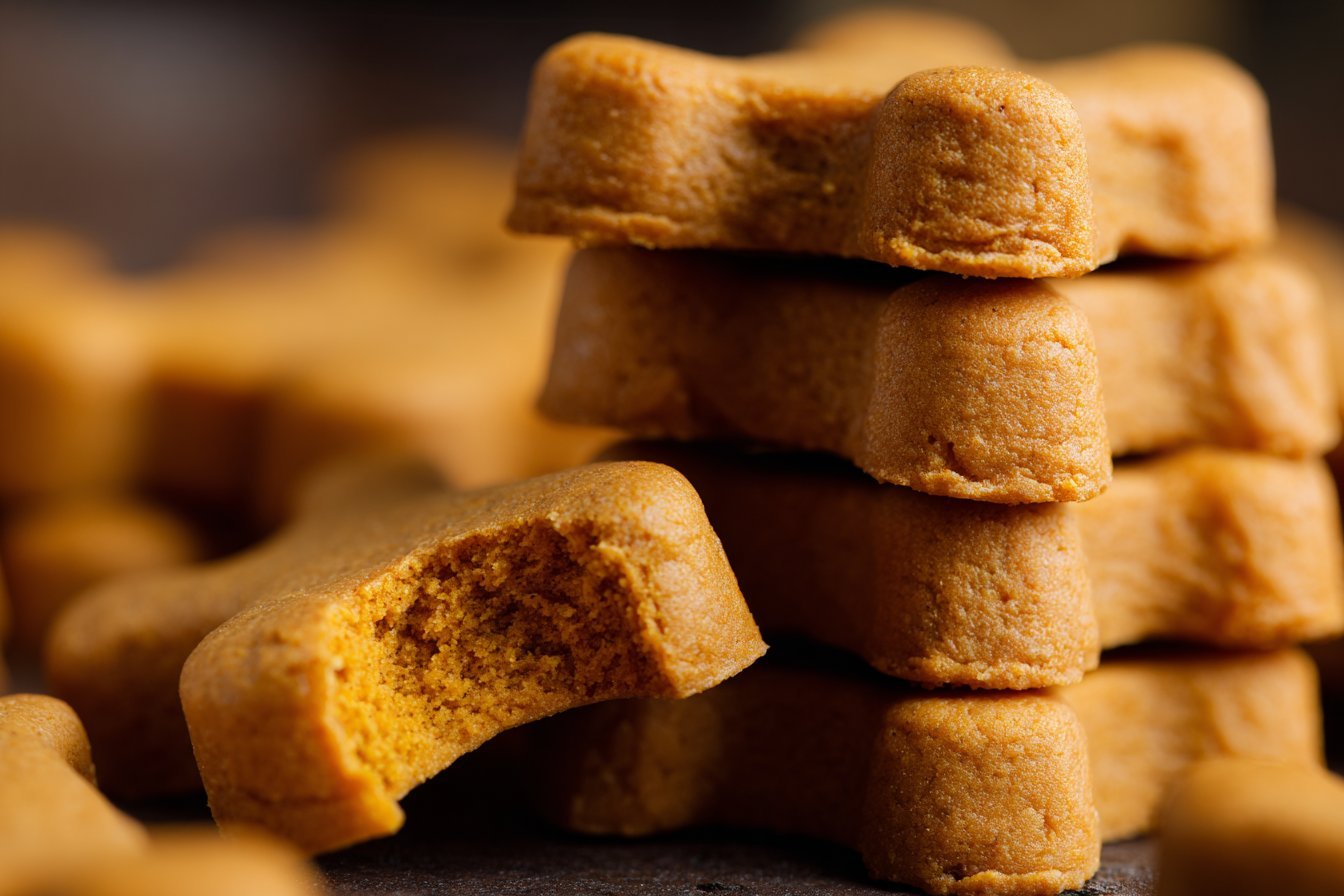
Serving of Sweet Potato Dog Biscuits
Conclusion
Whipping up these sweet potato dog biscuits is more than just baking—it’s an act of love that brings joy to your furry friend and warmth to your home. There’s something truly special about seeing your pup’s eyes light up as you pull the treats from the oven, knowing you’ve created a healthy snack just for them.
Whether you’re sharing a quiet afternoon in the kitchen or making memories with family, these biscuits are a perfect way to bond with your dog and loved ones. The happiness in those wagging tails is simply contagious!
I encourage you to roll up your sleeves and try this recipe for yourself. You’ll not only be crafting a delightful treat but also creating cherished memories along the way. For more wholesome dog recipes, follow us on social media—let’s keep those tails wagging together!
Are Sweet Potato Dog Biscuits safe for all dogs?
These Sweet Potato Dog Biscuits use simple, dog-safe ingredients like sweet potatoes, eggs, and unsweetened applesauce. However, if your dog has known allergies or dietary restrictions, it’s always best to consult your veterinarian first. Dogs with wheat sensitivities should avoid whole wheat flour, but there are substitutions available. Always monitor your pup when trying new treats to ensure they don’t have any adverse reactions.
Can I substitute whole wheat flour in Sweet Potato Dog Biscuits?
Absolutely, you can use oat flour or a gluten-free blend if your dog is sensitive to wheat. Keep in mind that different flours can alter the texture and baking time, so keep an eye on the biscuits as they bake. Oat flour tends to create a slightly softer biscuit, which some dogs might prefer. No matter the flour, your dog will still enjoy a tasty treat.
How should I store homemade Sweet Potato Dog Biscuits?
Store these delicious biscuits in an airtight container at room temperature for up to one week. If you want them to last longer, refrigerate for up to two weeks or freeze for up to three months. Make sure they’re completely cooled before storing to prevent moisture buildup, which can lead to spoilage. Your pup will love them fresh out of the jar or freezer!
Recipe
Sweet Potato Dog Biscuits
Ingredients
Method
- Preheat your oven to 350°F (175°C). Line a baking sheet with parchment paper.
- In a large bowl, mix the mashed sweet potato, eggs, and applesauce until well blended.
- Gradually stir in the flour. Knead the dough with your hands if necessary.
- Lightly flour your work surface. Roll out the dough to about ¼-inch thick.
- Use a cookie cutter to cut out treats and place them on the baking sheet.
- Bake for 35 to 40 minutes, until crisp and golden. Let cool before serving.
Notes
- Freeze for up to 3 months for longer storage.


