

The Memory Behind This Treat
The very first batch of Green Bean Crunchies for Dogs happened on a hot summer afternoon when Max’s usual walk had to be cut short. He was restless, pacing between the kitchen and the living room, clearly in the mood for a project… and a snack. I opened the fridge, saw a big bag of green beans, and remembered my vet casually saying, “Those make a great low-calorie treat.” So there we were: Max supervising from his favorite mat while I washed and trimmed a pound of beans, scattering them onto a parchment-lined pan like I was dealing cards. By the time that light, toasty veggie smell filled the kitchen, Max was sitting like a statue in front of the oven, nose working overtime.
I still remember the sound of that first crunch. I broke a cooled bean in half, checked that it was dry all the way through, then offered a piece to Max like it was a gourmet truffle. He chomped once, his ears popped forward, and then he immediately sat down again, very politely, for more. That was the moment I knew I had found one of those truly easy dog meals-style snacks: something simple, wholesome, and dog-approved. Over time, these green bean crunchies became our go-to for “you were so good at the vet” rewards, car-ride treats, and those afternoons when he wanted crunchy satisfaction without a lot of calories. Every pan I pull out now reminds me that sometimes the best homemade dog treats start with whatever you already have in the crisper drawer.
How To Make It (Mix & Ingredients)
For these Green Bean Crunchies for Dogs, the “mix” could not be simpler, which is exactly what I love about this recipe. Start with about 1 pound of fresh green beans—washed, dried, and with the stems trimmed off. You can leave them whole for a longer chew or slice them in half for smaller pups or training rewards. If you’d like a slightly richer crunch, toss the beans very lightly with up to 1 teaspoon of olive oil in a bowl; they should look just barely glossy, not greasy. If your vet has your dog on a low-fat plan, skip the oil—your green beans will still dry out beautifully in the oven, dehydrator, or air fryer.
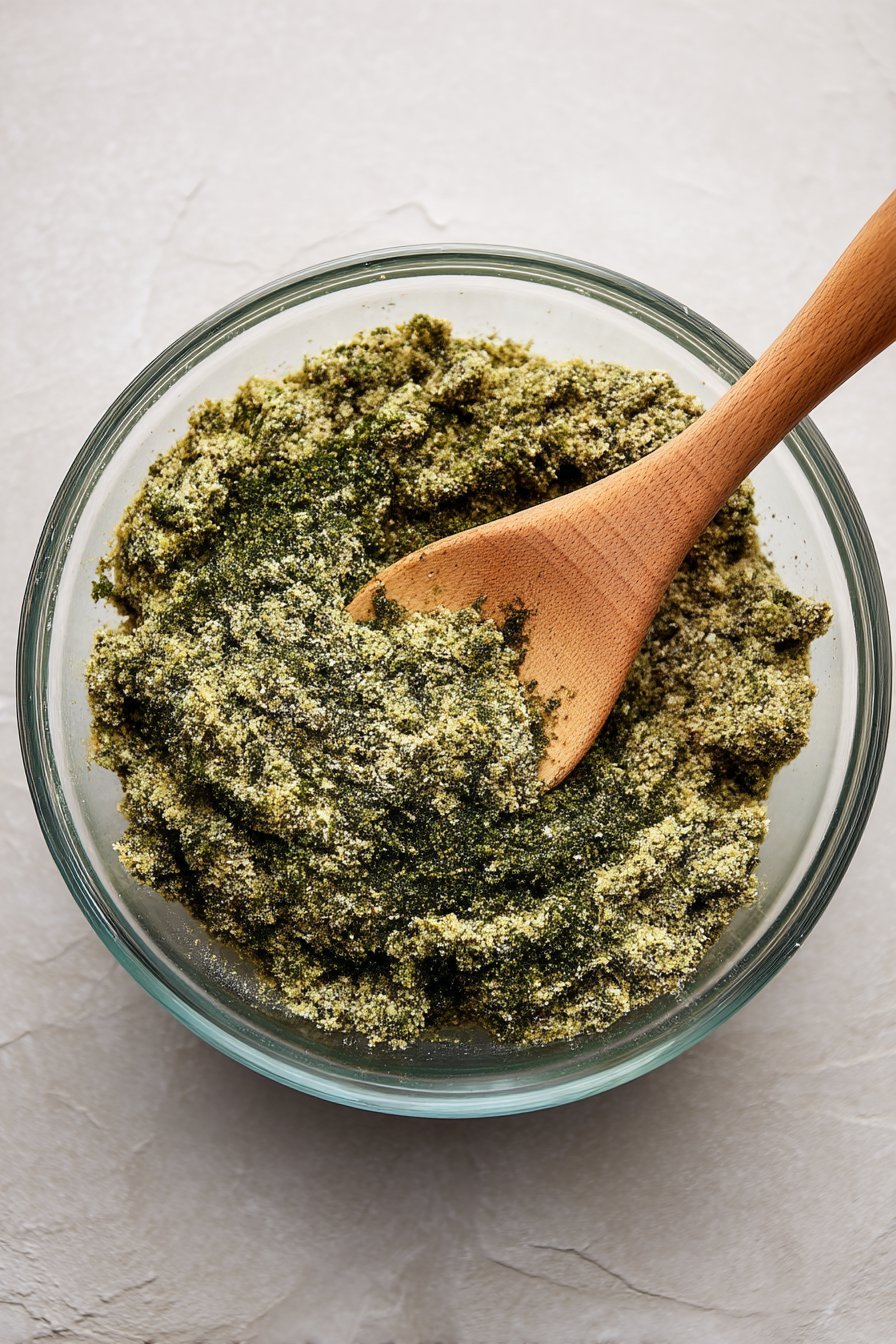
Instructions Process of Green Bean Crunchies for Dogs
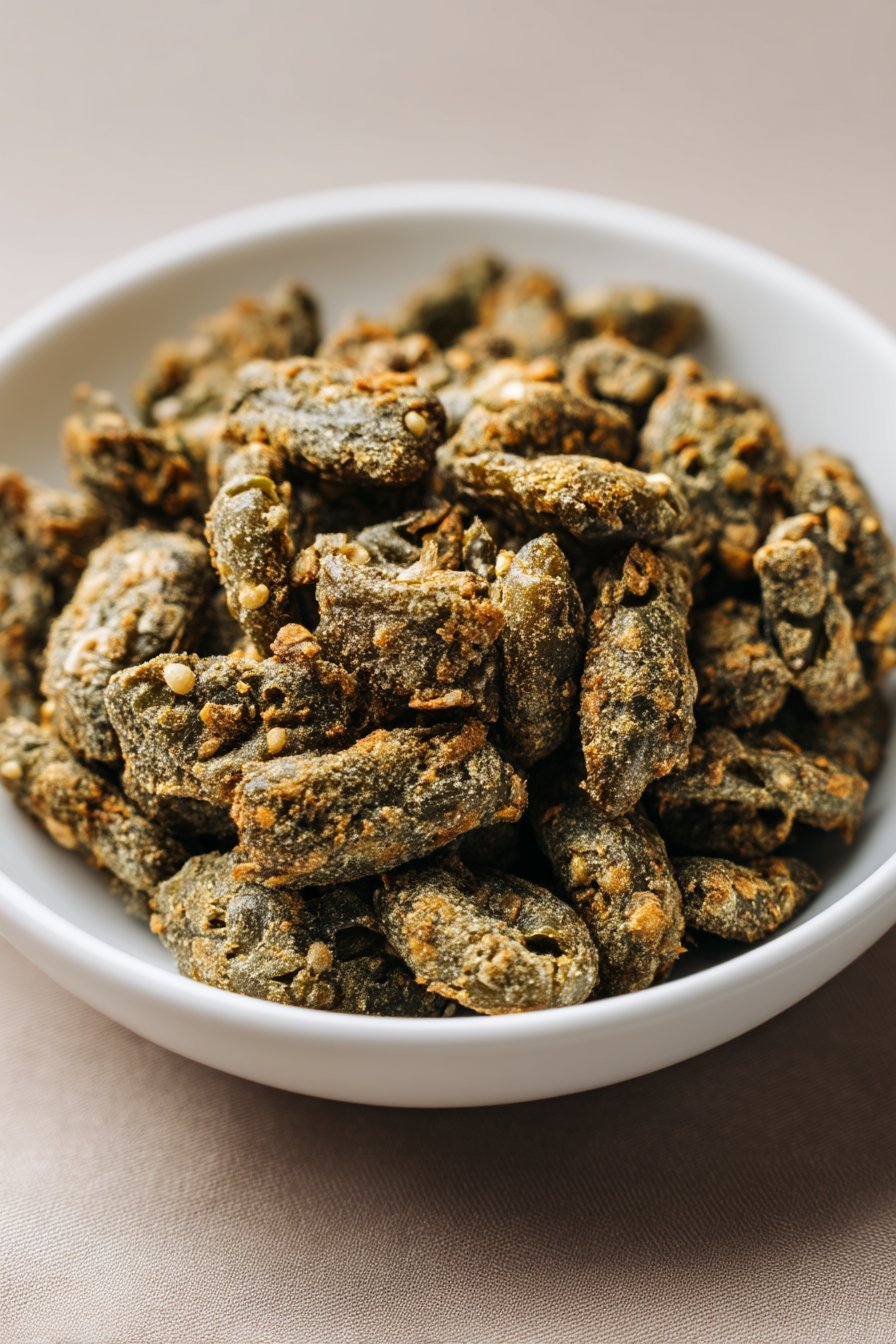
Spread the beans in a single layer on a parchment-lined baking sheet so they can dry evenly and not steam. Try to avoid crowding; if the beans are piled up, they’ll cook unevenly and the batch may come out half-crispy, half-chewy. Remember, no salt, garlic, onion powder, or seasoning blends—those are for your plate, not your pup’s. Never use any flavored oils, butter, or cooking sprays with additives, as they can upset your dog’s stomach or even be unsafe. Once you’re set up, you’ll follow the low-and-slow drying method until the beans are crisp and snap when you break them, similar to a thin veggie chip.If you fall in love with how easy these Green Bean Crunchies for Dogs are (and your pup probably will), you can batch-prep multiple trays and rotate them through the oven or dehydrator on a cozy weekend. I often make these alongside another simple recipe like my homemade Slow Cooker Chicken and Rice so Max gets both crunchy snacks and a hearty meal prepped for the week. The real “secret” here isn’t a fancy ingredient—it’s patience and low heat. Give the beans enough time to fully dry out, and you’ll be rewarded with safe, wholesome, crunchy treats that feel special but fit right into your routine of easy dog meals.
Make-Ahead & Storage
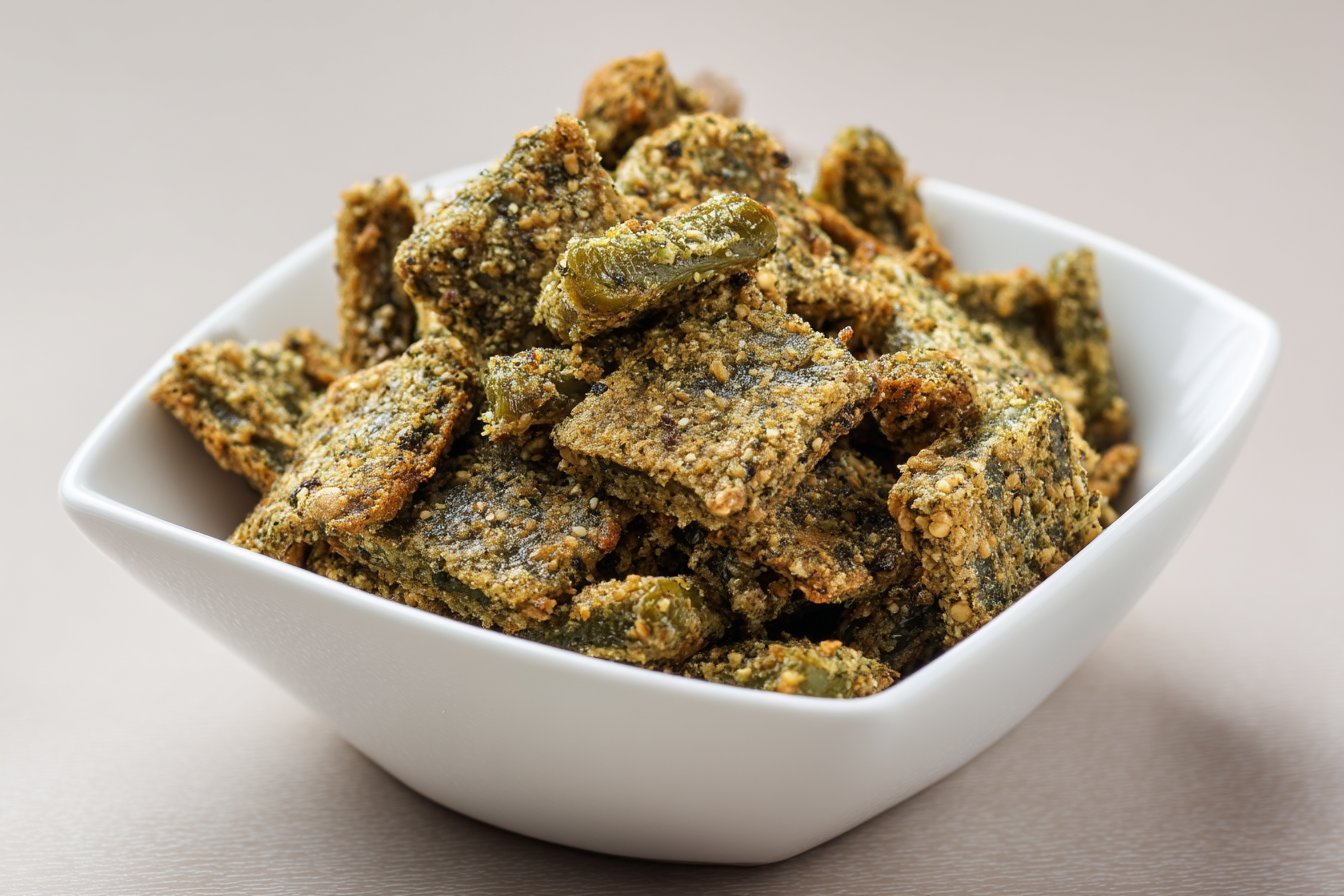
One of my favorite things about these Green Bean Crunchies for Dogs is how easy they are to make ahead for the whole week. Since you’re slowly drying the beans at a low temperature, you’re basically turning them into little veggie chips for your pup, which keeps them fresher for longer than steamed or boiled beans. For best results, let the beans cool completely on the tray, then transfer them to an airtight glass jar or a resealable container. I like to press out extra air with a paper towel on top before sealing. Stored this way in the fridge, they stay crunchy and safe for up to 1 week.
If you want to batch-prep a month’s worth of Green Bean Crunchies for Dogs, the freezer is your best friend. Spread the cooled crunchies on a baking sheet in a single layer and freeze until firm, then move them to a freezer-safe bag and label the date and flavor (plain or with olive oil). You can pull out a handful at a time and either serve them straight from the freezer (many dogs love the extra cold crunch on hot days) or let them sit at room temp for 5–10 minutes. Watch for any signs of moisture or soft spots after thawing—if they lose their snap, pop them back into a 250°F oven for 10–15 minutes to re-crisp. If you enjoy prepping in advance, you might also like making a bigger batch day with another simple recipe like my recipes\/” target=”_blank” rel=”nofollow noopener”>Slow Cooker Chicken and Rice for Dogs so you can cover both treats and meals in one go.
Best Ingredients & Party Variations
When you’re making Green Bean Crunchies for Dogs, the ingredient list is blissfully short—but quality still matters. Choose fresh, firm green beans with bright color and no slimy spots; if you wouldn’t sauté them for your own dinner, don’t bake them for your pup. You can use frozen green beans in a pinch, just make sure they’re plain (no salt, sauces, or seasoning) and fully thawed and patted dry so they crisp instead of steam. If you decide to use the optional olive oil, measure that 1 teaspoon with a real measuring spoon, not a “that looks about right” splash, especially for dogs who need to watch their fat intake. Remember: flavored oils, garlic oil, or any seasoning blends are a no-go—dogs only need the simple, clean crunch here.
Once you master the basic Green Bean Crunchies for Dogs, you can turn them into a whole “treat bar” for special occasions like birthdays or gotcha days. For variety, mix green beans with thin carrot sticks or coin-cut zucchini on the same tray, and bake them together for a colorful, veggie “party mix” (just keep everything unseasoned and cut to similar sizes so they cook evenly). For small dogs, slice the beans in half before baking so each piece becomes a mini crunchy bite; for large dogs, leave them whole as a satisfying, chewable “stick.” Hosting a dog playdate? Serve the crunchies alongside a small bowl of plain mashed pumpkin or unsweetened yogurt as a dip—one bean at a time, and only a spoonful of dip per dog. If your pup loves themed treats, pair these with something like a chicken-based snack (think along the lines of a simple slow-cooked chicken and rice-style treat) to turn snack time into a full easy dog meals tasting party.
Serving of Green Bean Crunchies for Dogs
Conclusion
Making treats at home is never just about the food—it’s about the little moments that come with it. From the first snap of a crunchy green bean to the hopeful way your pup’s eyes lock onto the treat jar, these are the tiny memories that turn an ordinary day into something special. I still smile every time I think of Max trotting into the kitchen the second he hears the baking sheet hit the counter, absolutely certain something delicious has his name on it.
Green Bean Crunchies for Dogs might be a simple recipe, but it creates such beautiful together-time: kids counting out the beans, you stirring the bowl, your dog watching every move like the world’s cutest quality-control inspector. You’re not just making snacks—you’re showing your dog love in one of the clearest ways they understand.
I’d love for you to give this recipe a try and see your pup’s reaction to that first crunchy bite. Then keep the tail wags going and bake a batch whenever you need an easy win on a busy day.
For more delicious recipes like this, follow us on social media!
What exactly are Green Bean Crunchies for Dogs?
Green Bean Crunchies for Dogs are homemade dog treats made from fresh green beans that are slowly dried until they’re light, crisp, and snackable. They’re naturally low in calories and fat, so they’re a great option for pups who need to watch their weight. Because they use just green beans and an optional tiny bit of olive oil, you know exactly what your dog is eating. Think of them as your dog’s version of veggie chips—simple, wholesome, and super satisfying to crunch.
Are Green Bean Crunchies for Dogs safe for all dogs to eat?
For most healthy dogs, green beans are a safe, vet-approved snack in moderation. They provide fiber, a bit of plant protein, and vitamins, without added salt, sugar, or seasoning. **Never add garlic, onion, heavy oils, or any kind of seasoning mix**, as these can be harmful to dogs. If your dog has kidney issues, digestive problems, or is on a special diet, talk to your vet before making these a regular treat. Always introduce any new treat slowly and watch for soft stool or tummy upset.
How should I store Green Bean Crunchies to keep them fresh and crunchy?
Once the crunchies are completely cool, store them in an airtight container in the refrigerator for up to 1 week. If you want to make a big batch, you can freeze them for longer storage and thaw a small handful at a time. To keep their texture, avoid storing them while they’re still even slightly warm, or condensation can make them soggy. If they soften a bit, you can pop them back in a low oven or dehydrator briefly to re-crisp. Always discard any treats that smell off, feel damp, or show signs of mold.
Recipe
Green Bean Crunchies for Dogs
Ingredients
Method
- Preheat oven to 250°F.
- Line a large baking sheet with parchment paper.
- Pat the green beans dry with a clean towel to remove excess moisture.
- If using olive oil, place the beans in a bowl and toss with the olive oil until lightly coated.
- Spread the green beans in a single layer on the prepared baking sheet, making sure they are not overlapping.
- Place the baking sheet in the oven and bake for 1 1/2 hours.
- Remove the pan from the oven, flip or stir the green beans, and spread them back into a single layer.
- Return the pan to the oven and bake for another 1 1/2 hours, or until the beans are dry, crisp, and snap easily when broken.
- Remove the baking sheet from the oven and let the green beans cool completely on the pan.
- Store the cooled green bean crunchies in an airtight container in the refrigerator and use within 1 week, or freeze for longer storage.
Notes
- Skip the olive oil if your dog is on a low-fat or weight-loss plan.
- Break larger pieces into smaller bites for small dogs or training treats.
- Always introduce new treats gradually and watch for any digestive upset.


