What Makes This Recipe Reliable
I built this oven baked Homemade Greenies Recipe for Dogs the same way I build all my easy dog meals. I started with vet guidance, then tested the treats over and over in my own kitchen with my Labrador taste tester, Max. A vet reviewed the ingredient list, so you are not guessing about parsley, spinach, or flaxseed, and why they are safe in these small treat amounts. I kept every ingredient common and clear, so when you look at the list, you instantly know what is going into your dog. No mystery powders, no complicated steps, just real food you can recognize and pronounce.
Consistency matters when you bake healthy dog food recipes, so this version uses specific amounts and times you can rely on. Baking at 325°F for up to 30 minutes keeps the chews firm enough to help scrape teeth without turning them into rock hard jaw workouts. Chilling the dough first means you can form neat rectangles or fill silicone molds without sticky hands or falling apart shapes. I tested different textures, from softer chews for senior dogs to extra crunchy for strong chewers, simply by adjusting bake time and the optional last 20 minutes in the turned off oven. You can even compare this recipe to my oven baked breath freshening treats to see how texture and shape change the chew while the method stays familiar.
Most important, this Homemade Greenies Recipe for Dogs balances realism with care. These chews can support oral hygiene by providing gentle abrasion and fresh herbs, but they do not replace regular tooth brushing or vet cleanings. I give you clear portions, about one piece for a small dog and up to three for a large dog, so you can avoid calorie creep. I also walk you through safe storage, with refrigeration and freezing tips that keep the treats fresh without any preservatives. That way, when your dog sits by the oven the way Max does, you can feel confident you are offering something thoughtfully tested, nutritionally mindful, and truly made with their health in mind.
The Method (Step by Step)
Start by getting all your ingredients prepped, because this Homemade Greenies Recipe for Dogs moves quickly once you begin. Rinse the spinach and parsley well, pat them dry, and roughly chop them so they blend more evenly. Add the spinach, parsley, pumpkin purée, and melted but cooled coconut oil to your food processor, then blend until you get a smooth, bright green paste. Scrape down the sides as needed so there are no stringy bits of leaves left. This puree is the flavor and color base that makes these treats feel like those famous green dental sticks, only with simple, recognizable ingredients.
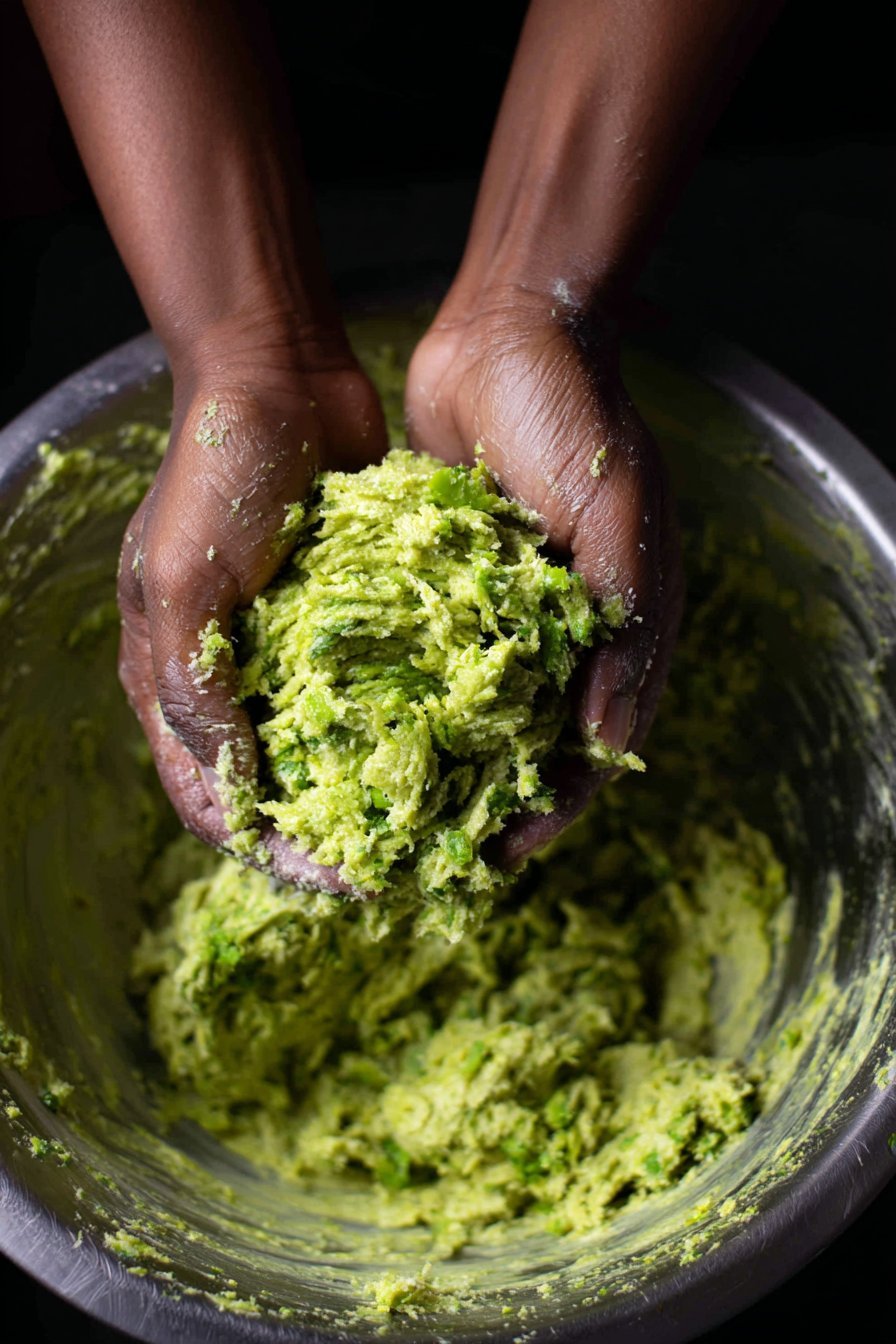
Next, add the rolled oats, ground flaxseed, and spirulina if you are using it, and pulse until the mixture looks thick and slightly coarse, like a soft cookie dough with visible oat flecks. Crack in the egg, then blend again just until a thick, scoopable dough forms that holds together when you press it between your fingers. If it looks too sticky, let it rest for a minute, the oats will continue to absorb moisture. Chill the dough in the fridge for 15 to 20 minutes so it firms up, which makes shaping so much easier. Scoop small portions and roll or press them into short rectangles or bones, or press firmly into silicone molds, then place them on a parchment lined baking sheet with a little space between each treat.
Bake at 325°F for 25 to 30 minutes, until the treats feel set and lightly firm to the touch, not wet in the center. For dogs that love crunch, turn off the oven, crack the door slightly, and let the tray sit inside for about 20 minutes so the treats dry out more without burning. Cool completely on a rack before offering one to your pup, warm treats can trap steam and go soggy inside. Once they are fully cooled, store them in an airtight container in the fridge for up to a week, or in the freezer for longer, just like you might with other homemade dog treats in your easy dog meals rotation.
Keep It Fresh: Timing and Storage
Once your Homemade Greenies Recipe for Dogs has cooled completely, treat them like you would a batch of soft cookies for yourself. For daily use, store them in an airtight container in the refrigerator, where they typically stay fresh for about 7 to 10 days. I like to use a glass jar so I can keep an eye on any moisture buildup, and I slip in a small piece of parchment to separate layers. If you notice condensation or the chews feel sticky instead of dry and firm, open the container for a few minutes and let them air out before sealing again. Remember that these green chews do not contain preservatives, so when in doubt, give them a sniff and a quick look before you treat your pup.
For longer storage, freeze the treats in a single layer on a baking sheet, then transfer them to a zip top freezer bag or container. Label with the date, and use your Homemade Greenies Recipe for Dogs within 2 to 3 months for best flavor and texture. You can thaw a few pieces in the refrigerator overnight, or let a single chew sit on the counter for 5 to 10 minutes before serving. I like to portion them into weekly bags, so I only thaw what Max will safely eat in that time. As with all easy dog meals and homemade dog treats, toss any greenies that show mold, off smells, or slimy spots, and always give fresh water after your dog enjoys one of these breath freshening chews.
Swaps, variations, and serving ideas
One of my favorite parts of this Homemade Greenies Recipe for Dogs is how forgiving the base dough is. If your pup cannot have eggs, you can swap the egg for 2 tablespoons of unsweetened applesauce, just know the chews may be a little softer. You can also replace the rolled oats with oat flour if your dog needs a smoother texture, or with quinoa flakes for a bit more protein. If parsley is not your dog’s favorite, you can cut it in half and add a small handful of fresh mint as long as your vet says it is safe for your specific pup. For an extra dental boost, keep the spirulina in, but always skip anything with added sweeteners or flavorings.
You can easily turn this Homemade Greenies Recipe for Dogs into seasonal treats. In summer, bake them a little less so they stay softer, then chill in the fridge for a cool chewy reward after walks. In winter, bake them fully for a crunchy texture that helps scrape the teeth and then serve slightly warmed to bring out that cozy pumpkin scent. Feel free to cut tiny training bites for frequent rewards, or shape longer sticks for big chewers and special “you were such a good dog at the vet” days. I like to mix a few of these with softer treats like my pumpkin banana pup muffins in a treat jar so Max gets a little surprise party every time he hears the lid open.
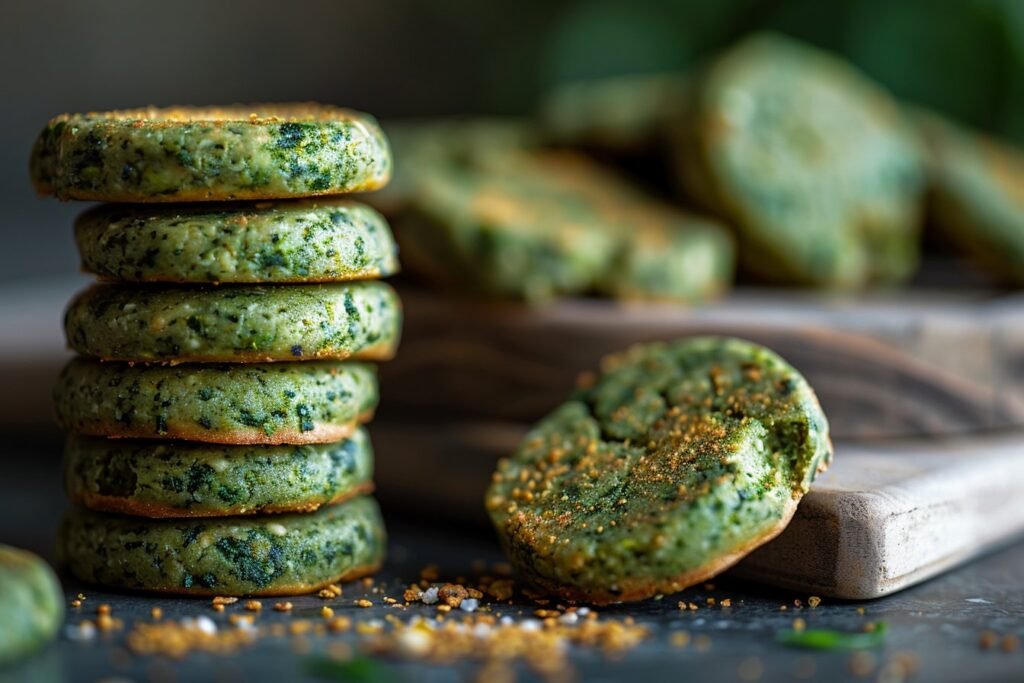
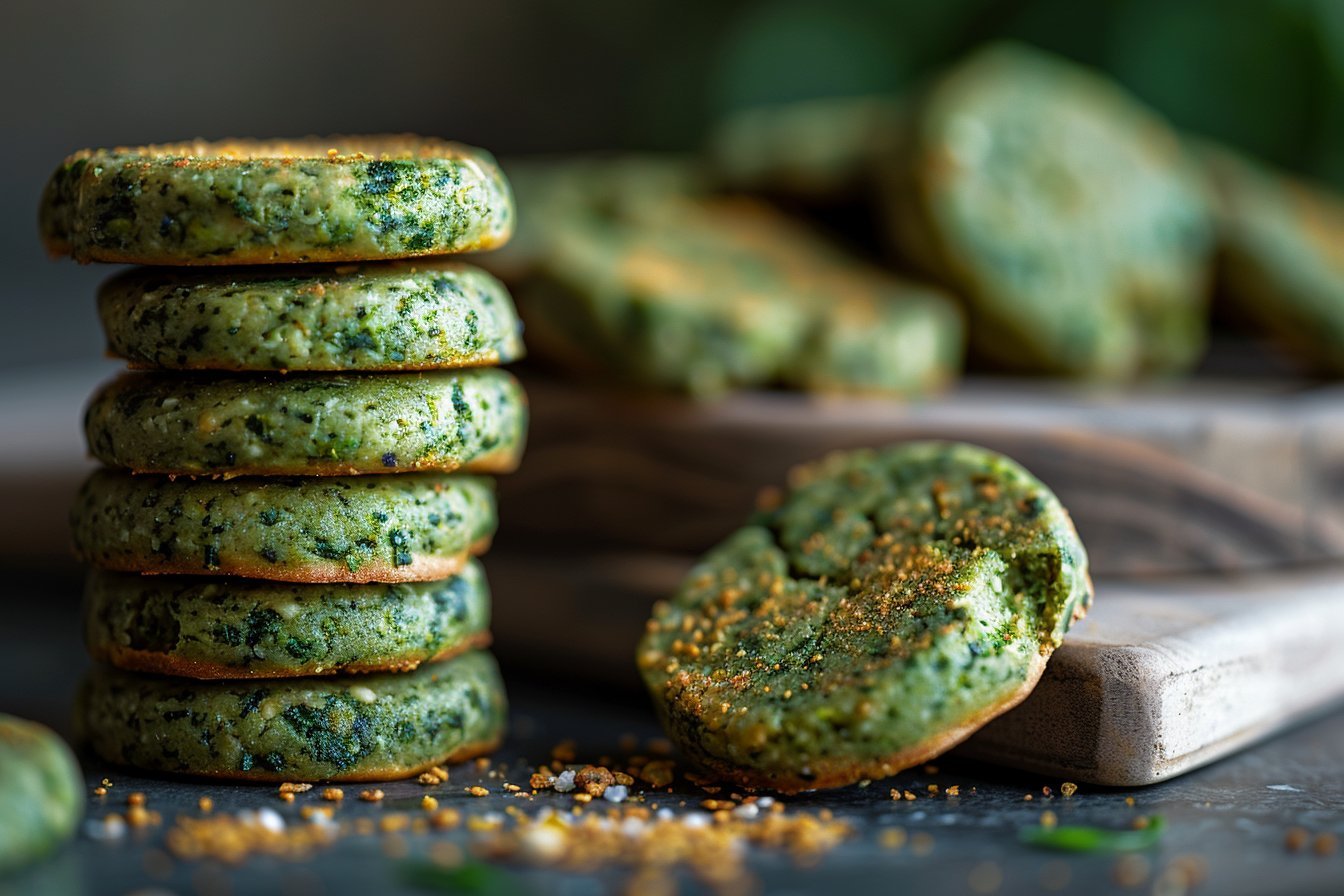
Serving of Homemade Greenies Recipe for Dogs
Conclusion
Every time I pull these oven baked dental treats out of the oven, Max trots into the kitchen like he owns the place, tail swishing and nose working overtime. Making this Homemade Greenies Recipe for Dogs is not just about cleaner teeth. It is about that quiet joy of knowing exactly what you are feeding your pup, and watching them crunch away with total, happy focus. These simple moments turn an ordinary day into something just a little more special.
I hope this recipe becomes part of your own little rituals, whether you bake a batch on Sunday afternoons, or make them with your kids for the family dog. There is something wonderful about everyone gathering around the counter, rolling dough, cutting shapes, and then waiting together for that first cool bite test. Go ahead and give this recipe a try, tweak it to fit your pup, and make it your own. I would love for you to bake along with me and keep sharing the love through easy dog meals and homemade dog treats.
For more delicious recipes like this, follow us on Facebook and Pinterest!
Instructions Process of Homemade Greenies Recipe for Dogs
Recipe
Homemade Greenies Recipe for Dogs
Ingredients
Method
- Preheat the oven to 325°F and line a baking sheet with parchment paper.
- Add the chopped spinach and parsley to a food processor.
- Add the pumpkin puree and melted coconut oil to the processor.
- Blend until the mixture forms a smooth, bright green paste, scraping down the sides as needed.
- Add the rolled oats, ground flaxseed, and spirulina if using.
- Pulse until the mixture is thick and slightly coarse with small oat flecks.
- Add the egg to the processor.
- Blend just until a thick dough forms that holds together when pressed.
- Transfer the dough to a bowl and refrigerate for 15 to 20 minutes to firm up.
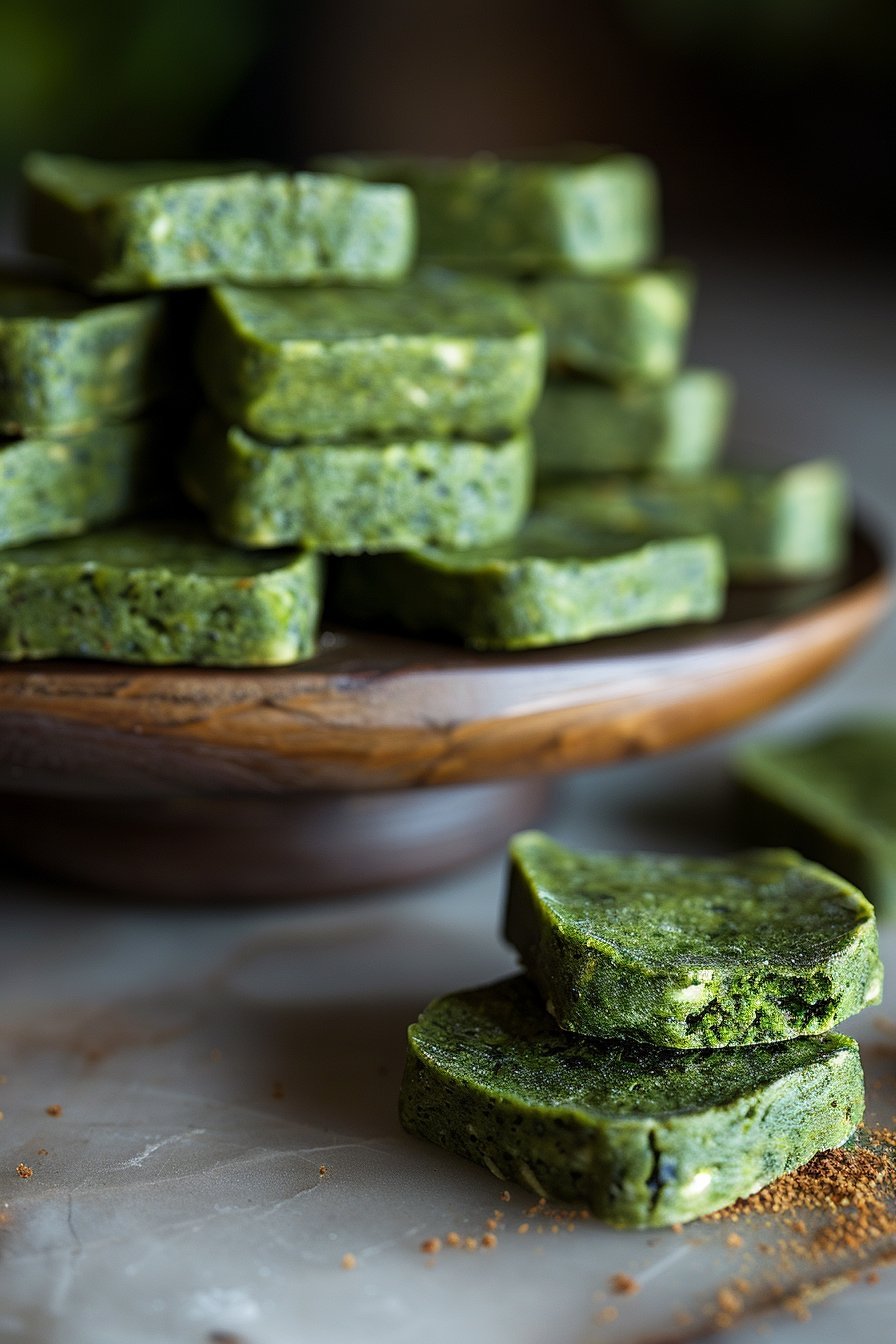
- Scoop small portions of dough and shape into short rectangles or press firmly into silicone molds.
- Arrange the shaped treats on the prepared baking sheet, leaving a little space between each one.
- Bake for 25 to 30 minutes, until the treats are set and firm to the touch.
- Turn off the oven. For extra crunch, leave the treats in the oven with the door slightly open for 20 minutes.
- Remove the baking sheet and let the treats cool completely on a rack.
- Store the cooled treats in an airtight container in the refrigerator or freezer.
Notes
- Never use xylitol or sweetened nut butters or ingredients; xylitol is extremely toxic to dogs.
- For small dogs or senior dogs, bake on the shorter side so the treats stay a bit softer.
- Store in the refrigerator for up to 7 to 10 days, or freeze for longer storage and thaw before serving.