Why These Vet-Inspired Purple Powdered Pops Really Work
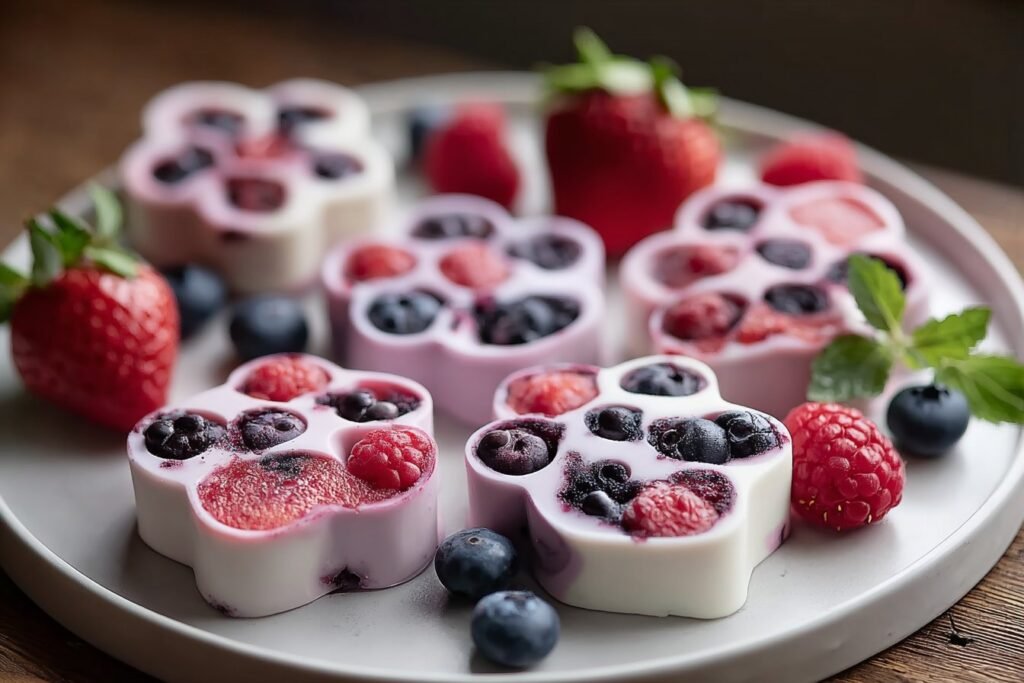
Purple Powdered Pops work so well because they’re built on simple, dog-safe ingredients and a no-cook method that keeps nutrients intact. Instead of mystery fillers, you’re likely blending things like plain yogurt or kefir, a purple antioxidant source (think blueberries or purple sweet potato), and a gentle thickener or powder your vet would approve. That combo gives you a creamy base that freezes beautifully while still staying lickable for your dog’s teeth. Since you’re not baking anything, heat-sensitive vitamins and probiotics stay active, which is a big win compared with many store-bought treats. It’s basically a frozen smoothie for your pup, but in a neat, portion-controlled pop.
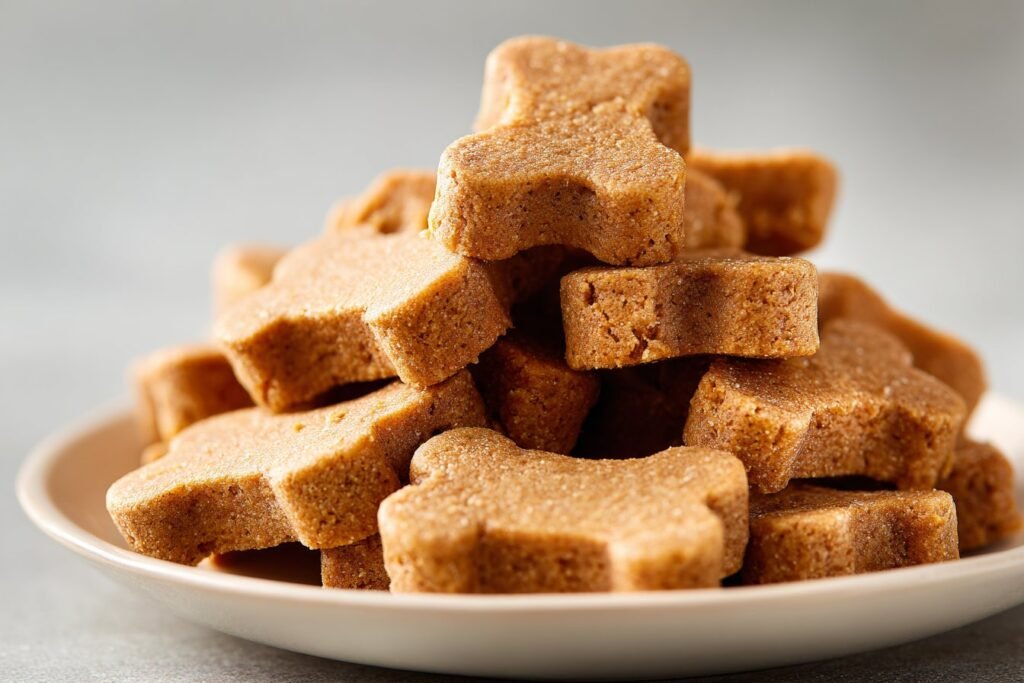
From a practical kitchen standpoint, Purple Powdered Pops fit real life. You need just a bowl, spoon, and mold or ice cube tray—no mixer, no oven, no special equipment. The mixture stirs together in minutes, then the freezer does all the work while you go on with your day (or your walk). Because each pop is already divided, you can control how much your dog gets, which makes it easier to work around weight management, sensitive tummies, or training sessions. They’re also an easy base to tweak: if your dog loves yogurt in my frozen peanut butter dog treats, you’ll know they’ll likely adore this creamy purple version, too.
These pops are also designed with gentle, cooling relief in mind, which is why they feel so “vet-inspired.” The texture is firm enough to last a little while, but not rock hard like some ice blocks that can be tough on teeth. This makes them great for hot days, post-play cool-downs, or as a low-fat dessert after a balanced meal. Since you’re in full control of the ingredients, you can skip sugars, food dyes, and anything your vet has flagged, and stick to clean flavors your dog recognizes. That balance of nutrition, simplicity, and sheer dog joy is exactly why Purple Powdered Pops earn a spot in your easy dog meals rotation.
How to Make These Cooling Purple Powdered Pops
To make your Purple Powdered Pops, start by setting up your workspace so you’re not scrambling once things begin to melt. Line up your popsicle molds (or a silicone ice cube tray if that’s what you have), a small pitcher or measuring cup with a spout, and your mixing bowl. Whisk your liquid base and the vet-inspired purple powdered mix together slowly, making sure there are no dry pockets at the bottom of the bowl. You’re aiming for a smooth, pourable mixture—about the consistency of light cream—so if it looks too thick, add a tablespoon of water at a time until it loosens. If you’ve ever made homemade dog treats like my yogurt berry bites, you’ll recognize that same silky texture you want before it hits the freezer.
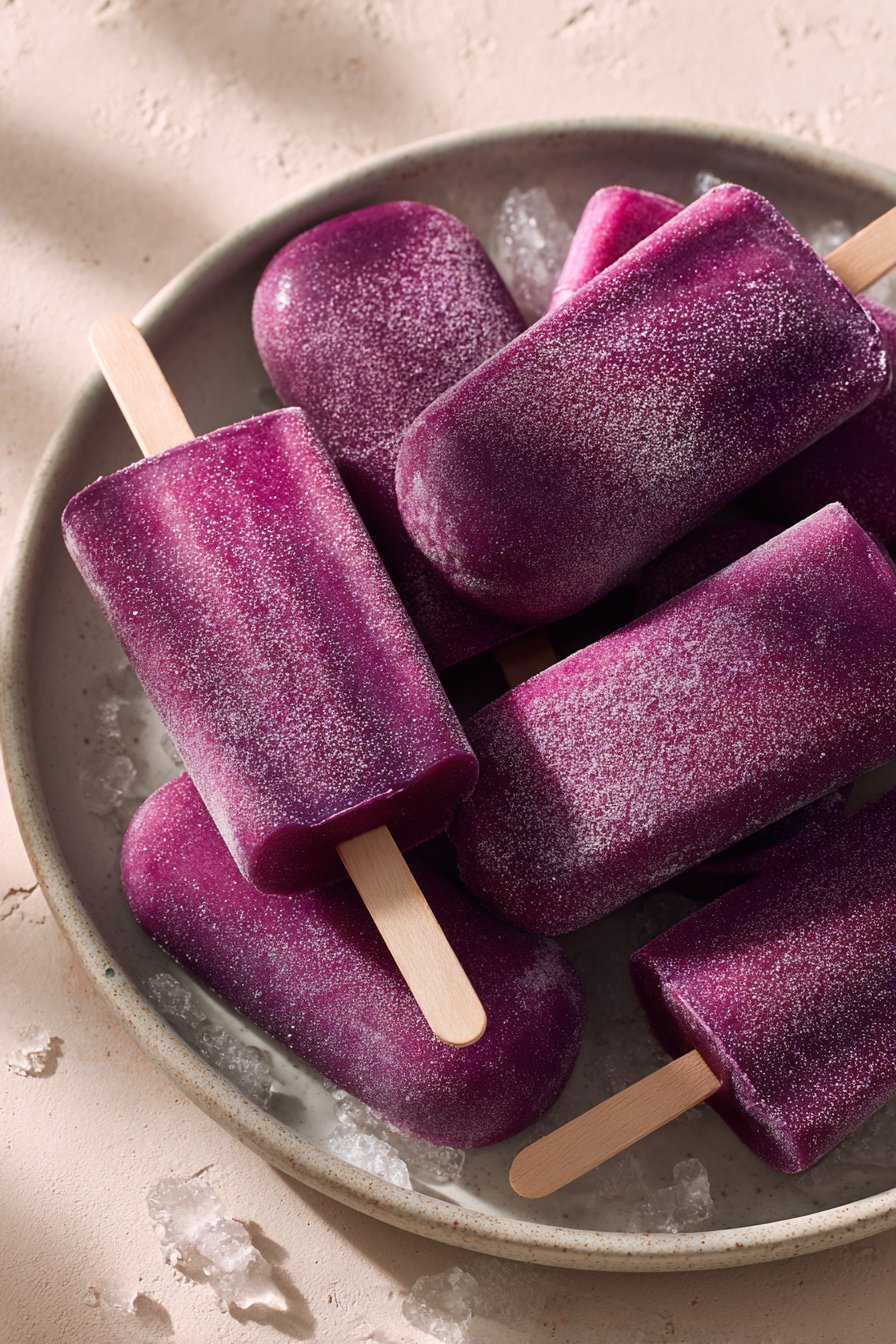
Once your mixture is ready, carefully pour it into the molds, leaving just a little space at the top so it has room to expand as it freezes. Gently tap the molds on the counter to release any air bubbles—those little pockets can make the Purple Powdered Pops crumble or freeze unevenly. Add your sticks or handles, then slide the molds flat into the coldest part of your freezer, usually the back. Let them freeze for at least 4 hours, or overnight if you like a really firm, slow-melting texture that stands up well in warm paws and warmer weather. When you’re ready to serve, run the outside of the mold under lukewarm water for a few seconds, then give a gentle tug; they should slide out cleanly and be ready for one very excited taste-tester.
Time, Prep, and Storage Plan for Purple Powdered Pops
You’ll love how low-effort these Purple Powdered Pops are. Plan for about 10 minutes of hands-on prep, then roughly 4 hours of freezer time so they set fully. I like to mix the base right in a large measuring cup with a spout so it’s easy to pour into molds without spilling purple mix all over the counter. Silicone paw or bone molds are ideal, but a regular ice cube tray works if that’s what you have on hand. Just remember: the smaller the molds, the faster they’ll freeze, so start checking at the 3-hour mark if you made tiny treats. If you’re prepping a larger batch for multiple dogs, double the recipe but spread it between 2 trays so everything freezes evenly.
Once your Purple Powdered Pops are solid, pop them out of the molds and transfer them to a labeled freezer-safe bag or container to prevent freezer smells from sneaking in. These treats keep well in the freezer for about 2 months, but I recommend using them within 4 weeks for the best color and flavor. Take out only what you’ll serve, then let them sit for 2–3 minutes if your pup is sensitive to very cold textures. Never refreeze melted pops; if they turn slushy in your dog’s bowl, just toss what’s left and serve a fresh one next time. I like to keep a “treat corner” in my freezer with a mix of [frozen dog snacks] and a batch of Purple Powdered Pops so I can rotate flavors and keep things fun. As always, adjust serving size based on your dog’s size and daily calories, especially if you’re also treating with other easy dog meals or store-bought goodies that day.
Flexible Options and Serving Notes for Purple Powdered Pops
One of my favorite things about these Purple Powdered Pops is how easy they are to tweak for your own dog’s needs. If your pup has a sensitive tummy, you can make smaller mini-pops in silicone trays so they thaw faster and are gentler to lick. For dogs who need fewer calories, you can pour the mixture into very shallow molds so each pop is more of a thin disc than a big block of ice. On the flip side, if you have a large, energetic dog like my Max, you can use standard ice pop molds or larger silicone bones so each Purple Powdered Pop lasts longer and becomes a slow, cooling distraction. If your dog is new to frozen treats, serve just half a pop at first and watch their digestion over 24 hours before making it a regular snack.
You can serve these Purple Powdered Pops straight from the freezer, but I like to let them sit on the counter for 3–5 minutes so they soften just a bit and are easier on teeth. Serve on a towel, mat, or in a shallow bowl to catch any purple drips—especially if you have light-colored carpets or a very enthusiastic licker. For hot days, pair a pop with a small meal of simple kibble or one of your usual easy dog meals to keep everything balanced, not just frozen snacks. If your vet has you watching portions, simply treat 1 pop as part of your dog’s daily treat allowance and trim back other snacks like biscuits or homemade dog treats that day. However you serve them, stay nearby the first couple of times so you can make sure your dog licks slowly, doesn’t try to gulp the whole pop, and handles this new cooling treat like a pro.
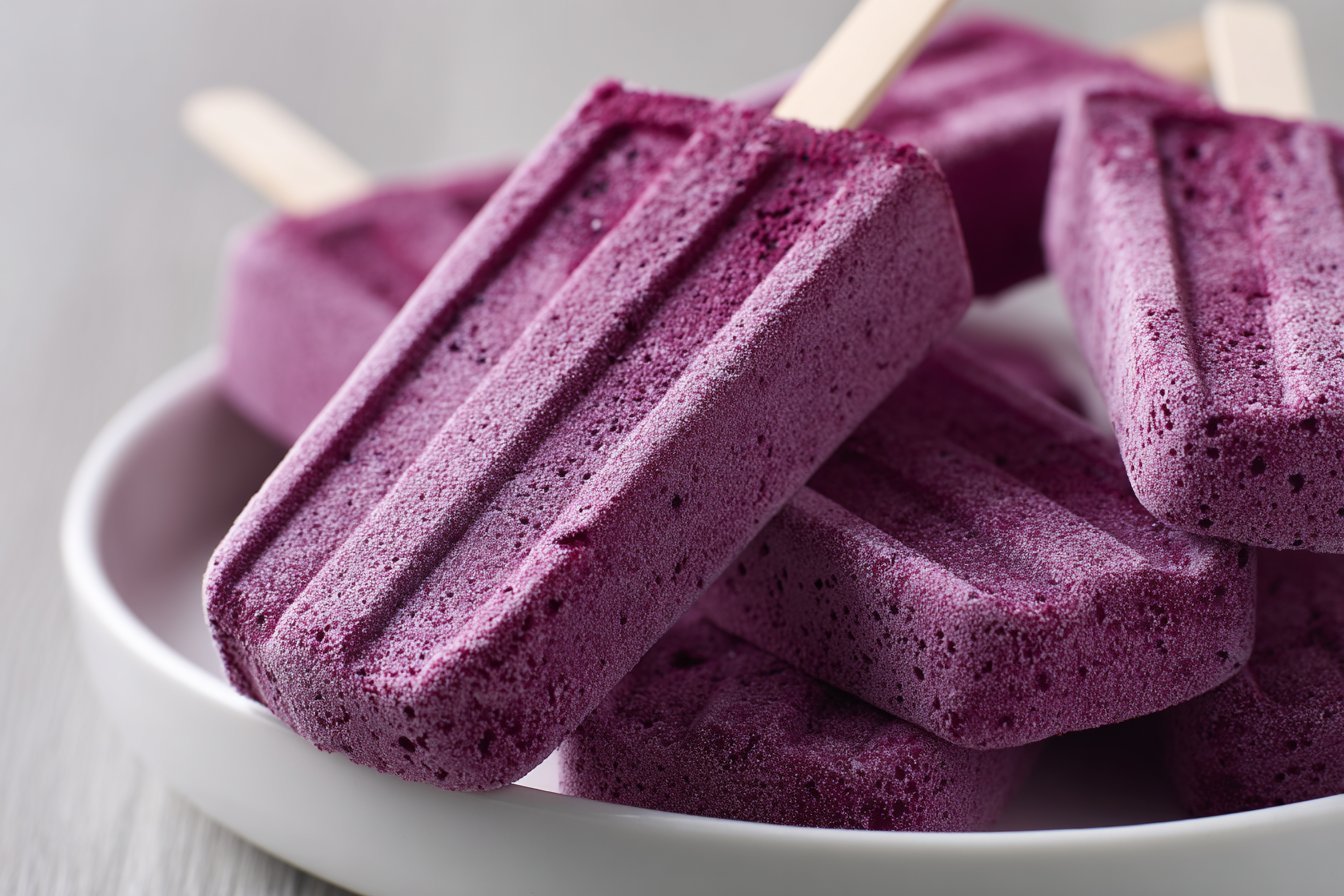
Serving of Purple Powdered Pops
Conclusion
When I first tested these Purple Powdered Pops, Max cocked his head, watched every move, and then did his “happy hop” as soon as I opened the freezer. That’s when I knew this was more than just another homemade dog treat—it was a memory in the making. These simple, cooling pops turn ordinary afternoons into something a little more special, whether you’re spoiling your pup after a walk, celebrating a small win at the vet, or just enjoying a quiet moment together on the porch.
I hope this recipe inspires you to slow down, stir up something colorful, and share a few extra minutes of joy with your dog. You don’t have to be a pro in the kitchen—just a loving dog parent with a little time and curiosity. Pull out your blender, grab your molds, and give these a try. Your pup’s wagging tail will tell you everything you need to know.
For more delicious recipes like this, follow us on social media!

Instructions Process of Purple Powdered Pops
What are Purple Powdered Pops and how are they different from regular popsicles?
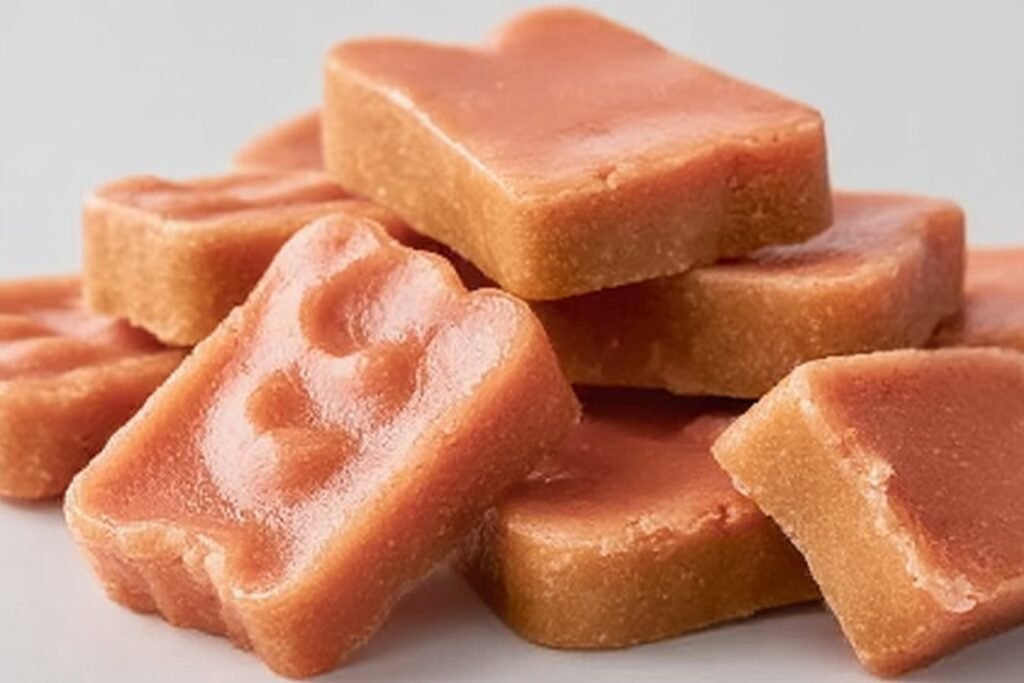
Purple Powdered Pops are icy frozen treats made with a naturally purple base, then rolled in a light, flavorful powder right before serving. Unlike regular popsicles that are smooth from top to bottom, these have a fun, slightly textured coating that adds extra flavor and visual pop. For dogs, that means a cool, low-fat, crunchy-on-the-outside snack that still feels special. You can make them with dog-safe purple ingredients like blueberries or purple sweet potato to get the color without artificial dyes. They’re easy to portion, low in mess, and ideal as an occasional reward after a walk or play session.
How do I safely get the purple color in Purple Powdered Pops for my dog?
The safest way to color Purple Powdered Pops is with real, purple dog-friendly foods like blueberries, blackberries, or cooked mashed purple sweet potato. Blend or mash them into the base until you get a soft lavender or deeper purple tone. **Skip any artificial food coloring, especially those not labeled safe for pets.** If your dog has a sensitive stomach, start with a small amount of fruit and more water or plain yogurt, then increase the purple ingredients slowly. Always introduce new ingredients gradually and watch for any signs of tummy upset.
What kind of “powder” can I use to coat Purple Powdered Pops for dogs?
For dogs, the “powder” should be a light, safe, and mostly natural topping. You can pulse freeze-dried blueberries or strawberries into a fine crumble, or use unsweetened coconut flakes blitzed briefly in a blender. A bit of finely crushed dog biscuit also works if the main pop is very light and hydrating. **Avoid powdered sugar, cocoa, flavored drink mixes, or anything with xylitol, salt, or artificial sweeteners.** Always roll the pops in the powder right before serving so the coating doesn’t get soggy.
Recipe
Purple Powdered Pops
Ingredients
Method
- Set out your popsicle molds or a silicone ice cube tray and place them on a small tray or plate for easy transfer to the freezer.
- Add the yogurt (or kefir), blueberries, mashed purple sweet potato, powdered supplement, and water to a mixing bowl.
- Whisk the mixture until completely smooth and no dry powder remains, adjusting with a small splash of extra water if needed to reach a light cream consistency.
- Pour the mixture into a spouted measuring cup, then carefully fill each mold, leaving a little space at the top for expansion.
- Tap the molds gently on the counter to release any air bubbles.
- Insert sticks or handles if using, then place the molds flat in the coldest part of your freezer.
- Freeze for at least 4 hours, or until the pops are fully firm.
- To serve, run the outside of the molds under lukewarm water for a few seconds, then gently pull each pop out and offer to your dog.
Notes
- Introduce new treats slowly, especially if your dog has a sensitive stomach, and check with your vet before adding any new powdered supplements.
- Store frozen pops in an airtight container or freezer bag for up to 1 month.
- Serve as an occasional treat, not a meal replacement, and supervise your dog while they enjoy their pop.